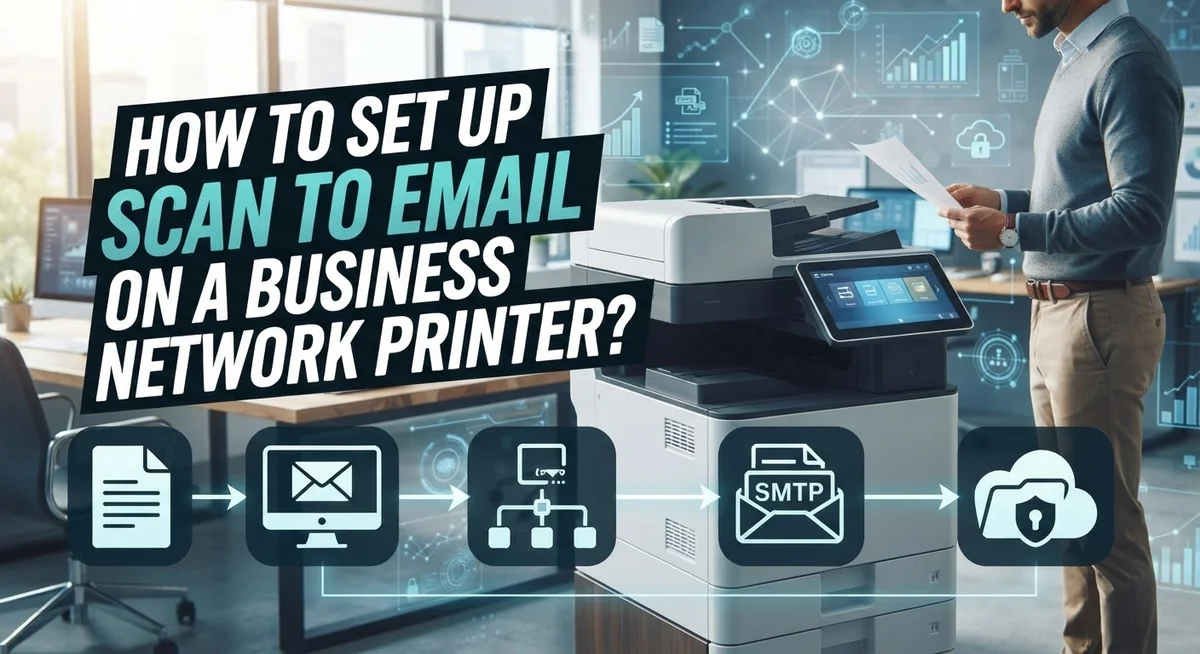
How to Set Up Scan to Email on a Business Network Printer?
Scanning a document should not feel like a chore. But many office teams still print, walk to a desk, and email files by hand.
Scan to email fixes this problem fast. It lets your printer send scanned files straight to any inbox. No extra steps. No wasted time.
This feature works on most modern business printers. Brands like HP, Brother, and Canon all support it. Each brand uses a slightly different menu, but the setup logic stays the same.
You will need access to your printer control panel. You will also need basic network details, like your SMTP server address. Once these pieces are in place, setup takes just a few minutes.
This guide walks you through every step. We cover checking your network connection first. We explain how to enter SMTP settings correctly. We also share brand specific menu paths for HP, Brother, and Canon printers.
Let us get your network printer ready to scan and send in minutes.
In a Nutshell
- Check your network first. Print a network configuration page to confirm your printer connects properly before you start any setup.
- Find the right menu. Look for Settings > Network or a dedicated scan to email option. Each brand places this menu in a slightly different spot.
- Use the web interface. Most printers let you access a browser based control panel. This makes typing SMTP details much easier than using the small screen.
- Enter correct SMTP settings. Your email provider gives you a server address, port number, and login details. Enter these carefully to avoid failed setups.
- Create an email profile. Some printers need you to save sender information first. Skipping this step often causes scan to email to fail silently.
- Test with a real scan. Send a test scan to your own email. This confirms everything works before your team relies on it daily.
What Is Scan to Email and How It Works
Scan to email is a feature that lets you convert paper documents into digital files and send them directly from your printer. Instead of scanning to your computer first, the printer handles everything. The document gets scanned, converted to a PDF or image file, and delivered to an email inbox automatically.
How the process works is straightforward. You place your document on the printer’s scanner glass or feeder. You press the scan to email button on the control panel. The printer scans the page and connects to your network. It then uses email protocols to send the file to your chosen recipient.
Your printer needs internet access and proper network settings to make this work. The printer communicates with an email server using SMTP, which stands for Simple Mail Transfer Protocol. This protocol acts as the delivery system for your scanned files.
The benefits are significant for busy offices. You save time by eliminating extra steps. Multiple people can send scans to different email addresses without needing individual computer access. You reduce paper clutter since documents go straight to email inboxes.
Most modern business printers support this feature, whether they are from major manufacturers or smaller brands. Multifunction printers work especially well since they combine copying, printing, and scanning in one machine.
Setup requires just a few details. You need your email server address, port number, and login credentials. Your IT department or email provider can supply this information. Once configured, anyone at the office can use the feature without special training.
The system stores your email settings in the printer’s memory, so you do not need to enter them each time. This makes scanning and sending documents a quick, repeatable process.
Pre-Setup Checklist: Network and SMTP Requirements
Before you start configuring scan to email, gather the information your printer needs. This checklist ensures you won’t hit roadblocks during setup.
First, verify your network connection. Print a network configuration page from your printer’s control panel. This page shows your printer’s IP address, gateway, and DNS settings. If the page prints successfully, your printer connects to the network properly.
Next, confirm your printer can reach the internet. Some offices use firewalls that block outgoing connections. Contact your IT department to ensure port 25, 587, or 465 is open. These ports handle email traffic from your printer to the mail server.
Gather your SMTP server details. SMTP stands for Simple Mail Transfer Protocol. Your email provider or IT team supplies this information. You need the server address (like mail.company.com), the port number, and whether the connection requires encryption. Write these down before you begin.
Check your email account credentials. You need a valid email address and password for the printer to authenticate. Some organizations use service accounts specifically for scanning. Ask your IT team if this applies to you.
Understand your network environment. Does your office use a local mail server or cloud based email? Does your network require a proxy server? These details affect how you configure SMTP settings.
Review your printer’s capabilities. Not all printers support every email feature. Some route scans only to specific addresses. Others allow multiple recipients or server folder storage. Check your printer manual to see what options are available.
Having this information ready makes configuration quick and error free.
Step-by-Step: Configuring Scan to Email via the Printer’s Web Interface
Start by accessing your printer’s web interface. Open a browser on your computer and enter your printer’s IP address in the address bar. You can find this IP address by printing a network configuration page from your printer’s control panel.
Once you’re in the web interface, look for a section labeled “Scan to Email,” “Send Settings,” or “Network Services.” The exact location varies by manufacturer, but it’s usually under Settings or Network Configuration menus.
Now you’ll enter your SMTP server information. Your IT department or email provider supplies this data. You need the server address (like smtp.company.com), the port number (typically 25, 465, or 587), and whether encryption is required. Enter these details carefully in the appropriate fields.
Next, configure authentication settings. Most modern email systems require a username and password. Enter your email credentials so the printer can authenticate when sending scans. Some systems use app specific passwords instead of your regular password.
Create an email profile by entering a sender email address. This is the address that appears as the source of scanned documents. You can usually create multiple profiles for different departments or purposes.
Test your configuration before relying on it. Perform a test scan to your own email address. Verify that the scan arrives successfully and the image quality meets your needs.
If the test fails, check that your SMTP settings are correct. Confirm your password is accurate. Verify your network firewall isn’t blocking outgoing email connections. Contact your IT team if problems persist.
Once testing succeeds, your scan to email feature is ready for daily use. Train staff on how to access this feature from the printer’s control panel.
Brand-Specific Setup Paths: HP, Brother, and Canon
Each printer manufacturer puts scan to email in different locations on their control panels and software. Knowing where to find these settings saves you time during setup.
HP printers make this feature easy to access. Go to the control panel and select Scan. Look for Scan to Email or a similar option. You can also use HP Printer Assistant software on your computer. Open the application and find the Scan to Email Wizard. This wizard guides you through each step. HP also offers an Embedded Web Server where you can configure everything from your browser.
Brother printers organize settings differently. Access the printer’s control panel and go to Network. From there, select Protocol and then SMTP. This is where you enter your email server details. Brother printers sometimes require you to use their web interface for more advanced options. The address is usually found on your network configuration page.
Canon printers use yet another approach. On the control panel, navigate to Settings. Select Send and then Email. Canon’s interface walks you through entering SMTP information and creating email profiles. Canon also provides dedicated software for computers that can help with configuration.
The key difference is the menu path, not the actual process. All three brands need the same basic information: your SMTP server address, port number, authentication credentials, and sender email address.
Before diving into brand specific menus, print your network configuration page first. This page shows your printer’s IP address and network status. Having this information ready makes the setup process much smoother. You’ll reference it when accessing your printer’s web interface or control panel settings.
Setting Up Scan to Network Folder as an Alternative Destination
A network folder serves as a central storage location for all scanned documents. Instead of sending scans to an email address, you route them directly to a shared server folder that your team can access.
This approach works well when you need scans available to multiple people at once. Everyone on your network can view and retrieve documents from the same location without waiting for email delivery.
Start by accessing your printer’s control panel or web interface. Look for a menu option labeled “Scan to Folder,” “Scan to Network,” or “Send Settings.” The exact wording depends on your printer model.
You’ll need to enter the network path to your destination folder. This typically looks like a server address followed by the folder name. Your IT department can provide the correct path for your office setup.
Enter your network credentials if the folder requires authentication. Most business printers ask for a username and password to access protected network locations.
Test the configuration by scanning a small document to the network folder. Check that the file appears in the correct location within a few seconds.
Network folders offer several advantages over email delivery. Documents arrive instantly without SMTP delays. Large scans don’t clog up email inboxes. Your team can organize and manage files centrally.
You can set up multiple destination folders for different departments or projects. Some printers allow you to create quick access buttons on the control panel for frequently used folders.
Verify that your network folder has sufficient storage space before enabling regular scans. Monitor usage periodically to prevent the folder from becoming full and blocking new scans.
Testing Your Configuration and Verifying Connectivity
Testing your scan to email setup is the most important step before you rely on it daily. Start by printing your network configuration page directly from your printer’s control panel. This page shows your IP address, gateway, and DNS settings. Verify that all values match your network requirements.
Next, send a test scan to your configured email address. Use a simple document like a blank page or single sheet. Send it to an email address you can access immediately. Check both your inbox and spam folder within five minutes.
If the test email arrives successfully, your configuration is working correctly. Your scan to email feature is now ready for regular use. You can proceed with confidence.
If the test fails, check these common issues first. Verify your SMTP server address is entered exactly as your IT department provided it. Confirm the SMTP port number matches your email system’s requirements. Different email systems use different ports, so this detail matters greatly.
Check that your sender email profile was initialized properly. Some printers require you to save the profile before it becomes active. Return to your email settings and confirm the profile shows as enabled.
Test your network connectivity by pinging your SMTP server from a computer on the same network. This confirms your printer can reach the email server. If connectivity fails, contact your network administrator.
Try sending another test scan after making any corrections. Document which settings you changed so you remember what worked. Once your test succeeds, run one more scan to verify consistency. Successful repeated tests mean your setup is stable and reliable.
Common Mistakes and How to Avoid Them
Setting up scan to email involves several potential pitfalls. Understanding these mistakes helps you avoid frustration and get your system working quickly.
Skipping network verification ranks as the most common error. Many people jump straight to SMTP configuration without checking if their printer connects to the network properly. Print your network configuration page first. This simple step reveals connectivity issues before they waste your time.
Incorrect SMTP settings cause most failed email deliveries. Verify your SMTP server address matches what your IT department provided. Check the port number carefully, as using port 25 instead of 587 creates authentication problems. Confirm your sender email address is spelled correctly and matches your account.
Forgetting to initialize email profiles leads to silent failures. Your printer needs to store the email address you want to use for sending scans. Simply entering an address in a menu is not enough. You must complete the initialization process through your printer’s web interface or control panel.
Testing inadequately means you discover problems after relying on the system. Send a test scan to yourself immediately after setup. Wait for the email to arrive before considering the job complete. If nothing arrives, check your spam folder and printer logs for error messages.
Assuming all printers work identically creates confusion during setup. Your specific model places scan to email in unique menu locations. Consult your printer’s manual or contact your manufacturer’s support line for exact navigation steps.
Mixing up network folders with email destinations confuses the process. These are separate features. Choose one approach based on your workflow needs. Network folders work better for team access. Email works better for individual recipients.
Troubleshooting Scan to Email Issues
Scan to email problems usually stem from a few specific areas. You need to check each one systematically to find your issue.
SMTP settings are the first place to look. Your printer needs the correct server address, port number, and authentication method. Verify these details match what your IT department provided. Many failures happen because the port number is wrong or security settings don’t match your email provider’s requirements.
Next, confirm your network connectivity is working. A printer can’t send emails if it can’t reach your mail server. Print a network configuration page from your printer’s control panel. This page shows your IP address and connection status. If the page shows no IP address, your printer isn’t connected to the network properly.
Check your email profile initialization. Some printers require you to set up the sender email address separately from the SMTP settings. If you skip this step, scans won’t send even though everything else looks correct. Go back to your printer’s email settings and verify the sender profile exists.
Test your configuration with a simple document. Scan one page to your configured email address. Wait a few minutes for delivery. If nothing arrives, review the printer’s activity log or error messages on the control panel.
Verify your network credentials if the email account requires authentication. Usernames and passwords must be entered exactly as your email provider specifies. Spaces, capitalization, and special characters all matter.
If problems persist, contact your IT support team with the network configuration page and any error messages from the printer. This information helps them troubleshoot much faster than guessing what went wrong.
Final Thoughts
Setting up scan to email on your business printer does not need to feel hard. You just need to follow clear steps in order.
Start by checking your network connection first. Then move into your printer’s SMTP settings with confidence.
Most setup problems come from skipped steps, not complicated technology. Take your time with each stage of the process.
Print your network configuration page before you begin. This simple step saves you from many headaches later.
Your printer’s control panel holds most of the settings you need. HP, Brother, and Canon models each place these menus in slightly different spots.
Look for terms like Scan to Email, Network Protocol, or SMTP settings. These labels point you toward the right configuration screen.
Always test your setup after you finish. A quick test scan tells you if everything works before your team depends on it.
Your email profile needs proper initialization too. Skip this step, and your scans may fail silently without any warning message.
Keep your IT team’s contact information ready. They can help if authentication or network issues come up during setup.
Once your scan to email system works, your office gains real time savings. Staff can send documents straight to inboxes without extra steps.
This feature turns your printer into a stronger business tool. You reduce paper handling and speed up daily workflows.
Remember that every printer brand has its own menu layout. Check your specific model’s manual if you get stuck on any screen.
With patience and the right settings, scan to email becomes simple. Your network printer then works smarter for your whole team.
Frequently Asked Questions
Where do I find the scan to email settings on my printer?
The location varies by brand. On most printers, go to the control panel and select Settings, then look for Network or Reports. From there, find Network Configuration. HP printers typically show Scan to Email directly in the main menu. Brother printers place it under Network, then Protocol, then SMTP. Canon devices usually have it under Settings, then Send, then Email. Check your printer’s manual if you’re unsure which path to follow.
How do I know if my printer is connected to the network properly?
Print a network configuration page first. This page shows your IP address, gateway, and DNS settings. Go to your printer’s Settings menu and look for an option to print this page. If the page prints successfully, your connection works. You can also access your printer’s web interface by typing its IP address into a browser. A successful connection means you can proceed with scan to email setup.
Can I send scans to both email and network folders?
Yes, most business printers support multiple destinations. You can set up profiles that route scans to email addresses or to shared server folders. This gives you flexibility in how documents flow through your organization. Some printers let you create custom profiles for different departments or projects. Check your printer’s documentation to see how many profiles your model supports.
What should I do if my scans aren’t arriving in email?
First, verify your SMTP settings match your email provider’s requirements. Check the server address, port number, and authentication method. Next, confirm your email profile is properly initialized with a sender address. Test with a simple document to see if you get any error messages. If problems continue, contact your IT team with your network configuration page and any error details from the printer.

I’m the voice behind Device Dossier. As a printing technology enthusiast, I spend my time testing printers, comparing specs, and writing honest reviews to help you find the perfect printing solution. When I’m not geeking out over print quality and page yields, you’ll find me exploring the latest in tech.