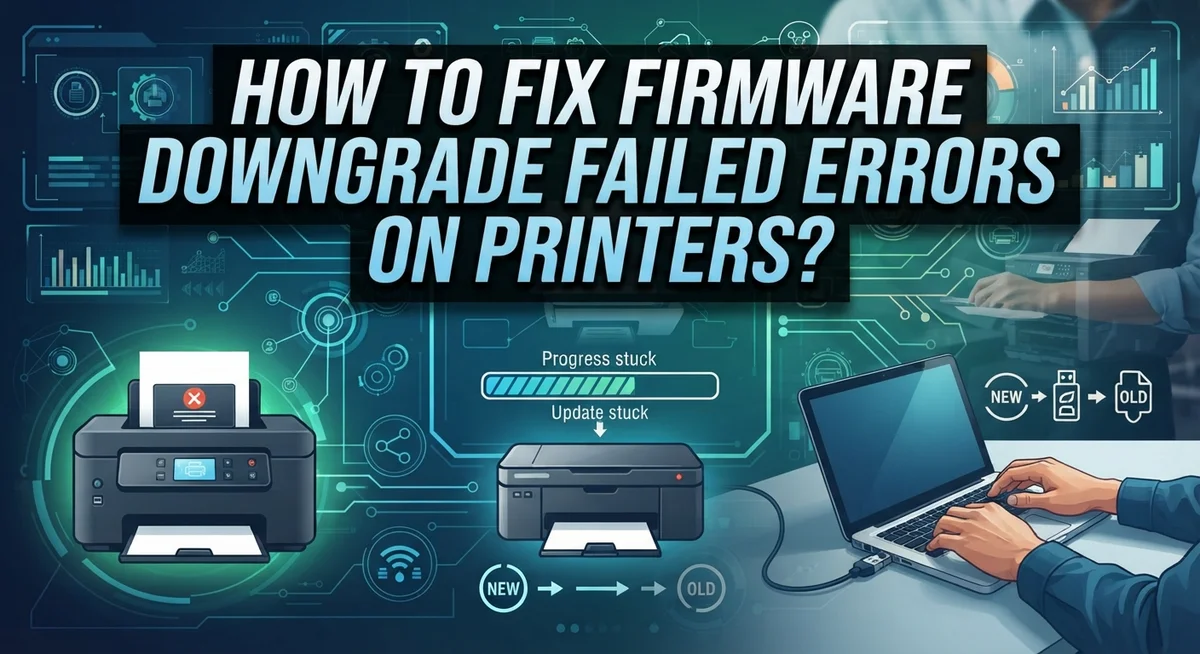
How to Fix Firmware Downgrade Failed Errors on Printers?
Have you ever tried to fix your printer, only to see a “Firmware Downgrade Failed” error pop up? It feels frustrating. You just want your printer to work like before.
This error often shows up after a botched update. Your printer might get stuck at startup. You may lose scan or copy functions. Sometimes you even see a dreaded Error 79 message.
The good news is that you can fix this problem yourself. You do not need to call a technician right away.
This guide walks you through simple, proven steps. We will show you how to power cycle your printer correctly. You will learn how to disable automatic updates that cause conflicts.
By the end of this article, you will understand why this error happens. More importantly, you will know exactly how to solve it. Let’s get your printer back to working order.
In a Nutshell
- Power cycle first. Turn off your printer. Unplug it for 5 to 10 minutes. This clears temporary glitches before you try anything else.
- Stop automatic updates. Go into your printer settings. Turn off “Automatically Update Check”. This stops the printer from installing a bad version again.
- Downgrade carefully. Install the previous stable firmware version. This often fixes lockouts and restores lost features like copy or scan.
- Check your connections. Make sure your USB or network connection is stable. A weak connection can cause the downgrade to fail midway.
- Avoid common mistakes. Do not skip the auto-update step. Do not rush the power cycle. Both mistakes can bring the error right back.
- Use extra tools if needed. Run a diagnostic tool, reset your printer, or reinstall drivers. These steps help when the basic fix does not work.
What Causes Firmware Downgrade Failed Errors
Firmware downgrade failures happen for several clear reasons. Understanding these causes helps you fix the problem faster and prevent it from happening again.
Connection problems are the most common culprit. Your printer needs a stable link to your computer or network during the downgrade process. A weak USB cable, loose connection, or poor WiFi signal can interrupt the firmware transfer. The printer stops mid downgrade, leaving it stuck with incomplete files.
Corrupted firmware files cause failures too. If the file you downloaded got damaged during transfer, your printer cannot install it properly. This often happens when downloads stop unexpectedly or when you use an unreliable internet connection.
Insufficient power is another major issue. Your printer needs consistent electricity throughout the entire downgrade. If the power drops, even for a second, the process stops. This leaves your printer in a broken state. Battery backups help prevent this problem.
Automatic update conflicts create real headaches. If your printer has automatic updates enabled, it may fight against your downgrade attempt. The printer tries to update to the newer version while you try to go backward. These competing actions cause the downgrade to fail.
Wrong firmware versions also lead to errors. Installing firmware designed for a different printer model or series will not work. Always verify that the firmware matches your exact printer model before starting.
Driver issues on your computer can block the process too. Outdated or missing printer drivers prevent proper communication between your computer and printer. Your device cannot receive the downgrade commands correctly.
Cartridge problems sometimes interfere as well. Using incompatible or empty cartridges can trigger errors during firmware changes. Your printer may refuse to proceed if it detects an issue with supplies.
Knowing these causes helps you take the right steps forward. Each cause has a specific fix that actually works.
Preparing Your Printer Before Attempting a Downgrade
Getting your printer ready is the most important step before you attempt any firmware downgrade. A proper setup prevents errors and saves you time.
Start by doing a complete power cycle. Turn off your printer completely. Unplug it from the wall outlet and wait for 5 to 10 minutes. This waiting period lets all power drain from the device. Then plug it back in and turn it on. This simple step fixes many firmware issues because it clears temporary glitches.
Next, disable automatic updates in your printer settings. Go to your printer’s menu or settings panel. Look for an option that says “Automatically Update Check” or similar wording. Turn this feature off completely. Automatic updates can interfere with downgrade attempts and cause the process to fail partway through.
Check your connection stability before you start. If you use a USB cable, inspect it for damage or loose connections. If you use a network connection, restart your router and make sure your printer connects properly. A weak or interrupted connection causes downgrade failures more often than you might think.
Verify that your printer has enough battery backup or stable power. Remove any surge protectors temporarily during the downgrade process. Surge protectors sometimes interfere with data transfer. Use a direct wall outlet instead.
Gather the correct firmware file before you begin. Download the previous stable version from your printer manufacturer’s support page. Do not use random or unknown firmware files. Make sure the file matches your exact printer model number.
Clear your printer’s memory if possible. Some printers have a reset option in their settings menu. Check your user manual for the correct reset procedure for your specific model.
Finally, close all printer-related software on your computer. Stop print jobs and close any printer utility programs. This prevents software conflicts during the downgrade process.
Step-by-Step Guide to Downgrading Printer Firmware Safely
Before you start the downgrade process, your printer needs proper preparation. This step prevents most failures from happening in the first place.
Begin with a complete power cycle. Turn off your printer completely. Unplug it from the electrical outlet. Wait for 5 to 10 minutes. This clears your printer’s memory and resets internal systems. Plug it back in and power it on. A proper power cycle fixes many firmware issues on its own.
Disable automatic updates next. Go into your printer’s settings menu. Look for “Automatically Update Check” or similar options. Turn this feature off completely. Automatic updates can interfere with your downgrade attempt. They may also restart the update process unexpectedly. Disabling this prevents conflicts during the downgrade.
Check your connection stability. If you use USB, inspect the cable for damage. Connect it directly to your computer’s USB port. Avoid using hub devices or extension cables. For network printers, restart your router. Verify your printer connects to WiFi properly. Weak connections cause firmware uploads to fail halfway through.
Verify your power supply. Make sure your printer plugs directly into a wall outlet. Remove any surge protectors temporarily. Unstable power during a downgrade corrupts firmware files. This creates bigger problems than your original error.
Gather the correct firmware file beforehand. Visit the manufacturer’s support website. Find your exact printer model number. Download the previous stable firmware version. Store this file on your computer’s desktop. Never use firmware files from unknown sources.
Close all printer software. Shut down your printer driver software. Exit any print queue windows. Close scanning applications. Running multiple printer programs confuses the downgrade process.
Clear your printer’s memory if possible. Some printers allow memory resets through the settings menu. Check your printer’s manual for this option. A cleared memory prevents conflicts with old corrupted data.
These preparation steps take only 15 to 20 minutes but save you hours of troubleshooting later.
Disabling Automatic Updates to Prevent Future Failures
Automatic updates can force problematic firmware versions onto your printer without your permission. This creates downgrade failures and functionality issues. Disabling automatic updates is your best defense against these unwanted changes.
Access your printer’s settings menu through the control panel. Look for the “Settings” or “Maintenance” option. Navigate to the “Network” or “General” section where update options live.
Find the option labeled “Automatically Update Check” or “Auto Update.” This setting controls whether your printer downloads and installs updates on its own. Turn this setting off completely. Your printer will no longer check for updates without your approval.
Some printers hide this option in multiple locations. Check under “Device Settings,” “Preferences,” or “Administration.” If you cannot find it on the printer itself, access your printer’s web interface through your computer’s browser. Enter your printer’s IP address to reach its settings page online.
Document the current firmware version before you disable updates. Write down the version number displayed in your printer’s settings. This information helps you track what version you have installed.
After disabling automatic updates, restart your printer completely. Power it off for at least five minutes. This ensures the new settings take effect properly.
Set a manual update schedule instead. Check for updates yourself once every few months. This gives you control over when updates happen and allows you to research any known issues first.
Test your printer’s basic functions after making these changes. Print a test page to confirm everything works normally. Verify that your scanner and copy functions operate correctly too.
Keep your printer’s settings documentation in a safe place. Record which automatic update options you disabled and when. This information becomes valuable if you need to troubleshoot problems later.
Disabling automatic updates prevents future firmware downgrade failures. You maintain complete control over when and how your printer updates. This simple step protects your printer from forced problematic versions.
Troubleshooting Specific Errors Like Error 79 and Startup Halts
When your printer shows Error 79 or stops at startup after a firmware downgrade attempt, you need to act systematically. These errors mean the downgrade process didn’t complete properly or the firmware file became corrupted during transfer.
Start with a hard reset first. Turn off your printer completely. Unplug it from the power outlet and wait for 10 minutes. This clears temporary memory and stops any stuck processes. Plug the printer back in and power it on. Many Error 79 cases resolve with this simple step alone.
If the error persists, check your connection next. A loose USB cable or weak network signal often causes downgrade failures. Inspect your USB cable for visible damage or bent pins. If using a network connection, restart both your printer and router. Wait 2 minutes between each restart. This refreshes the connection and removes interference.
Remove any surge protectors temporarily. Plug your printer directly into a wall outlet during troubleshooting. Surge protectors can interrupt the power flow during firmware transfers, causing the error to appear.
For startup halts, try accessing your printer’s recovery mode. Most printers have a specific button combination or menu option to enter recovery mode. Check your printer’s manual for these exact instructions. Recovery mode lets you attempt the downgrade again from a clean state.
If Error 79 continues, the firmware file itself might be corrupted. Download the firmware file again from the manufacturer’s support website. Use a different computer if possible. Transfer it using a different USB cable or network connection.
Document what happens at each step. Note the exact error messages and when they appear. This information helps you identify whether the problem is hardware or software related. If the error repeats after these steps, your printer may need professional service to restore the firmware safely.
Restoring Lost Copy and Scan Functionality After a Failed Update
After a failed firmware update, your printer’s copy and scan features may stop working completely. This happens because the update process interrupts the device’s core functions. The good news is that restoring these features follows a clear recovery path.
Start by restarting your printer and router together. Turn off your printer, wait 30 seconds, then power it back on. Do the same with your router. This simple step often restores communication between your printer and computer, which copy and scan functions need to operate.
Next, reinstall your printer drivers on your computer. Go to your manufacturer’s support website and download the latest driver package. Remove the old driver first through your computer’s control panel, then install the fresh version. Drivers act as the bridge between your printer and your computer’s software.
Check your connection stability during this process. If you use USB, inspect the cable for visible damage. If you use network connection, verify your printer appears in your connected devices list. A weak connection prevents copy and scan commands from reaching your printer.
Reset your printer settings to factory defaults. Access your printer’s menu, find “Settings” or “Tools,” then look for “Reset” or “Restore Defaults.” This clears any corrupted data from the failed update. Your printer will forget custom settings, but this often restores basic functions.
If these steps don’t work, use your manufacturer’s diagnostic tool. These tools scan your printer’s hardware and identify specific problems. They provide detailed error codes that pinpoint exactly what failed during the update.
Finally, try using original cartridges temporarily during recovery. Sometimes third party cartridges cause compatibility issues after updates. Switching to original cartridges helps isolate whether the problem is cartridge related or firmware related.
Document each step you take. Note what error messages appear and when. This information helps you or technical support understand exactly what went wrong.
Common Mistakes to Avoid During Firmware Recovery
When you attempt a firmware downgrade, several mistakes can cause the process to fail completely. Understanding these errors helps you avoid them and recover your printer successfully.
The most common mistake is attempting to downgrade without disabling automatic updates first. Your printer may automatically download and install a newer version while you’re in the middle of the recovery process. This creates conflicts that corrupt your firmware file. Always disable the automatic update feature before you start any downgrade attempt.
Another frequent error involves rushing the power cycle step. Many people turn off their printer for only one or two minutes. This isn’t enough time for the printer’s memory to fully reset. You need to unplug your printer and wait at least five to ten minutes. This longer duration ensures all residual power drains completely from the system.
Connection problems during the downgrade process cause significant failures. Using a surge protector can interfere with the data transfer between your computer and printer. Remove surge protectors and plug your printer directly into a wall outlet instead. Check that your USB cable works properly or that your network connection is stable before you begin.
Using incompatible cartridges during the recovery process creates additional complications. Your printer may focus on cartridge errors instead of completing the firmware downgrade. Switch to original cartridges temporarily while you perform the recovery. You can return to compatible alternatives once the firmware update completes successfully.
Finally, many users skip documentation. They don’t write down the current firmware version or note what error messages appear. This information helps you identify what went wrong and prevents repeating the same mistakes. Keep detailed notes of each step you take and the results you see at every stage of the recovery process.
Final Thoughts
Fixing a firmware downgrade error takes patience. You cannot rush this process.
Most printer errors follow a pattern. Power cycle first. Check connections second. Disable automatic updates third.
These three steps solve the majority of firmware problems. Skip them, and you risk repeating the same mistakes.
Remember to disable automatic updates before you try anything else. This single step prevents your printer from pulling in a new firmware version while you work. Many users forget this step and end up stuck in a loop.
Your power cycle needs proper time. Five to ten minutes matters more than it sounds. This clears your printer’s memory completely and gives it a real fresh start.
Connection stability plays a bigger role than most people realize. Remove surge protectors during troubleshooting. Plug directly into your wall outlet instead. Check your USB or network connection twice before you attempt any firmware action.
Diagnostic tools save you time. Your manufacturer’s diagnostic software can spot problems that are hard to see manually. Run it before you assume the worst about your printer.
Document your process as you go. Write down what error appears and when. This habit helps if you need support later, and it helps you avoid repeating failed attempts.
Most firmware downgrade errors are fixable at home. You do not need special training or expensive tools. You need patience, the right sequence of steps, and attention to detail.
If problems continue after trying these fixes, contact your printer manufacturer’s support team directly. Some issues need professional diagnosis, especially with hardware-related failures.
Your printer can work well again. Follow these steps in order, stay patient, and give each step time to work properly.
Frequently Asked Questions
Why does my printer show a firmware downgrade failed error?
Firmware downgrade failures happen when your printer loses connection during the update or when automatic updates interfere with the process. Power interruptions, unstable USB connections, or network problems are common culprits. Your printer may also reject the downgrade if you didn’t disable automatic update checks first.
The error often appears as a code like Error 79 or a message stating the update failed. This means your printer’s software didn’t complete the installation properly.
Can I fix a firmware downgrade error without professional help?
Yes, most downgrade errors are fixable at home. Start with a proper power cycle: turn off your printer, unplug it for 5 to 10 minutes, then restart it completely.
Next, check your connection. If using USB, try a different cable or port. If using network connection, restart both your printer and router together. Verify your connection is stable before attempting anything else.
Then disable automatic update checks in your printer’s settings menu. Look for “Settings” or “Tools,” then find “Automatically Update Check” and turn it off. This prevents your printer from forcing new firmware versions during recovery.
What should I do if the error happens again?
Reinstall your printer drivers on your computer first. Remove the old drivers completely, restart your computer, then install fresh drivers from your manufacturer’s website.
Reset your printer settings to factory defaults through the menu system. This clears any corrupted settings causing the downgrade to fail.
If problems continue after these steps, use your manufacturer’s diagnostic tool to identify specific issues. These tools scan your printer and show exactly what’s wrong.
Is it safe to attempt a downgrade multiple times?
Each downgrade attempt puts stress on your printer’s system. Space out your attempts by at least 24 hours. Never attempt a downgrade while your printer is powered by a surge protector, as power fluctuations can corrupt files mid-process.
Document what you try each time. Write down which steps worked and which didn’t. This information helps if you need to contact support later.

I’m the voice behind Device Dossier. As a printing technology enthusiast, I spend my time testing printers, comparing specs, and writing honest reviews to help you find the perfect printing solution. When I’m not geeking out over print quality and page yields, you’ll find me exploring the latest in tech.