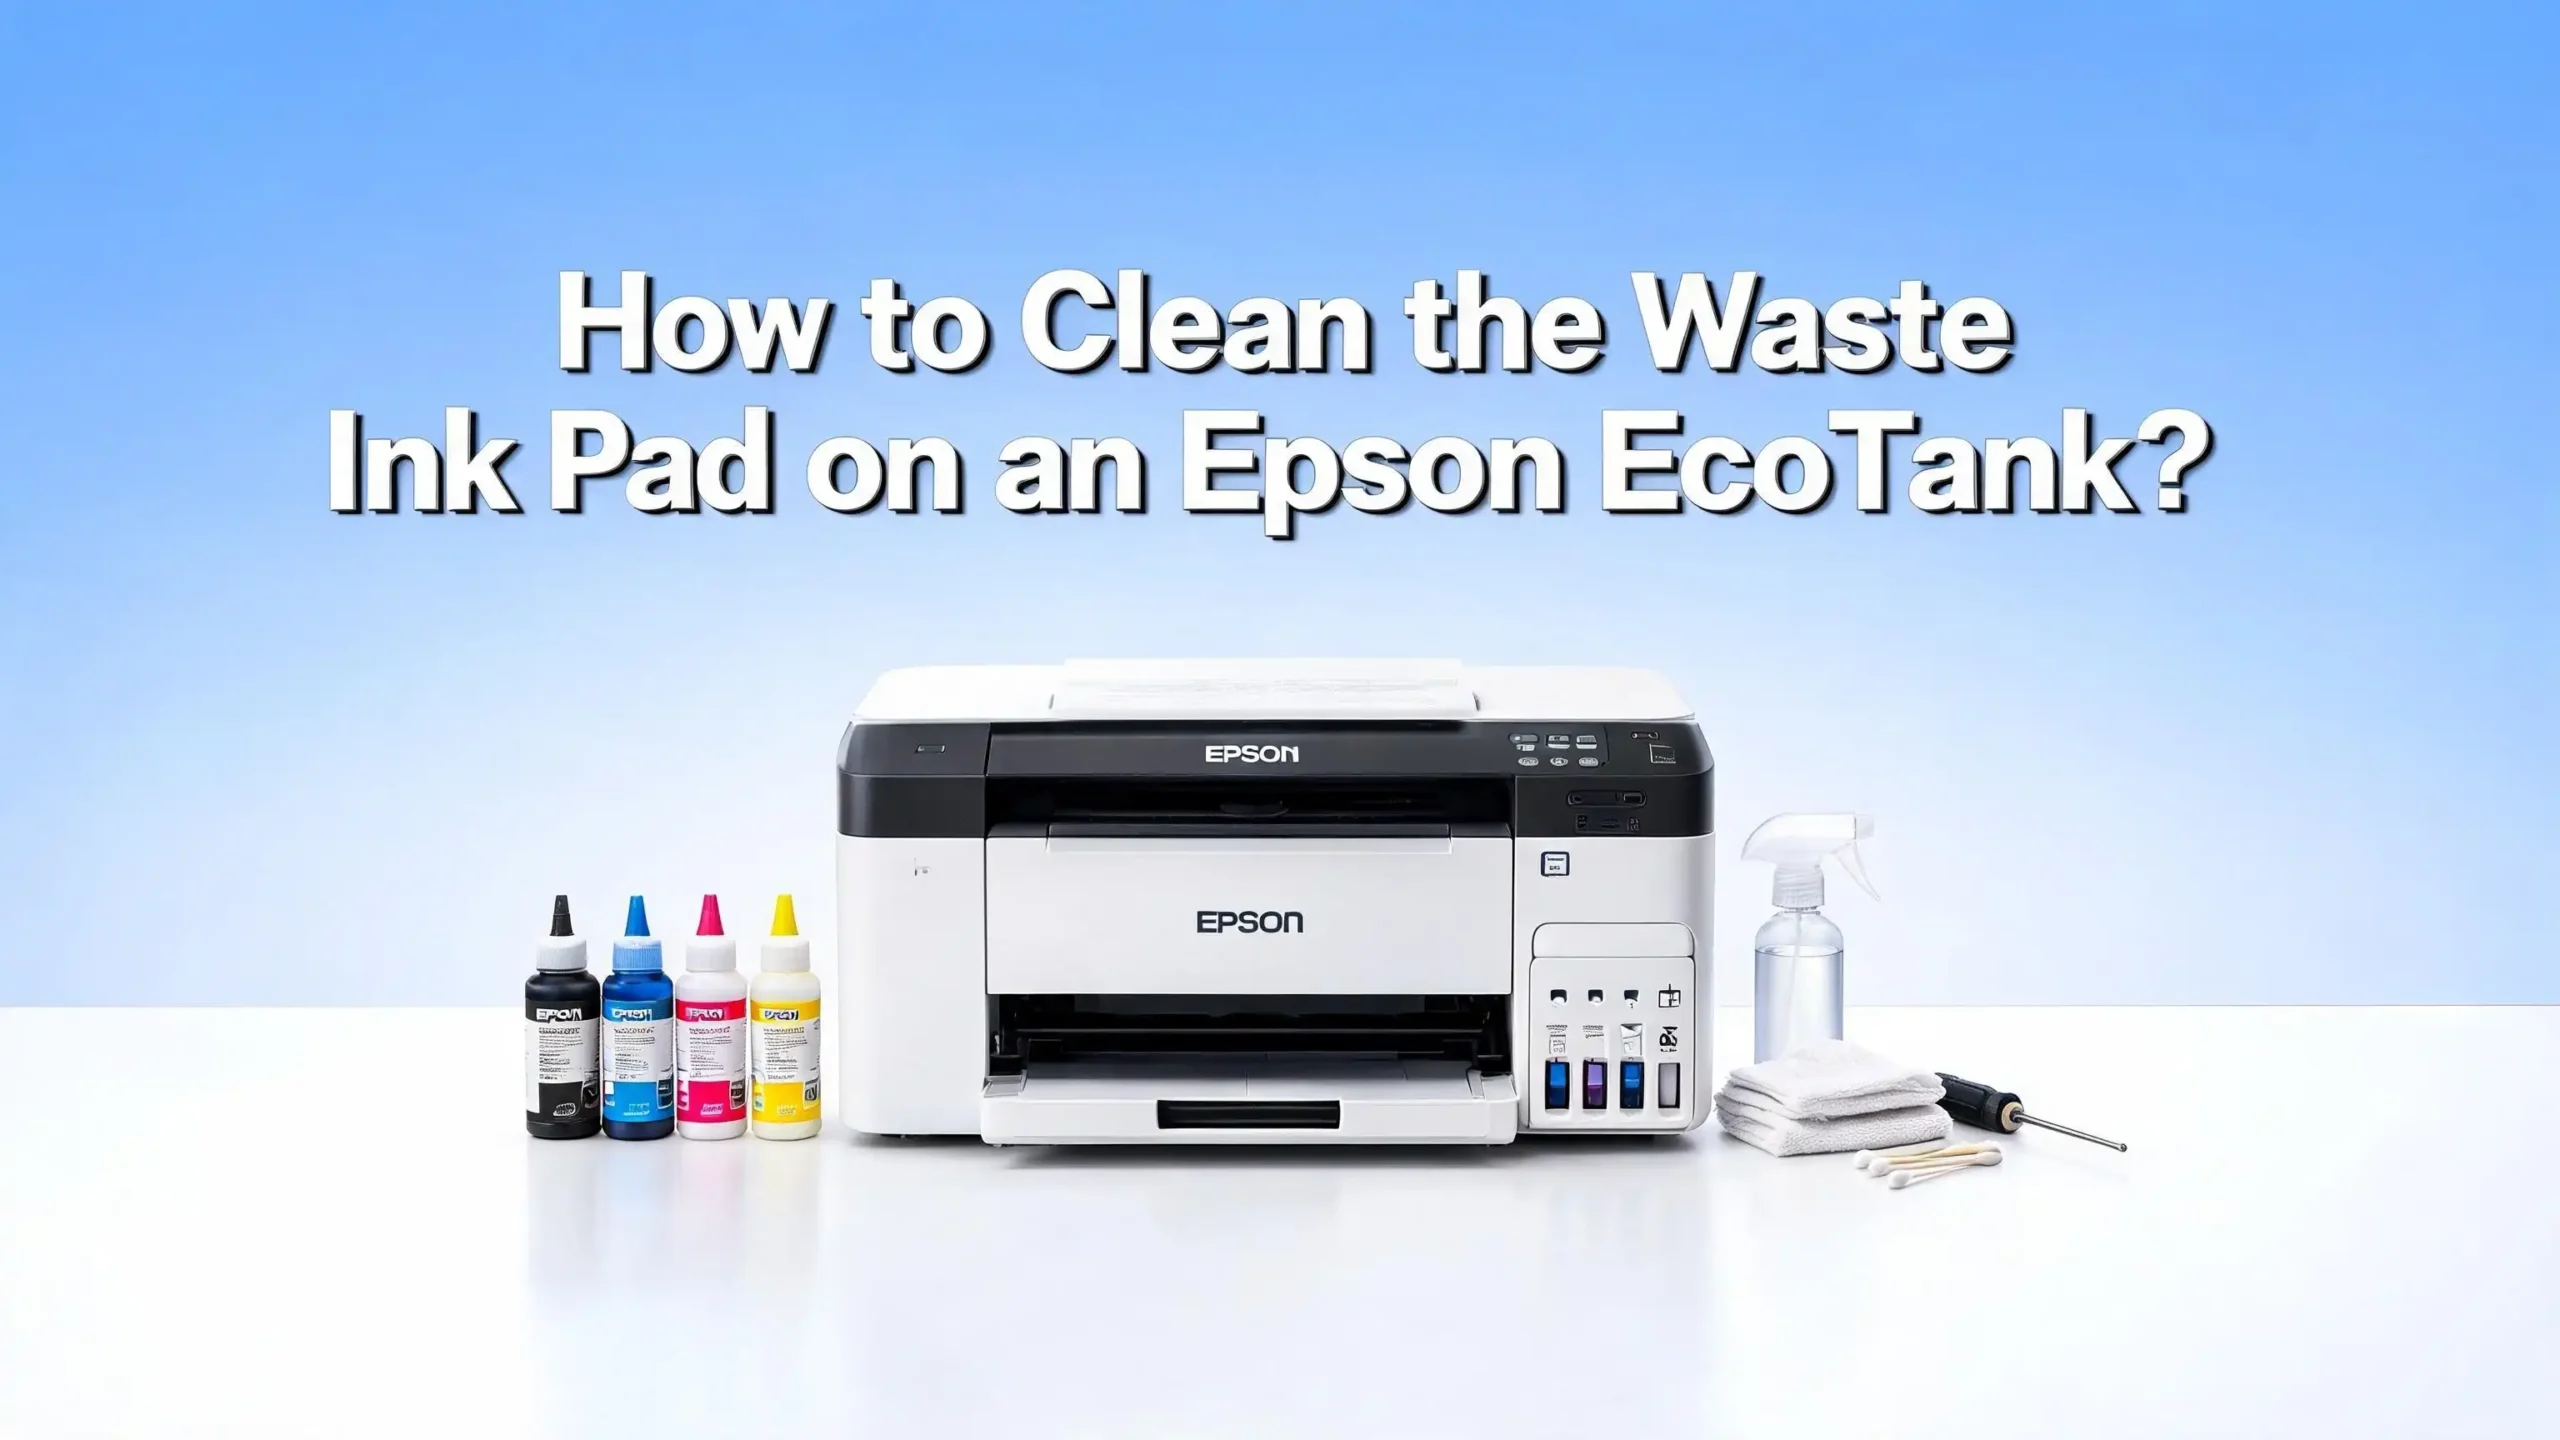
How to Clean the Waste Ink Pad on an Epson EcoTank?
If your Epson EcoTank just flashed a “Waste Ink Pad Full” or “Ink Pad Needs Service” message, you are not alone. Thousands of EcoTank users face this exact problem every day, and most of them think their printer is done for good. The truth is, it is not. Your printer is simply telling you that a small but important internal component needs your attention.
The waste ink pad is one of the most overlooked parts of any Epson printer. It silently absorbs all the excess ink during printing and cleaning cycles. Over time, it fills up and triggers an error that stops your printer dead in its tracks. The good news is that you can clean it, reset the counter, or replace the pad entirely, all from the comfort of your home.
This guide walks you through every step of the process. Whether your EcoTank is an ET-2800, ET-2720, ET-4800, or any similar model, the principles here apply directly to you. By the end of this post, you will know exactly how to deal with this problem, keep your printer running, and prevent the issue from returning too soon.
In a Nutshell
- The waste ink pad is a physical sponge-like component inside your Epson EcoTank that absorbs excess ink produced during printing and cleaning cycles. Once it becomes saturated, your printer will stop working until you take action.
- You have three main options to fix this problem: physically clean and dry the existing pad, replace it with a new one, or use a reset tool to clear the error counter after maintenance. Most users need to do both cleaning and resetting together.
- The WIC Reset Utility (or Epson Adjustment Program) is the standard software tool used to reset the waste ink counter after you have cleaned or replaced the pad. Without resetting the counter, your printer will continue showing the error even after physical cleaning.
- Cleaning the pad involves removing it carefully, rinsing it under warm water, and letting it dry completely for at least 24 hours before reinstalling it. Rushing the drying step is the most common mistake people make.
- Prevention is just as important as the fix. Reducing unnecessary head cleaning cycles, printing regularly, and keeping your printer firmware updated will significantly extend the life of your waste ink pad and delay the next service warning.
- Epson also offers an official ink pad replacement service through their support team for users who prefer not to do it themselves. This is a valid and safe option, especially if your printer is still under warranty.
What Is the Waste Ink Pad and Why Does It Matter?
The waste ink pad is a foam or felt-like absorbent material located inside your Epson EcoTank printer. Its job is to collect all the excess ink that gets flushed out during automatic cleaning cycles, head cleaning operations, and general printing maintenance. Every time your printer runs a self-cleaning routine or flushes ink through the print head to prevent clogging, that ink has to go somewhere. The waste ink pad is exactly where it goes.
Without this pad, excess ink would drip all over the internal components of your printer, causing serious and often irreversible damage. Think of it as the silent janitor of your printer, constantly cleaning up after every job without ever asking for recognition.
Over time, the pad absorbs so much ink that it reaches its physical limit. When that happens, your printer’s internal counter triggers an error message. The printer will not let you print again until the issue is resolved. This is not a design flaw. It is actually a safety measure to protect your printer from ink overflow and internal damage.
Understanding why this pad exists helps you take the right steps to fix it. The pad does not just hold ink. It plays a critical role in maintaining print quality and keeping the internal hardware clean. A saturated or improperly maintained pad can lead to ink leaking onto the circuit board, which can permanently damage your printer.
Most Epson EcoTank models locate the waste ink pad at the bottom or rear section of the printer. The pad is usually housed in a small plastic compartment that can be accessed by removing a panel or cover. Each model is slightly different in terms of access, but the concept and function remain the same across all EcoTank series printers.
How to Recognize That Your Waste Ink Pad Needs Attention
Your Epson EcoTank will give you several clear signals when the waste ink pad is approaching or has reached its capacity. Knowing these signs early can save you from a sudden printing stoppage at the worst possible moment.
The most obvious sign is an on-screen error message. Common messages include “Ink Pad Needs Service,” “Waste Ink Pad Full,” “Ink Pad End of Life,” or “Service Required.” These messages appear on your printer’s LCD screen or through the Epson software on your computer. Once this message appears, the printer usually locks itself and refuses to print.
Before the full error message appears, your printer may show a warning notification that the ink pad is nearing the end of its life. This is your early alert system, and you should act on it right away rather than waiting for a full lockout.
You may also notice print quality problems before any error message appears. Smudged prints, streaky lines, and blurry text can all point to a waste ink pad that is starting to overflow. When the pad gets too full, excess ink can migrate back toward the print head area and affect your output quality.
Another physical sign is visible ink staining on the underside of your printer or on the surface where you place it. If you see dark ink stains or wet marks under your EcoTank, the pad may already be overflowing. This is a serious sign that requires immediate action.
The frequency of your cleaning cycles also plays a role. If you notice your printer is running more automatic cleaning cycles than usual without improving print quality, the waste ink system may already be compromised. Each cleaning cycle deposits more ink into the pad, accelerating the problem.
Tools and Materials You Need Before Starting
Before you start the cleaning process, gathering the right tools and materials saves you time and keeps the process clean and safe. Walking through this job unprepared leads to ink spills and unnecessary frustration.
You will need disposable rubber or latex gloves to protect your hands from ink stains. Printer ink is notoriously difficult to remove from skin, so gloves are non-negotiable for this job. A pair of clean, lint-free cloths or paper towels is also essential for wiping down surfaces and handling the wet pad.
Have a small container or bowl filled with warm water ready. You will use this to rinse the saturated ink pad. Some users prefer to add a small amount of isopropyl alcohol to the water to help break down dried ink, but plain warm water works well for most standard cleaning jobs.
You will also need a Phillips-head or flathead screwdriver, depending on your specific EcoTank model. Most models use small Phillips screws to secure the panel covering the waste ink pad compartment. Check your model’s manual or a quick online search to confirm which type you need.
Prepare a clean dry surface or a tray lined with paper towels where you can place the wet pad during drying. You will also need a safe location where the pad can air dry for at least 24 hours without being disturbed.
Finally, make sure your computer is nearby and connected to the printer. After the physical cleaning is done, you will need to run a software reset tool to clear the internal counter. Having your computer ready before you start means you will not have to scramble for it halfway through the process.
Step-by-Step Guide to Physically Accessing the Waste Ink Pad
Accessing the waste ink pad requires careful handling. Rushing this step can crack the plastic housing or damage ribbon cables inside the printer. Follow these steps slowly and deliberately.
Step 1: Turn off your Epson EcoTank completely and unplug it from the wall outlet. Never work on an open printer while it is connected to power. This is a basic safety rule that protects both you and the hardware.
Step 2: Place the printer on a flat, stable surface with good lighting. Lay down a few layers of paper towels underneath to catch any ink that may drip when you open the printer.
Step 3: Identify the waste ink pad compartment. On most EcoTank models such as the ET-2800, ET-2720, and ET-4800, the compartment is located at the rear bottom of the printer. You will see one or two small screws holding a plastic cover panel in place.
Step 4: Use your screwdriver to remove the screws slowly. Set the screws aside in a small dish so you do not lose them. Gently lift or slide the cover panel off without forcing it.
Step 5: Inside the compartment, you will see one or more foam pads soaked with dark ink. These are your waste ink pads. Some models have a plastic tray beneath the pads. Note the arrangement of the pads before you remove them so you can reinstall them correctly.
Step 6: Using your gloved hands, carefully lift out the waste ink pads. Hold them over your paper towel-lined tray to catch dripping ink. Place them immediately into the warm water bowl you prepared earlier.
How to Clean the Waste Ink Pad Properly
Cleaning the waste ink pad is the core of this entire process. Doing it correctly means the pad can be reinstalled and will function well until the next maintenance cycle. Doing it poorly means shortened pad life and potential overflow issues.
Once the pads are in your bowl of warm water, gently swish them around to release the absorbed ink. You will see the water turn dark almost immediately. This is normal. The ink begins to release from the foam material as it rehydrates in the warm water.
After a few minutes of gentle swishing, remove the pads and hold them over the bowl. Gently squeeze the pads to push out as much saturated ink as possible. Do not twist or wring the pads aggressively. The foam material can tear or deform if you apply too much force, which would reduce its ability to absorb ink properly once it is back inside the printer.
Replace the water in the bowl with fresh warm water and repeat the swishing and gentle squeezing process. You may need to do this three to five times until the water runs significantly lighter in color. The pads do not need to be perfectly clean. The goal is to remove the bulk of the accumulated ink so the pad can absorb more going forward.
After the final rinse, gently press the pads between two layers of dry paper towels to remove excess moisture. Do not rub the surface of the foam. Just apply gentle, even pressure to absorb the surface water.
Place the pads on a clean, dry surface or a drying rack. Allow them to air dry for a full 24 to 48 hours. This is the most critical step that most people skip or rush. Reinstalling a damp pad will not only reduce its absorption capacity but can also introduce moisture into the printer’s internal components, which can cause electrical damage. Patience here pays off significantly.
How to Clean the Waste Ink Compartment Itself
While the pads are drying, take the time to clean the plastic compartment inside your printer. This step is often overlooked but is just as important as cleaning the pads themselves.
Use a dry paper towel or lint-free cloth to wipe down the interior of the waste ink compartment. You will likely find a layer of dried or semi-dried ink coating the walls and floor of the compartment. Removing this buildup prevents it from interfering with the new or cleaned pad’s fit and function.
For stubborn dried ink deposits, dampen a corner of your cloth or paper towel with a small amount of isopropyl alcohol. Isopropyl alcohol dissolves dried ink efficiently without leaving residue. Wipe the stained areas gently and allow the compartment to dry completely before reassembling.
Check the ink drainage channel, which is the small tube or groove that directs ink from the print head area down to the waste pad compartment. If this channel is partially blocked with dried ink, it can cause ink to back up and overflow before reaching the pad. Use a cotton swab lightly moistened with isopropyl alcohol to gently clean the inside of the drainage channel if it appears blocked.
Do not use water inside the printer compartment. Water can damage electronic components and leave mineral deposits that cause future problems. Stick to dry cloths or isopropyl alcohol-dampened materials for cleaning the inside of the printer. Once the compartment is clean and dry, it is ready for the pads to be reinstalled.
How to Reinstall the Waste Ink Pad Correctly
After the pads have dried completely, reinstallation is straightforward. However, placing the pads incorrectly can reduce their effectiveness and cause ink overflow, so attention to detail matters here.
Step 1: Confirm that the waste ink pads are completely dry by pressing them between your fingers. If you feel any dampness at all, wait a few more hours before proceeding. A dry pad should feel light and springy, similar to a clean dry sponge.
Step 2: Place the pads back into the compartment in the same orientation you found them. Some models have pads of different sizes or shapes for different sections of the compartment. If your printer has more than one pad, make sure each one goes back to its original position. Incorrect placement can leave gaps that allow ink to bypass the pad.
Step 3: Press the pads down firmly but gently to ensure they sit flat in the compartment. There should be no raised edges or folded corners. The pads should sit flush with the compartment walls.
Step 4: Replace the plastic cover panel and reinsert the screws. Tighten the screws firmly, but do not overtighten them, as the plastic housing can crack. The cover should sit flush with the rest of the printer body with no gaps.
Step 5: Place the printer back in its normal position and reconnect the power cable. Do not turn the printer on yet. You need to perform the software counter reset before powering up fully, which is covered in the next section.
How to Reset the Waste Ink Counter Using the WIC Reset Utility
Physically cleaning or replacing the waste ink pad is only half of the fix. Your printer’s internal software still remembers that the counter hit its maximum level. Until you reset this counter, the printer will continue showing the error message and refusing to print.
The most widely used tool for this is the WIC Reset Utility, available for free download from wic.support. This tool works with a wide range of Epson EcoTank models including the ET-2400, ET-2720, ET-2800, ET-4800, and many others. It is compatible with both Windows and macOS.
Step 1: Download the WIC Reset Utility from the official website and install it on your computer. Make sure you are downloading the latest version, as older versions may not support newer EcoTank models.
Step 2: Connect your Epson EcoTank to your computer using a USB cable. A USB connection is more reliable than Wi-Fi for running reset tools. Turn on the printer.
Step 3: Open the WIC Reset Utility. It will automatically detect your printer model. If it does not detect the printer, check that your printer driver is installed correctly and that the USB connection is secure.
Step 4: Click on “Read Waste Counters” to see the current ink pad saturation percentage. This confirms that the tool is communicating with your printer correctly.
Step 5: Click on “RESET Waste Counters.” The tool offers a free trial reset that resets the counter to 80%, which is useful for testing. A full reset to 0% requires a paid reset key, which is available directly from the WIC Reset website. The cost is minimal and well worth it compared to buying a new printer.
Step 6: Follow the on-screen prompts to complete the reset. The utility will instruct you to turn the printer off and back on at certain points during the process. Follow these instructions exactly. After the reset is complete, the error message should disappear and your printer should return to normal operation.
How to Use the Epson Adjustment Program as an Alternative Reset Method
The Epson Adjustment Program is another official and widely used tool for resetting the waste ink counter. It is the same type of software that Epson-authorized service centers use. It works similarly to the WIC Reset Utility but is model-specific, meaning you need to download the version that matches your exact EcoTank model.
Search for “Epson Adjustment Program” followed by your specific model number, for example “Epson Adjustment Program ET-2720” or “Epson Adjustment Program ET-4800.” The program is available through various trusted third-party service tool providers online.
Step 1: Download and extract the Adjustment Program files for your specific model. The program typically runs without installation. You just open the executable file directly.
Step 2: Connect your printer via USB and open the Adjustment Program. Select your printer model from the drop-down menu if prompted.
Step 3: Click on “Particular Adjustment Mode” in the menu. Then select “Waste Ink Pad Counter” from the list of available options.
Step 4: Click “Check” to view the current counter values for the main pad and the platen pad. You will see percentage values that confirm the pads are at or near 100%, which is why the error was triggered.
Step 5: Check the boxes next to “Main Pad Counter” and “Platen Pad Counter” and click “Initialization.” The program will reset both counters to zero.
Step 6: Click “Finish” and follow the prompt to turn the printer off and back on. After the restart, the printer should operate normally without any error messages. This confirms that both the physical cleaning and the counter reset were successful.
When to Replace the Waste Ink Pad Instead of Cleaning It
Cleaning and reinstalling the original pad works well in many cases, but there are situations where replacement is the better and safer choice. Knowing when to replace rather than clean saves you from repeating this process too soon.
Replace the pad if it has been cleaned multiple times already. Each cleaning cycle removes some of the foam material’s structural integrity. A pad that has been cleaned three or more times may no longer have the absorption capacity needed to do its job effectively. Installing a weakened pad creates overflow risks.
Replace the pad if you notice physical damage such as tears, crumbling edges, or compressed sections that no longer spring back. A damaged pad cannot absorb ink evenly and will reach saturation much faster than a healthy pad.
Also consider replacement if the pad is producing an unpleasant odor even after cleaning. A strong chemical smell from a cleaned pad can indicate bacterial growth or chemical breakdown of the foam material, both of which signal that the pad is past its useful life.
Replacement pads are available for most popular EcoTank models. They come in sizes and shapes specific to each printer model. When purchasing a replacement, confirm that it is compatible with your specific EcoTank model number. A pad that does not fit correctly will not seal properly inside the compartment, leading to leaks and new problems.
Installing a new pad follows the exact same steps as reinstalling a cleaned pad. The only difference is that you start with a fresh piece of foam instead of a rinsed and dried one. After installation, you still need to perform the software counter reset to clear the error message from your printer’s memory.
Common Mistakes to Avoid During the Cleaning Process
Even with clear step-by-step instructions, several common mistakes can turn a simple maintenance job into a bigger problem. Being aware of these pitfalls before you start makes the whole process smoother.
Reinstalling a wet pad is the single most common mistake. People get impatient after cleaning the pad and put it back before it is fully dry. A wet pad installed inside a warm printer can cause moisture damage to the circuit board and dramatically reduce the pad’s absorption capacity. Always allow a full 24 hours of drying time.
Skipping the counter reset is the second most frequent mistake. Some users clean or replace the pad, put the printer back together, and then wonder why it still shows an error. The physical pad and the software counter are two separate things. Fixing the pad without resetting the counter will leave your printer locked. You must do both.
Forcing the cover panel during disassembly or reassembly can crack the plastic and create permanent damage. If the panel feels stuck, check for hidden screws or clips that you may have missed. EcoTank models often have one or two securing clips in addition to the visible screws.
Not wearing gloves is another mistake that seems minor but leads to stubborn ink stains on your hands that can last for days. Always put on your gloves before handling any ink-soaked component.
Finally, using the wrong reset tool version is a surprisingly common problem. Make sure the WIC Reset Utility or Adjustment Program you download is the most current version and is compatible with your exact EcoTank model. Using an outdated or incompatible version can fail silently or even corrupt printer settings.
How to Prevent the Waste Ink Pad from Filling Up Too Fast
Prevention is always better than repair. A few simple habits can significantly extend the time between waste ink pad maintenance cycles and keep your EcoTank running smoothly for longer.
Reduce unnecessary head cleaning cycles. Every time you run a manual head cleaning from your printer settings, a significant amount of ink is flushed into the waste pad. Many users run multiple cleaning cycles in a row trying to fix streaky prints, not realizing each cycle pushes the pad closer to capacity. Try printing a nozzle check pattern first. If only one or two nozzles are blocked, a single cleaning cycle is usually enough.
Print regularly. EcoTank printers, like all inkjet printers, perform best when used consistently. If you leave the printer idle for weeks at a time, the print head nozzles can dry out and clog, forcing the printer to run extra cleaning cycles to clear the blockage. Even printing a simple test page once a week keeps the nozzles clear and reduces unnecessary ink waste.
Keep your printer firmware updated. Epson regularly releases firmware updates that improve the efficiency of ink management and cleaning cycles. Updated firmware can reduce the amount of ink wasted per cleaning cycle, which directly extends the life of your waste ink pad. Check for firmware updates through the Epson software on your computer or through the printer’s settings menu.
Consider using the printer’s draft or economy print mode for everyday documents. Lower ink coverage per page means less excess ink being flushed and a slower accumulation rate in the waste pad. Reserve high-quality print modes for important documents and photos where print quality truly matters.
What to Do If the Error Returns Immediately After Resetting
Sometimes the error message comes back almost immediately after you perform the reset. This is frustrating, but it usually points to one of a few specific causes that are straightforward to address.
The most common reason for an immediate return of the error is an incomplete counter reset. If the reset utility did not complete its process fully, the counter may not have been cleared all the way to zero. Open the reset utility again, re-read the counter values, and if they are still showing high percentages, run the reset process again. Make sure you follow the utility’s instructions exactly, including the required printer restarts.
Another cause is a damaged or incorrectly installed pad. If the pad was not seated properly or is not making full contact with the ink drainage channel, the printer’s sensors may detect that the overflow condition still exists. Open the compartment and check that the pad is sitting flat and fully covering the drainage area.
In some cases, the error returns because the underlying ink management firmware has a bug. Check Epson’s official website for firmware updates specific to your EcoTank model. An updated firmware version may resolve the counting and detection logic that is causing the error to return prematurely.
If you have tried all of these steps and the error persists, contact Epson support directly. Epson offers an ink pad replacement service where you ship the printer to them, they replace the pad and reset the counter professionally, and ship it back. This service may be the best option if your printer is still under warranty or if the repeated error suggests a deeper hardware issue that requires professional attention.
When to Contact Epson Support or a Certified Technician
Not every waste ink pad problem needs to be solved at home. There are clear situations where reaching out to Epson support or a certified local technician is the smarter and safer choice.
If your printer is still under warranty, performing DIY repairs can void the warranty. Check your warranty status before opening the printer. Epson’s warranty terms vary by model and region, but generally, unauthorized disassembly voids coverage. Contact Epson support first to ask about warranty-covered pad replacement options.
If you are uncomfortable disassembling your printer, that is also a completely valid reason to seek professional help. The pad compartment on most EcoTank models is accessible without removing major components, but some older or less common models require deeper disassembly. If you are unsure about any step, stop and call a technician.
Epson’s official support line in the United States is available at 562-276-1300, and Canadian customers can call 905-709-9475. Epson also offers a pad replacement mail-in service that includes round-trip shipping, which is a convenient option for users who prefer not to perform the repair themselves.
Local Epson-certified technicians can be found through Epson’s official service center locator tool on their website. Using a certified technician ensures the work is done with genuine parts and that your printer is handled by someone familiar with EcoTank hardware specifically.
The cost of professional service is almost always lower than the cost of a new printer. Unless your printer is very old or already experiencing multiple hardware problems, a professional ink pad replacement is a worthwhile investment that can add years to your printer’s usable life.
FAQs
What does the “Waste Ink Pad Full” error mean on an Epson EcoTank?
This error means the foam pad inside your printer that absorbs excess ink has reached its maximum capacity. The printer stops working as a safety measure to prevent ink from overflowing onto internal components. You need to either clean the pad, replace it, or contact Epson for service to continue printing.
Can I reset the waste ink counter without cleaning or replacing the pad?
You can technically reset the counter using a tool like the WIC Reset Utility without physically touching the pad. However, this only clears the error message temporarily. The pad itself remains saturated and will overflow, potentially damaging your printer. Always clean or replace the pad before or alongside resetting the counter.
How long does it take to clean the waste ink pad at home?
The actual hands-on cleaning process takes about 15 to 30 minutes. However, the pads must air dry for a minimum of 24 hours before you reinstall them. Factor in this drying time when planning the repair so you are not left without a printer unexpectedly.
Is the WIC Reset Utility safe to use on my Epson EcoTank?
The WIC Reset Utility is widely used by both individuals and professional technicians to reset waste ink counters on Epson printers. It is generally considered safe when downloaded from the official wic.support website and used correctly. Always use the correct version for your printer model and follow the on-screen instructions precisely.
How often will I need to clean the waste ink pad?
The frequency depends on how much you use your printer and how often you run cleaning cycles. With light daily use, the pad may last two to five years before needing attention. Heavy use with frequent cleaning cycles can shorten this to less than a year. Reducing unnecessary cleaning cycles and printing regularly will extend the interval between maintenance needs.
Can I use any foam material as a replacement waste ink pad?
It is strongly advised to use a replacement pad that is specifically designed for your Epson EcoTank model. Generic foam materials may not have the same ink absorption properties or physical dimensions as the original pad. Using an ill-fitting or low-absorbency pad can lead to ink overflow, poor printer performance, and potentially permanent hardware damage.
What happens if I ignore the waste ink pad error?
If you continue printing despite the error, the saturated pad will eventually overflow. Excess ink can leak onto the printer’s circuit board and internal components, causing irreversible electrical damage. This is why Epson programs the printer to stop when the error is triggered. Ignoring the warning significantly increases the risk of permanently destroying the printer.
Does Epson replace waste ink pads for free?
Epson’s standard warranty generally does not cover waste ink pad replacement, as pad saturation is considered a result of normal use rather than a manufacturing defect. However, Epson does offer a paid pad replacement service through their support team. Contact Epson directly at their official support number or website to inquire about current pricing and service options.

I’m the voice behind Device Dossier. As a printing technology enthusiast, I spend my time testing printers, comparing specs, and writing honest reviews to help you find the perfect printing solution. When I’m not geeking out over print quality and page yields, you’ll find me exploring the latest in tech.