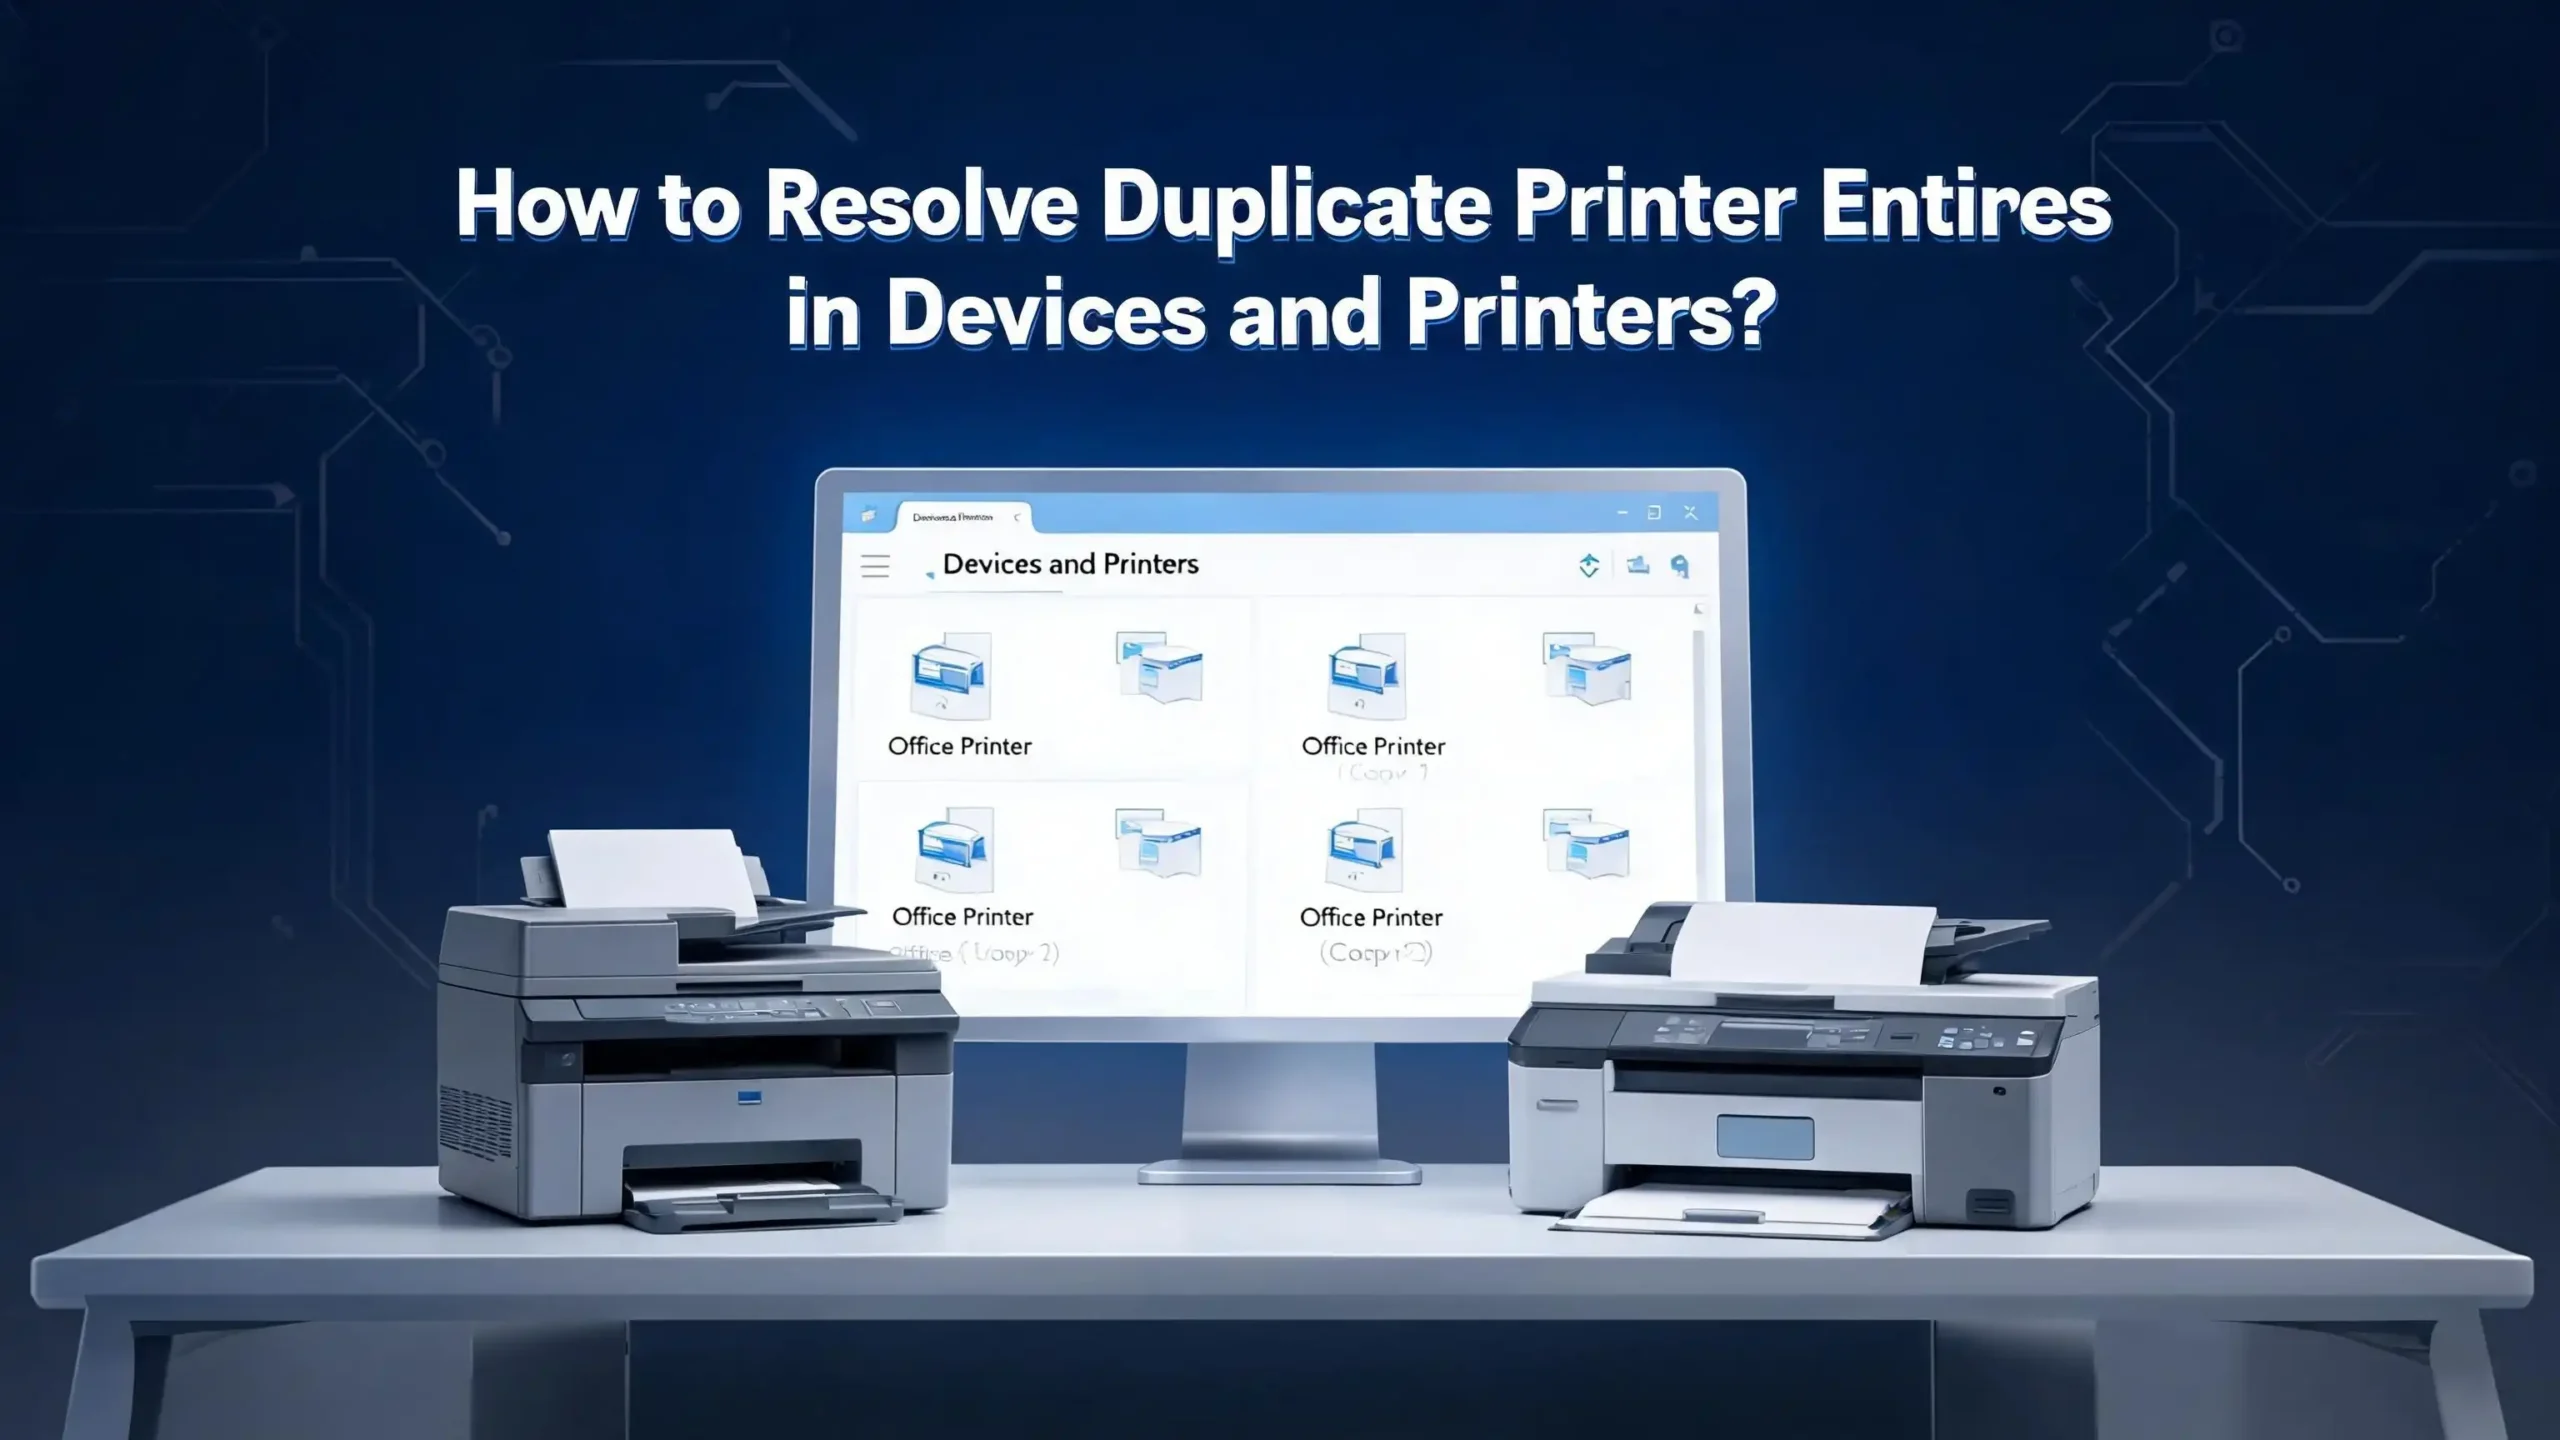
How to Resolve Duplicate Printer Entries in Devices and Printers?
Seeing the same printer listed two or three times inside the Devices and Printers window is frustrating. You click print, then a popup asks which copy you want to use. You pick one, but the job fails. You try the next copy, and it works. This back and forth wastes time every single day.
Duplicate printer entries happen on Windows 10 and Windows 11 more often than people think. The cause is usually simple, but the fix needs the right steps.
This guide walks you through every method that actually works, from quick clicks to deep registry edits. By the end, your printer list will look clean again, and your print jobs will route to the correct device on the first try.
In a Nutshell
- Duplicate printers usually appear because of WSD scanning, driver reinstalls, USB port changes, or wireless signals being picked up twice by your computer.
- The fastest fix is to stop the Print Spooler service, delete the extra entries, and restart the service so Windows refreshes the list cleanly.
- WSD (Web Services for Devices) is often the hidden cause. Turning it off on the printer’s web interface stops Windows from auto adding a second copy.
- Print Management Console (printmanagement.msc) shows hidden printer copies that the normal Settings page does not display. It is the best tool for cleanup.
- Registry cleanup is the last resort. It removes stuck entries that refuse to leave through normal methods.
- Prevention matters. After cleanup, disable auto driver installs and pin only one trusted entry to avoid the problem coming back.
Why Duplicate Printer Entries Show Up on Windows
Windows tries to be helpful. When it sees a printer, it adds it to your list. The problem is that Windows sometimes sees the same printer through two different paths and treats each path as a separate device.
A common cause is WSD, short for Web Services for Devices. This protocol lets Windows discover printers on the network automatically. If your printer also broadcasts itself through TCP/IP or Bonjour, you end up with two entries pointing to the same hardware.
USB port changes are another big reason. Plug your printer into USB port one today, then USB port three tomorrow, and Windows creates a second entry called “Printer (Copy 1).” It does not delete the first one.
Driver reinstalls also trigger duplicates. When you reinstall the driver without removing the old one, Windows registers a fresh copy. Wireless Direct signals from some HP and Canon models can also be picked up alongside the main Wi Fi connection. Each signal becomes its own listing.
Knowing the cause helps you pick the right fix. If the duplicate appeared after a driver update, the registry method works best. If it appeared after connecting to Wi Fi, WSD is the likely culprit. Read on to match your problem with the correct solution.
Check Your Current Printer List in Settings
Start with a clear view of what you are dealing with. Open the Settings app by pressing the Windows key plus the letter I. Click on Bluetooth and Devices, then click Printers and Scanners. You will see every printer Windows knows about.
Look carefully at the names. Duplicates often have small differences like “(Copy 1),” “(1),” or a slightly different model code. Sometimes the names look identical, but one is greyed out or marked offline. That greyed entry is usually the stale copy you want to remove.
Click on each printer to see its details. Note which one shows the correct status and recent print history. That is the entry you want to keep. The others can go.
Try clicking the unwanted entry and pressing Remove. If Windows lets you delete it, great. If you see an error saying “Cannot remove” or “Printer is in use,” do not panic. The next sections cover stronger methods that bypass these blocks.
Keep this Settings window open as a reference while you work through the fixes. You can refresh it after each step to see if the duplicate is gone. This first check often resolves simple cases in under two minutes.
Use Devices and Printers in the Classic Control Panel
The classic Control Panel still works in Windows 10 and Windows 11, and it sometimes shows printers that the new Settings app hides. Press the Windows key plus R, type control printers, and press Enter.
A window opens showing every printer with a large icon. This view is often clearer than the Settings page because it groups duplicates side by side. Right click the duplicate you want to remove and choose Remove Device.
If the right click menu does not show Remove Device, the printer is locked by a running service or pending print job. Cancel any jobs in the queue first. Double click the printer, click “See what’s printing,” then cancel everything inside that window.
After clearing the queue, try Remove Device again. Many users find that this single step clears the duplicate. The Control Panel method is gentle and does not require admin tools, which makes it safe for beginners.
If the entry still refuses to leave, write down its exact name. You will need that name later when you edit the registry or use PowerShell commands. Closing the window and reopening it sometimes refreshes the list and reveals whether the deletion worked.
Stop and Restart the Print Spooler Service
The Print Spooler is the Windows service that manages all print jobs and printer connections. When it gets stuck, it holds onto duplicate entries and refuses to release them. Restarting the service forces a clean refresh.
Press the Windows key plus R, type services.msc, and press Enter. Scroll down to find Print Spooler. Right click it and choose Stop. The service will pause within a few seconds.
Now open File Explorer and go to C:\Windows\System32\spool\PRINTERS. Delete every file inside this folder. These are stuck print jobs that may be locking your printer entries in place. Do not delete the PRINTERS folder itself, only the files inside it.
Go back to Services, right click Print Spooler again, and choose Start. The service will reload with a clean state. Now open Devices and Printers and check your list. Many duplicates vanish at this point because the spooler no longer holds them in memory.
If duplicates remain, the issue is deeper than a stuck service. Move on to the Print Management Console method next. Restarting the spooler is also useful before any other fix, so keep this trick in your back pocket for future printer problems.
Use the Print Management Console for Hidden Entries
The Print Management Console is a hidden Windows tool that shows every printer driver, port, and queue on your system. It often reveals duplicate entries that the Settings app and Control Panel both hide.
Press the Windows key plus R, type printmanagement.msc, and press Enter. If the tool does not open on Windows 10 Home or Windows 11 Home, you may need to enable it through Optional Features in Settings. Search for “Print Management” and install it.
Once the console opens, expand Print Servers on the left, then expand your computer name, and click All Printers. You will see a complete list, including ghost entries that other tools cannot see.
Right click any duplicate and choose Delete. This method works even on stubborn entries because the console talks directly to the print subsystem. After deleting, also check the Drivers section under the same Print Server. Old drivers can pull duplicates back into your list later.
Remove any drivers you no longer need by right clicking them and choosing Remove Driver Package. This step prevents Windows from auto adding the duplicate printer the next time you reboot. The Print Management Console is the most powerful built in tool for printer cleanup, so use it whenever simpler methods fail.
Turn Off WSD Scanning on Your Printer
WSD is the silent reason behind most duplicate printer problems. It broadcasts the printer to every Windows machine on the network, even when the printer is already added through a different method. Turning it off solves the issue at the source.
Open your printer’s web interface by typing its IP address into a browser. You can find the IP by printing a network configuration page from the printer’s menu, or by checking your router’s connected devices list.
Log in to the printer’s settings page. Look under Network, Protocols, or Services. Find the WSD option and disable it. Save the settings and reboot the printer. Some brands call it “WS Discovery” or “Web Services.” The exact name varies by manufacturer.
After WSD is off, go back to Windows and remove any duplicate entries from Devices and Printers. They should now stay removed instead of coming back after every restart. This fix is especially helpful for users with HP, Canon, Brother, and Epson network printers.
If you cannot find the WSD setting in the web interface, check your printer’s manual or the manufacturer’s support site. The exact location differs by model. Some older printers do not support WSD at all, so duplicates from those devices come from a different cause.
Remove Duplicates Through Device Manager
Device Manager is another place where duplicate printer entries hide. Sometimes the Devices and Printers window looks clean, but Device Manager still holds ghost copies that cause printing conflicts.
Press the Windows key plus X and choose Device Manager from the menu. At the top, click View and then click Show Hidden Devices. This step is critical because ghost printers are hidden by default.
Expand the Print Queues section and the Printers section. You may see faded icons next to duplicate entries. Those are stale devices that Windows remembers but no longer uses. Right click each faded entry and choose Uninstall Device.
A confirmation box appears. Check the option that says “Delete the driver software for this device” if it is available. This removes both the entry and its associated driver in one step. Click Uninstall and let Windows process the change.
After cleaning up Device Manager, reboot your computer. The reboot finalizes the removal and prevents Windows from restoring the ghost entries from its session cache. When the system comes back online, check Devices and Printers again. The duplicates should be gone for good.
This method is especially effective after USB port changes or driver reinstalls, because those are the events that create hidden ghost devices in the first place.
Edit the Windows Registry to Remove Stuck Printers
When every other method fails, the registry is the final stop. The registry stores printer entries in specific keys, and editing those keys removes printers that refuse to leave any other way. Back up the registry before you start.
Press the Windows key plus R, type regedit, and press Enter. Click File, then Export, and save a backup somewhere safe. Now navigate to this key: HKEY_LOCAL_MACHINE\SYSTEM\CurrentControlSet\Control\Print\Printers.
You will see a folder for each printer installed on your system. Find the folder that matches the duplicate’s name. Right click it and choose Delete. Confirm the deletion when Windows asks.
Before you reboot, also stop the Print Spooler service through services.msc. Editing the registry while the spooler is running can cause the entry to reappear. With the spooler stopped, delete the registry key, then start the spooler again.
Reboot your computer. Open Devices and Printers, and the stuck duplicate will be gone. This method is powerful but risky. Always export a backup first, and only delete keys that exactly match the duplicate name. If you delete the wrong key, you may break a working printer.
Registry editing is best for advanced users or when nothing else works. Most people never need to go this deep, but it is good to know the option exists.
Reinstall the Printer Driver from Scratch
Sometimes the cleanest fix is a full driver reinstall. Old driver versions create conflicts that produce duplicate entries every time you connect the printer. A fresh install with the latest driver removes the root cause.
First, remove every copy of the printer through Devices and Printers. Then open Print Server Properties by clicking any printer in the list and selecting “Print server properties” from the top toolbar. Go to the Drivers tab.
Select the driver for your printer model and click Remove. Choose “Remove driver and driver package.” This deletes both the driver and its installation files from your system. Confirm and let Windows process the removal.
Visit your printer manufacturer’s official support page. Search for your exact model and download the latest driver for your Windows version. Avoid third party driver sites because they often bundle outdated or modified files.
Run the downloaded installer and follow the prompts. The installer will detect your printer and add a single clean entry to Devices and Printers. After the install, do a test print to confirm everything works.
A fresh driver install also fixes other printer bugs like slow printing, missing options, and failed scans. Make this your default approach whenever you change printers, upgrade Windows, or move to a new computer.
Disable Automatic Driver Installation
Windows Update sometimes installs printer drivers automatically. When it does, you may end up with a second copy of a printer you already configured manually. Turning off auto install prevents this from happening.
Press the Windows key plus R, type sysdm.cpl, and press Enter. Click the Hardware tab, then click Device Installation Settings. A small window asks if you want Windows to download manufacturer apps and icons.
Choose No, then click Save Changes. This stops Windows from grabbing printer drivers from Windows Update in the background. You can still install drivers manually whenever you need them.
For extra control, also pause Windows Update for a week before reinstalling your printer. This gives you time to set up the device without interference. After your printer is working, you can resume updates safely.
If you manage multiple computers in an office, use Group Policy to enforce this setting across all machines. Open gpedit.msc, go to Computer Configuration, then Administrative Templates, then System, then Device Installation. Configure the policy named “Prevent device metadata retrieval from the Internet.”
This step is more about prevention than repair. Once your duplicates are cleared, this setting keeps them from coming back. It is the long term solution that protects your clean printer list for months and years to come.
Set the Correct Printer as Default
After cleanup, Windows may still route jobs to the wrong copy of your printer if the default is set incorrectly. Setting the right default makes sure every app uses the correct entry without asking.
Open Settings, go to Bluetooth and Devices, then Printers and Scanners. Find the option that says “Let Windows manage my default printer” and turn it off. This setting auto switches the default based on your location, which can cause confusion.
With the auto setting off, click on the printer you want as your main device. Click the Set as Default button at the top of its details page. A green check mark appears next to its name.
Test the new default by opening any app like Notepad or your browser and pressing Control plus P. The print dialog should show your chosen printer at the top of the list. If it does, the fix is complete.
For shared office printers, ask your IT team to push the default through Group Policy or a login script. This keeps every user pointed at the right device without manual setup.
A correctly set default also speeds up print jobs because Windows no longer pauses to ask which printer to use. Combined with the cleanup steps above, this final touch gives you a smooth printing experience every day.
Frequently Asked Questions
Why does my printer keep adding itself twice in Windows 11?
This usually happens because of WSD network discovery or because the printer connects through both USB and Wi Fi at the same time. Windows treats each connection as a separate device. Turn off WSD in the printer’s web interface and pick one connection method to stop the duplicates.
Can I delete duplicate printer entries without admin rights?
No. Removing printers through Devices and Printers, the Print Management Console, or the registry requires administrator privileges. Ask your IT admin to help, or log in to an account that has admin rights before you start the cleanup.
Will restarting my computer remove duplicate printer entries?
A restart alone usually does not remove duplicates. It can refresh the Print Spooler and clear stuck jobs, which sometimes hides the duplicates temporarily, but the entries return after the next print job. Use the steps in this guide for a permanent fix.
Is it safe to edit the registry to remove a printer?
Yes, if you back up the registry first and only delete keys that match the exact printer name you want to remove. Always stop the Print Spooler service before editing, and reboot after the change. If you are unsure, try the Print Management Console method first.
How do I stop Windows from reinstalling the duplicate printer?
Disable automatic driver installation through System Properties under the Hardware tab. Also turn off WSD on your printer and remove the old driver package through Print Server Properties. These three steps together stop Windows from rebuilding the duplicate entry.
Does the Print Management Console work on Windows Home editions?
The console is not installed by default on Windows 10 Home or Windows 11 Home, but you can add it through Optional Features in Settings. Search for “Print Management” in the optional features list and install it. After install, run printmanagement.msc as usual.
I’m the voice behind Device Dossier. As a printing technology enthusiast, I spend my time testing printers, comparing specs, and writing honest reviews to help you find the perfect printing solution. When I’m not geeking out over print quality and page yields, you’ll find me exploring the latest in tech.