How to Fix Crooked Printing on Cardstock and Thick Paper?
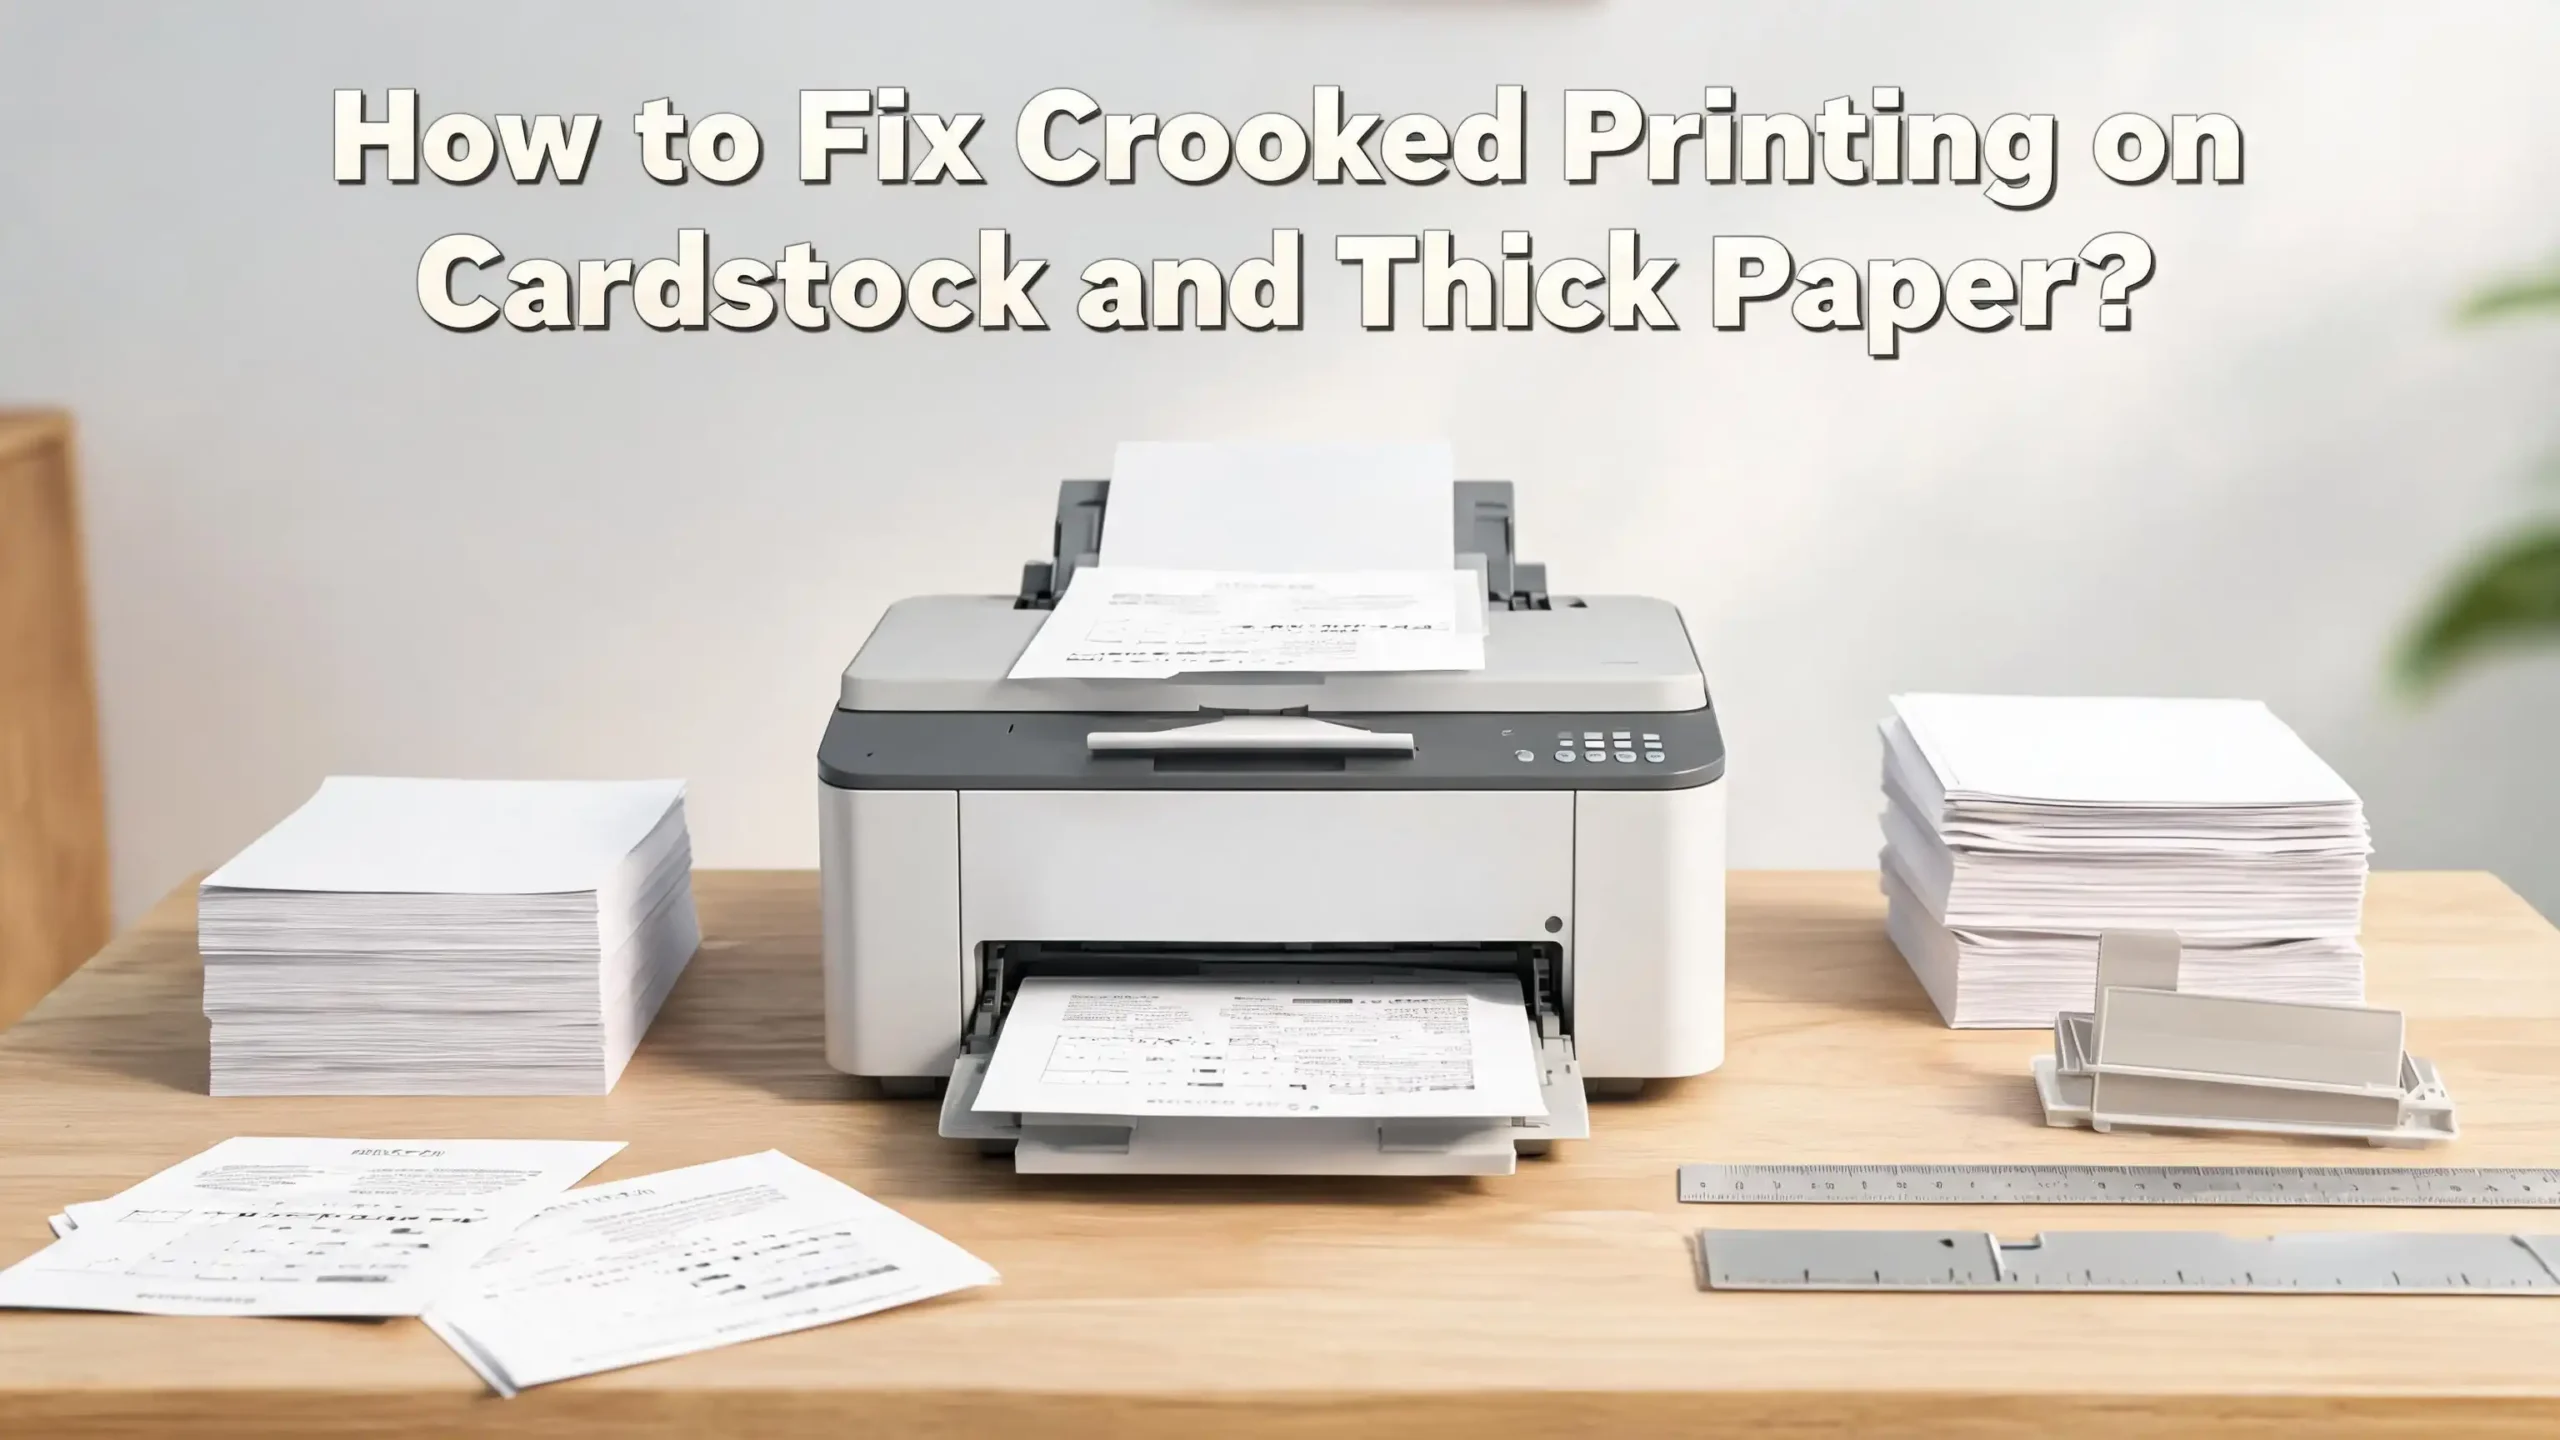
You load a fresh stack of cardstock into your printer, hit print, and the result comes out tilted, skewed, or completely off-center. Frustrating, right? You are not alone. Crooked printing on cardstock and thick paper is one of the most common printing problems people face at home and in offices.
The good news is that most of the causes behind this issue are fixable without calling a technician.
This guide walks you through every step. It covers why thick paper causes skewed prints, how to adjust your printer settings, how to clean your rollers, and what to do when the basics are not enough.
By the end, you will know exactly how to tackle crooked printing on cardstock and thick paper like a pro.
In a Nutshell
- Dirty or worn rollers are the number one cause of crooked printing on cardstock. Dust and residue reduce grip and cause the paper to feed at an angle, so cleaning the rollers is often the first and most effective fix.
- Incorrect paper guides allow thick paper to shift inside the tray before it even reaches the print zone. Always snug your side guides firmly but gently against the paper stack.
- Wrong printer driver settings cause the printer to handle cardstock as if it were thin copy paper. Setting the paper type to “heavy,” “cardstock,” or “thick paper” in your driver changes how the feed mechanism handles the media.
- Using the manual feed or rear tray instead of the main cassette tray is often the single most effective solution for thick cardstock, because the paper path is shorter and straighter.
- Curled or warped cardstock feeds crooked every time. Flat, properly stored cardstock feeds straight. Always check and flatten your paper before loading it.
- Print head misalignment and firmware issues can also cause skewed output. Running a calibration page and updating your printer’s drivers are important steps to check when all other fixes fail.
Why Cardstock and Thick Paper Cause Crooked Printing?
Cardstock and thick paper behave very differently from standard copy paper inside a printer. Standard 20 lb or 75 gsm paper is lightweight and flexible, so it follows the internal rollers and guides with minimal resistance. Cardstock, which typically ranges from 65 lb (176 gsm) to 130 lb (350 gsm), is heavier and stiffer.
That stiffness means the paper resists bending as it moves through curves and turns inside the feed path. When the paper hits resistance from the feed rollers or guide walls, it can shift sideways, causing the printed output to appear angled or off-center. This is called paper feed skew, and it is the most common type of crooked printing.
Thick paper also presses harder against the feed rollers. If those rollers have dust, ink residue, or general wear on them, their grip becomes uneven. One side of the paper catches more than the other, and the paper enters the print zone at an angle. Even a small angle at the entry point creates a noticeably crooked print on the final page.
Additionally, most standard paper trays are designed with lighter paper in mind. The plastic guides inside the tray may not hold thick cardstock as firmly. This allows cardstock to shift and tilt slightly before it even starts feeding through the printer mechanism. Understanding these root causes is important before you start applying solutions.
Check Your Paper Guides First
The paper guide is the first thing you should check whenever you see crooked prints on cardstock. Paper guides are the small adjustable plastic walls inside your printer tray that hold the paper in position. If they are set too loosely, the paper wobbles and enters the printer at an angle.
Here is how to check and adjust them correctly:
- Remove your paper tray completely from the printer and place it on a flat surface.
- Take out all of the cardstock from the tray.
- Slide both the side guides and the rear guide all the way out to their widest position.
- Fan your cardstock sheets by bending them back and forth gently to loosen them, then tap them on a flat surface to even up the edges.
- Load the cardstock back into the tray with the edges flush and even.
- Slide the side guides back in until they rest firmly but gently against both sides of the paper stack. The guide should hold the paper without bending or compressing it.
- Set the rear guide so it touches the back edge of the paper stack without pushing the stack forward.
The side guides should not be too loose or too tight. Too loose allows the paper to shift. Too tight causes the paper to buckle or resist feeding, which also creates a skewed print. This one adjustment alone solves many crooked printing issues on cardstock.
Clean the Printer Rollers Properly
Dirty rollers are one of the most common and overlooked reasons for crooked cardstock printing. Rollers pick up paper from the tray and move it through the printer using friction and grip. Over time, paper dust, ink residue, and debris accumulate on roller surfaces, reducing their grip unevenly.
When one side of the roller has more grip than the other, the paper feeds in crooked. This problem is especially noticeable with cardstock because heavier paper relies more heavily on roller grip than light paper does.
Here is how to clean your printer rollers step by step:
- Turn off your printer and unplug it from the power source.
- Open the access panels according to your printer’s manual to reach the feed rollers.
- Dampen a lint-free cloth or cotton swab with water or isopropyl alcohol (not dripping wet).
- Gently wipe each roller while rotating it manually to clean the entire surface.
- Do not use canned air alone to clean rollers, as it only blows dust around without removing stuck residue.
- Allow the rollers to dry completely before closing the printer and plugging it back in.
- Print a test page to check if the skew has improved.
If the rollers look visibly worn, cracked, or glazed even after cleaning, they may need replacement. Worn rollers cannot be fixed by cleaning alone. Replacement roller kits are available for most popular printer models and are relatively straightforward to install.
Use the Manual Feed Slot or Rear Tray
One of the most effective fixes for crooked cardstock printing is switching from the main paper tray to the manual feed slot or rear feed tray. This works because the paper path through the manual feed slot is much shorter and straighter than the curved path through the main cassette.
When cardstock travels through the main tray, it must navigate a long curved path inside the printer. That curve creates multiple points where the heavy paper can resist, shift, or tilt. The rear or manual feed slot feeds the paper in almost horizontally, which dramatically reduces the chance of skewing.
To use the manual feed slot:
- Open your printer’s manual feed or rear feed tray.
- Load your cardstock one sheet at a time (or in a small stack depending on your printer’s capacity).
- Adjust the manual feed guides to fit the width of your cardstock snugly.
- Go to your printer settings and change the paper source to “manual feed” or “rear tray” before printing.
- Feed the paper face-up in most printers, but always verify this with your printer manual.
Many users report that switching to the rear feed slot immediately eliminates the crooked printing problem on cardstock, even when roller cleaning and guide adjustments alone did not fully solve it. This is especially true for cardstock heavier than 110 lb (300 gsm).
Select the Correct Paper Type in Printer Settings
Choosing the right paper type in your printer driver settings is a step that many users skip, but it has a significant impact on print quality and alignment. When you tell your printer you are using cardstock or heavy paper, it adjusts several mechanical behaviors to handle the thicker media correctly.
These adjustments include increasing roller pressure, slowing down the paper feed speed, and raising the print head gap to account for the extra thickness. When the wrong media type is selected, the printer handles your cardstock as if it were plain paper, and the result is often skewed or misaligned prints.
Here is how to select the correct paper type:
- Open the document or image you want to print.
- Go to File > Print, then click “Printer Properties,” “Preferences,” or “Advanced Settings.”
- Find the “Paper Type,” “Media Type,” or “Print Media” option.
- Select options such as “Heavy Paper,” “Cardstock,” “Thick Paper,” “Index Card,” or “Card” depending on your printer brand.
- Also confirm that the paper size matches your actual cardstock size.
- Click OK and then print.
Most home and office inkjet printers support cardstock up to 65 lb (176 gsm) through the main tray. For heavier cardstock, laser printers or printers with dedicated thick paper settings handle the job more reliably. Always check your printer’s specifications for the maximum supported paper weight.
Flatten Curled or Warped Cardstock Before Printing
Curled or warped cardstock is a hidden cause of crooked printing that many people overlook. A sheet of cardstock that is not perfectly flat will not feed straight through your printer’s roller system. The curl creates uneven contact with the feed rollers, causing the paper to skew as it enters the print zone.
Cardstock can curl for several reasons. Humidity and temperature changes in storage cause the paper fibers to expand and contract unevenly. Paper stored near vents, windows, or in humid basements is especially prone to curling. Cardstock that has already been through a printer once may also develop a curl from heat exposure in laser printers.
Here is how to flatten curled cardstock before printing:
- Place the warped cardstock on a flat, hard surface with the curl facing downward.
- Stack a few heavy books or flat objects on top of the paper and leave it for 30 to 60 minutes.
- For persistent curl, place the cardstock between two sheets of plain paper and run a household iron over it on a low to medium heat setting with no steam.
- Allow the paper to cool completely before loading it into the printer.
To prevent future curling, store your cardstock flat in a cool, dry location away from direct sunlight and humidity. Keep it in its original sealed packaging until you are ready to use it. Avoid storing cardstock near heating or air conditioning vents.
Run a Printer Alignment or Calibration Test
If your cardstock is flat, your guides are set correctly, and your rollers are clean, but the printing is still crooked, the problem may be with your printer’s internal alignment calibration. Most printers have a built-in alignment function that adjusts how the print head and paper interact to produce straight, accurate output.
Print head alignment ensures that the print head moves at the correct angle relative to the paper feed direction. Over time, vibrations, firmware updates, or mechanical wear can cause this alignment to drift, leading to skewed or misaligned prints.
Here is how to run an alignment or calibration test on most printers:
- Go to your printer’s control panel or the printer software on your computer.
- Look for “Maintenance,” “Tools,” or “Printer Settings.”
- Select “Print Head Alignment,” “Calibration,” or “Alignment Test.”
- The printer will print an alignment page with a grid or pattern of lines.
- Follow the on-screen or on-page instructions to identify the best-aligned pattern and enter the corresponding number or letter.
- Save the settings and print a test page to confirm the improvement.
For HP printers, this is usually found under Settings > Printer Maintenance > Align Print Cartridges. For Canon printers, go to Maintenance > Print Head Alignment. For Brother printers, go to Settings > All Settings > Printer > Alignment. The exact menu path varies by model, so consult your printer manual if you cannot locate it.
Update or Reinstall Your Printer Driver
An outdated or corrupted printer driver can cause all kinds of print quality problems, including crooked output on cardstock. Your printer driver is the software that translates your document into instructions the printer can execute. If the driver has bugs or is not compatible with your current operating system, it may send incorrect paper handling commands to the printer.
Keeping your printer driver updated ensures the printer uses the most current and accurate settings for paper handling, especially for specialty media like cardstock.
Here is how to update your printer driver:
- On Windows, open Device Manager, right-click your printer, and select “Update Driver.” Alternatively, visit your printer manufacturer’s website (HP, Canon, Epson, Brother, etc.) and search for your specific model to download the latest driver.
- On Mac, go to System Settings > Printers & Scanners, remove the printer, then re-add it to install the current driver automatically.
- After installing the updated driver, restart your computer and printer.
- Test print on a sheet of cardstock to see if the issue is resolved.
If updating does not fix the problem, try uninstalling and completely reinstalling the driver. A fresh driver installation removes corrupted files and replaces them with clean, working versions. This step is often overlooked but resolves many mysterious print alignment issues.
Reduce the Stack Size in the Tray
Loading too many sheets of cardstock into the paper tray at once is a common mistake that causes feeding problems. Unlike standard paper, cardstock stacks are much thicker and heavier. A full tray of cardstock can exceed the tray’s design limits, causing the sheets to press against the guides too firmly or shift during feeding.
When too many sheets are loaded, the bottom sheets in the stack may get wedged or misaligned while the printer tries to pull a single sheet from the pile. This creates a slight angle at the point of contact with the pick roller, and the result is a crooked print.
Here is what to do:
- Check your printer’s manual for the maximum paper thickness or weight the tray supports for cardstock.
- As a general rule, load no more than 10 to 20 sheets of cardstock at a time in the main tray.
- For very heavy cardstock (above 90 lb or 240 gsm), consider loading only 5 to 10 sheets at a time.
- For the manual feed slot, load sheets individually or in small batches of 2 to 3 sheets.
- After loading, gently press down on the stack to confirm it sits flat and level in the tray.
Printing in smaller batches takes a little more time but produces consistently straight, clean results. It also reduces the risk of paper jams, which can cause additional alignment problems.
Check for Paper Dust and Debris Inside the Printer
Paper dust and debris build up inside your printer over time, especially when you regularly use cardstock and heavier media. Cardstock produces more paper dust per sheet than standard copy paper because of its denser fiber composition. This dust settles on rollers, guide rails, and inside the paper path, creating uneven surfaces that cause skewed feeding.
Beyond the rollers, small pieces of torn paper or bits of cardstock can lodge inside the printer and act as obstacles that deflect sheets as they feed through. Even a tiny fragment of paper in the wrong spot can cause the paper to shift sideways.
Here is how to clean inside your printer:
- Turn the printer off and unplug it.
- Open all available access panels and doors.
- Use a soft, dry, lint-free cloth to wipe down the inside surfaces you can reach.
- Use a flashlight to look inside the paper path for small paper fragments or debris.
- Gently remove any visible paper pieces with tweezers or your fingers, being careful not to damage any components.
- Do not use compressed air directed into the paper path, as it can push debris deeper into the mechanism.
- Close all panels, plug the printer back in, and test print on cardstock.
Regular internal cleaning every few months keeps your printer feeding accurately and extends the life of the rollers and other internal parts.
Test with Different Cardstock Weights
Not all cardstock is created equal, and not all printers handle every weight of cardstock well. If your printer consistently prints crooked on a specific type of cardstock, the issue may be that the cardstock is simply too heavy or too stiff for your printer model.
Most home inkjet printers handle cardstock up to 65 lb (176 gsm) reliably. Some mid-range inkjet and laser printers can handle up to 90 lb (243 gsm). Professional-grade laser printers can often handle 110 lb (300 gsm) or heavier through the bypass tray. Trying to push cardstock beyond your printer’s rated capacity almost always results in skewing, jamming, or feed errors.
Here is a practical testing approach:
- Test with 65 lb (176 gsm) cardstock first. This weight works well with the widest range of home printers.
- If you need heavier stock, move to 80 lb (216 gsm) and test again.
- Compare results between the main tray and the manual feed slot for each weight.
- Note which weight produces the straightest, most consistent results for your specific printer.
Using cardstock within your printer’s recommended weight range is the simplest long-term solution to persistent crooked printing issues. If your project requires very heavy cardstock and your printer cannot handle it, consider using a local print shop with professional equipment that handles heavy media accurately.
Enable Thick Paper Mode or Straight Paper Path Setting
Many modern printers include a specific setting for thick media called Thick Paper Mode, Heavy Media Mode, or Straight Paper Path. This setting changes how the printer physically handles paper by reducing roller pressure, adjusting feed speed, and reconfiguring the internal paper path. When enabled, the printer treats thick paper gently and consistently, which prevents skewing and jams.
Some laser printers also have a straight-through paper path that allows cardstock to exit through the back of the printer instead of curling up through the output tray. This eliminates the paper having to navigate a curved exit path, which is one of the final points where skewing can occur.
Here is how to find and enable this setting:
- On your printer’s control panel, look for a “Paper Type” or “Media” menu and select “Thick” or “Heavy.”
- In your printer driver on Windows, go to Properties > Advanced > Paper Type and select “Heavy” or “Cardstock.”
- For Brother printers, go to the Manual Feed Slot settings and enable Thick Paper.
- For Canon and Epson printers, look for “Paper Handling” in advanced print settings and select “Card Stock” or “Heavy Paper.”
- If your laser printer has a rear exit tray, open it and enable straight-path output for thick media.
Enabling thick paper mode can noticeably improve alignment, reduce curl, and produce cleaner prints with far less effort than mechanical adjustments. Always start here before diving into more involved fixes.
Address Duplex Printing Skew on Cardstock
Double-sided or duplex printing on cardstock creates a specific type of crooked printing problem. When cardstock goes through the printer a second time for the back side, it has already been slightly deformed by heat or moisture from the first pass. The stiffness of the paper also makes it harder for the printer’s duplex mechanism to re-grip and feed the sheet straight on the second pass.
Many users notice that the front side of their cardstock prints perfectly straight, but the back side comes out at an angle. This is almost always a duplex feed issue, not a general alignment problem.
Here is how to handle duplex printing on cardstock:
- Avoid using the automatic duplex feature for cardstock. Most printer manufacturers do not officially support auto-duplexing on cardstock.
- Print the front side of all your sheets first. Let them cool for a few minutes after printing.
- Manually flip the sheets and reload them in the correct orientation for the second pass.
- Load the sheets through the manual feed slot for the second pass, feeding them one at a time.
- Reduce your print stack to no more than 5 sheets at a time when doing manual duplex on cardstock.
Manual duplexing takes more effort but gives you far greater control over alignment and prevents the skewing and misfeeding that automatic duplexing causes with thick paper.
When to Seek Professional Printer Service
Most crooked printing issues on cardstock are fixable with the steps above. However, there are situations where the problem requires professional attention. If you have tried every fix in this guide and the printing is still consistently skewed, the printer may have a mechanical issue that is beyond standard user maintenance.
Signs that your printer may need professional service include:
- Visible cracks, chips, or wear marks on the feed rollers that do not improve with cleaning.
- Paper feed skew that occurs even with standard copy paper, not just cardstock.
- Grinding, scraping, or unusual sounds during the paper feed cycle.
- Error messages related to paper feed or media handling that appear repeatedly.
- Print head skew that persists even after running the alignment calibration multiple times.
In these cases, the feed rollers, paper alignment assembly, or print head unit may need physical adjustment or replacement by a qualified technician. For high-volume printers or professional equipment, the cost of a service call is usually far less than the cost of replacing the printer entirely.
Before scheduling a service, check if your printer is still under warranty. Most manufacturers cover mechanical faults within the warranty period, so you may be able to get it repaired or replaced at no cost.
Tips to Prevent Crooked Printing on Cardstock in the Future
Prevention is always better than repair. Once you have fixed your crooked printing issue, a few good habits will keep it from coming back. These tips are simple and take very little time, but they make a big difference in the long-term consistency of your cardstock printing.
- Store cardstock flat and in sealed packaging in a cool, dry location. Humidity and heat are the main causes of curl and warping, which lead to skewed feeds.
- Clean your printer rollers every 2 to 3 months if you regularly print on cardstock or heavy media. A quick cleaning session prevents dust buildup before it becomes a feeding problem.
- Use the correct paper type setting every time you print on cardstock. Never print cardstock with the driver set to “Plain Paper,” as the printer will not optimize its feed behavior for thick media.
- Do not overfill the paper tray with cardstock. Keep stack sizes small to prevent the paper from shifting before feeding.
- Fan and straighten your cardstock sheets before every loading session. This simple step separates any sheets that may have stuck together and ensures the edges are flush.
- Use the manual feed slot for cardstock heavier than 90 lb (243 gsm) to take advantage of the shorter, straighter paper path.
Following these habits consistently will dramatically reduce the frequency of crooked printing issues and extend the overall life of your printer’s internal components.
Frequently Asked Questions
Why does my cardstock always print at an angle even though I load it straight?
The most common reason is that your printer’s side guides are not fitted snugly enough against the cardstock stack. Even a 1 mm gap can allow the paper to shift as it feeds into the printer mechanism, which creates a visible angle on the final print. Check your paper guide adjustment and also clean your feed rollers, as dirty rollers grip the paper unevenly and cause the same problem.
Can I use the automatic duplex feature with cardstock?
Most printer manufacturers do not officially support automatic duplexing with cardstock because the stiffness of the paper prevents the duplex mechanism from re-gripping and feeding it straight on the second pass. It is safer to print one side manually, let the sheets cool, flip them yourself, and then run them through again using the manual feed slot.
What is the best weight of cardstock for a standard home printer?
Most home inkjet printers handle 65 lb (176 gsm) cardstock most reliably. Some models can handle up to 80 lb (216 gsm) through the main tray. For cardstock heavier than that, use the manual feed or rear tray, and confirm your printer’s maximum supported weight in its specifications manual. Going beyond the rated limit causes consistent skewing, jamming, and potential damage to the rollers.
How do I know if my printer rollers need replacing and not just cleaning?
If you clean your rollers thoroughly and the skewing issue continues, physically inspect the rollers. Signs that they need replacement include visible cracks, flat spots, a shiny or glazed surface, or a hard plastic feel where there should be rubber grip. Worn rollers cannot regain their grip through cleaning alone and need to be replaced with new ones to restore straight paper feeding.
Does updating my printer driver really fix crooked printing?
Yes, it can. An outdated or corrupted driver may send incorrect paper handling commands to your printer, resulting in misaligned or skewed output. Updating or fully reinstalling the driver ensures the printer receives accurate instructions for handling cardstock and other thick media. It is a quick and free step that is worth trying before moving on to mechanical adjustments.
My printer prints straight on regular paper but crooked on cardstock. What causes this?
This is a classic sign that the issue is media-specific, not a general mechanical failure. Cardstock’s weight and stiffness stress the rollers and guides more than regular paper does. The most likely causes are insufficient roller grip on heavier paper, incorrect paper type settings in the driver, guides that are set for lighter paper, or cardstock that is too heavy for your printer’s main tray. Switching to the manual feed slot and selecting the correct heavy paper setting in the driver are the best starting points for fixing this issue.
How do I run a print alignment test on my printer?
The process varies by brand, but on most printers you can find the alignment tool under Maintenance, Tools, or Printer Settings in either the control panel or the printer software on your computer. Look for options labeled “Print Head Alignment,” “Calibration,” or “Alignment Test.” The printer will print a test page with patterns or grids, and you select the best-aligned pattern to save the corrected calibration settings.
Can curled cardstock cause it to print crooked?
Absolutely. Curled or warped cardstock does not lie flat inside the paper tray, so it makes uneven contact with the pick rollers. One edge may catch before the other, causing the sheet to feed in at an angle. Always flatten your cardstock before loading it, and store your paper flat in a sealed package away from humidity and temperature changes to prevent curling.

I’m the voice behind Device Dossier. As a printing technology enthusiast, I spend my time testing printers, comparing specs, and writing honest reviews to help you find the perfect printing solution. When I’m not geeking out over print quality and page yields, you’ll find me exploring the latest in tech.