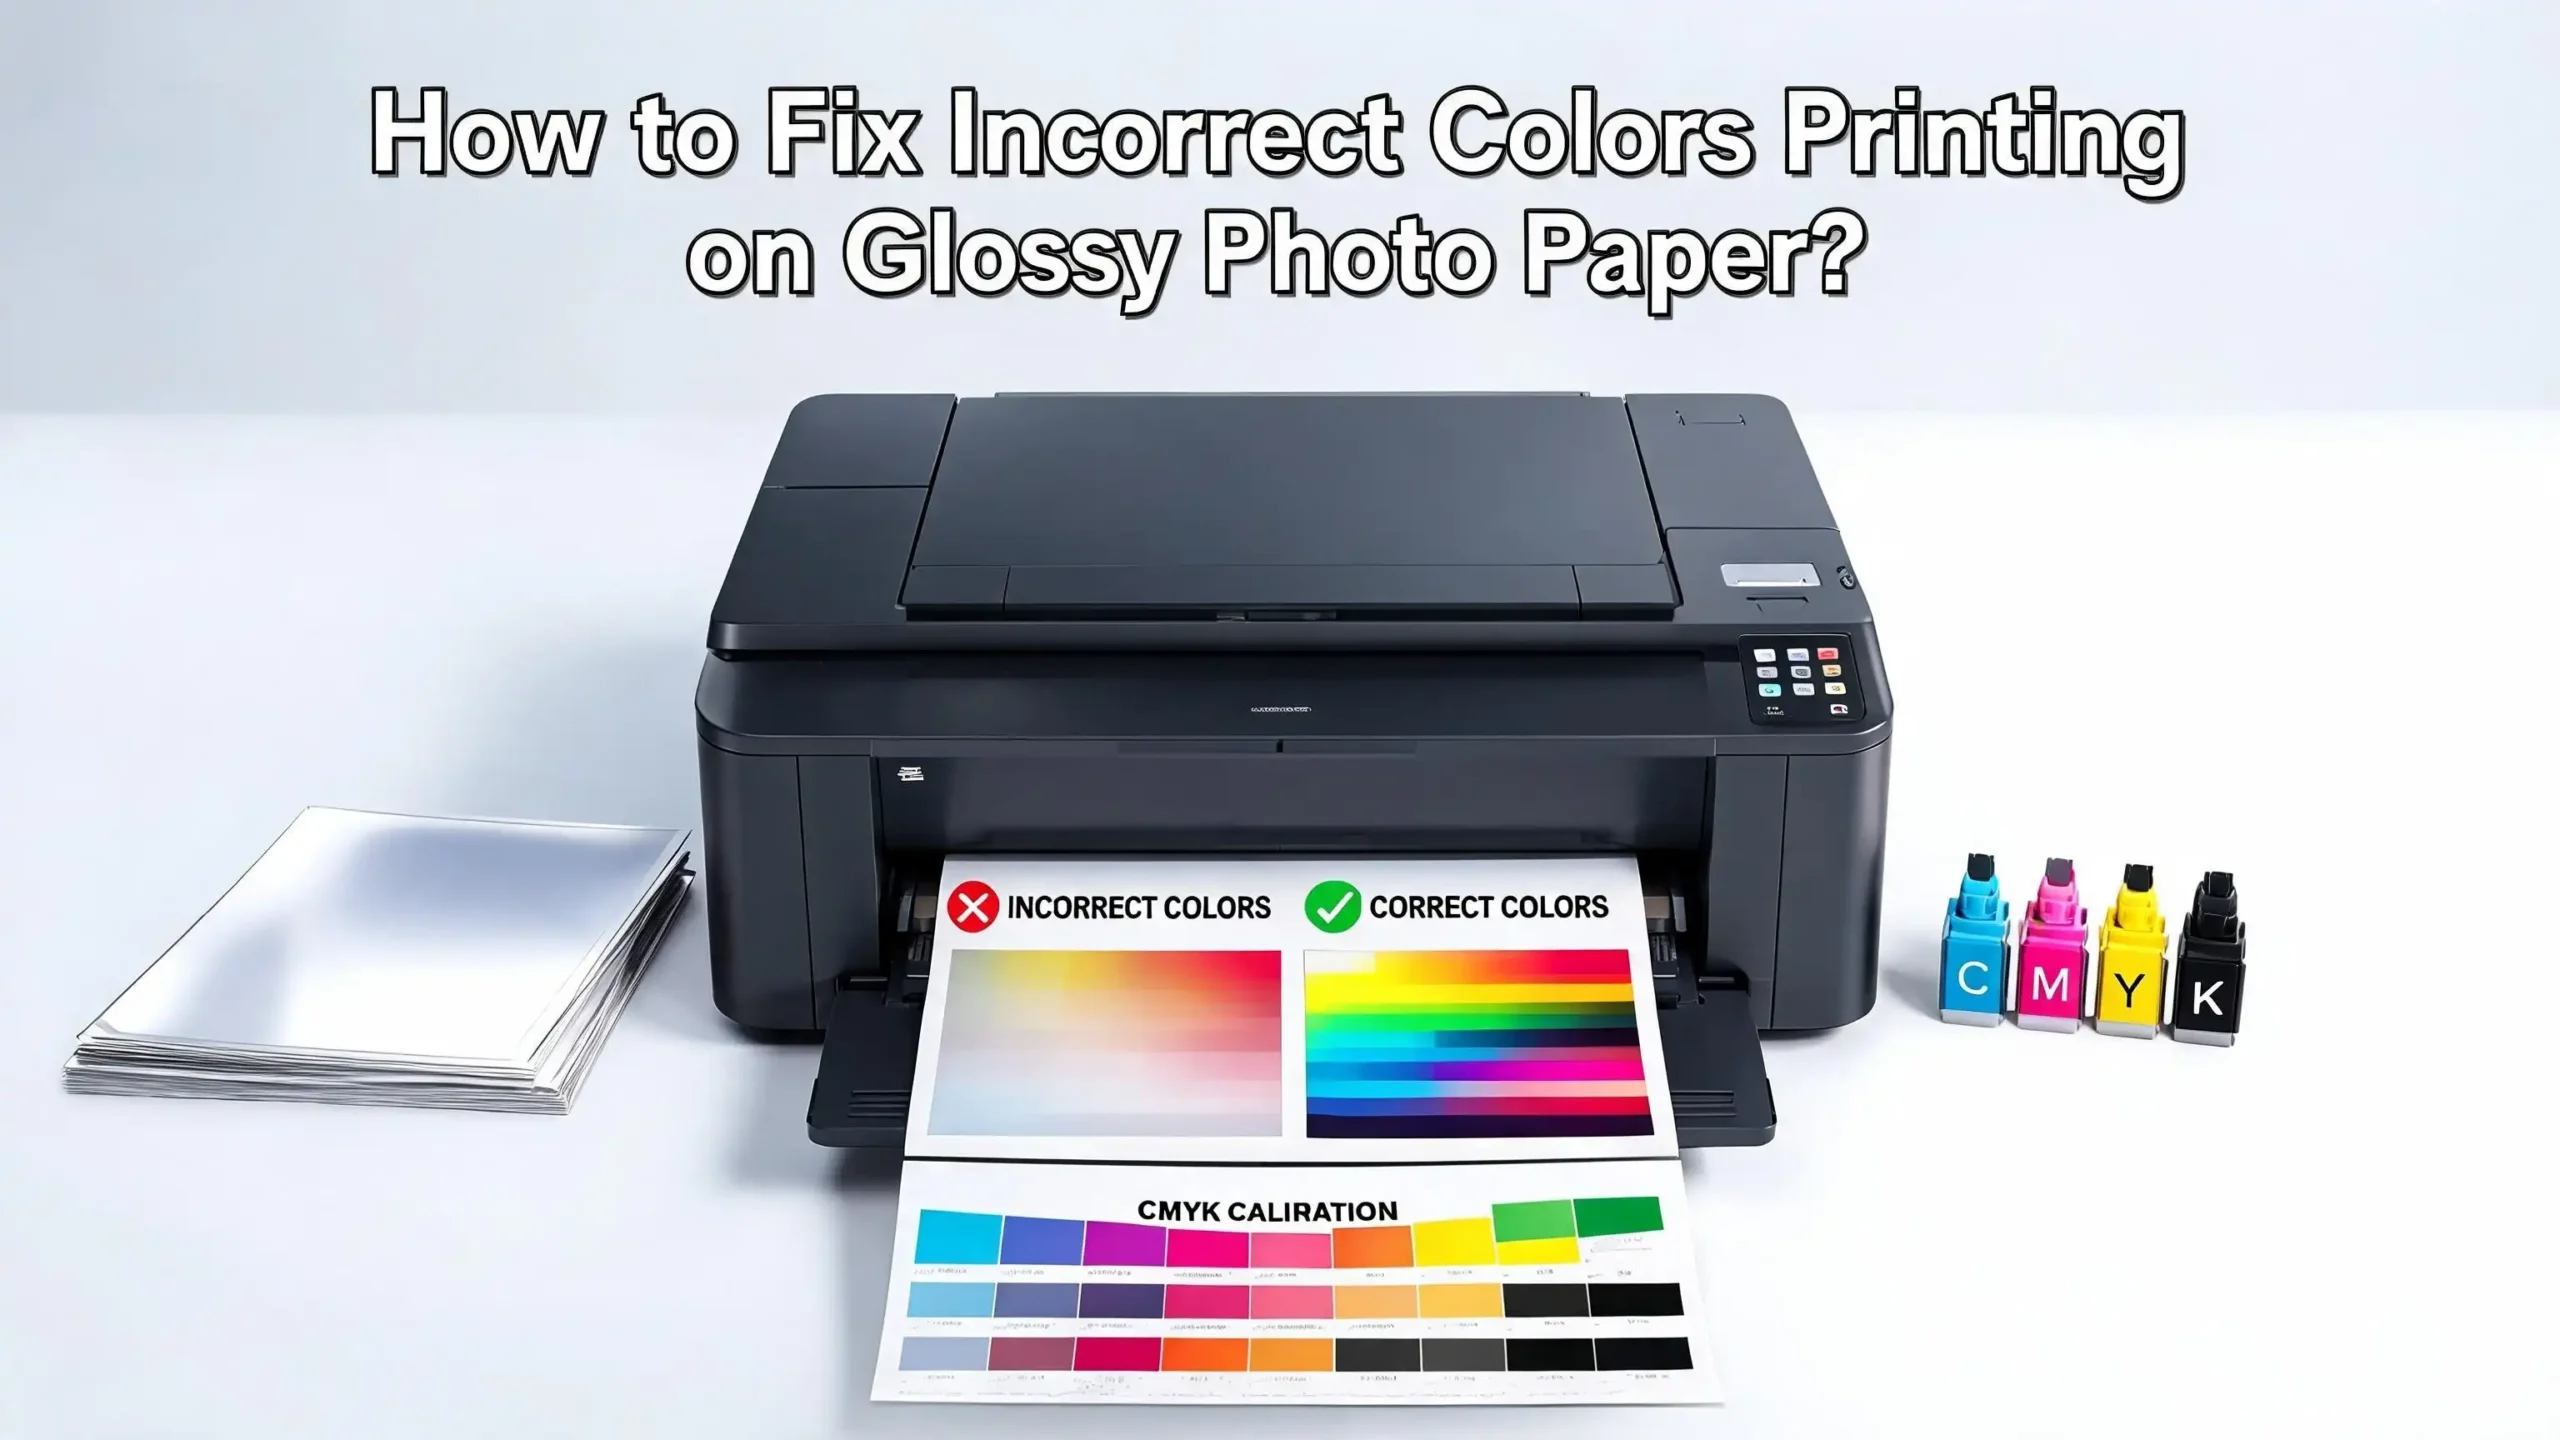
How to Fix Incorrect Colors Printing on Glossy Photo Paper?
Printing photos at home feels rewarding until you pull a glossy sheet from your printer and notice the colors look nothing like the screen. Skin tones look orange. Skies look purple. Greens look muddy. The frustration is real, and the wasted ink and paper hurt your wallet.
The good news is that incorrect colors on glossy photo paper almost always come from fixable causes. The problem usually sits in the printer settings, the paper choice, the color profile, or the monitor you edited the photo on. Once you understand the small details that affect color output, you can take control and produce sharp, accurate prints every time.
This guide walks you through every reason your glossy prints look off and shows you the exact steps to correct each one. Stick with this post, and your next glossy photo print will look the way you imagined.
Key Takeaways
- Match your paper type setting in the printer driver to the exact glossy paper you loaded. A wrong media type sends the wrong ink amount and ruins colors.
- Use the correct ICC profile for your printer, ink, and paper combination. Generic profiles often cause magenta loss, color shifts, and muddy tones.
- Check that you printed on the glossy side, not the back. Printing on the wrong side causes smudged, dull, and inaccurate colors.
- Calibrate your monitor so what you see matches what prints. An uncalibrated screen is the top hidden reason prints look wrong.
- Clean the print head and align it to remove clogs that cause missing colors, banding, or color casts on glossy surfaces.
- Always pick high quality or photo mode in the print dialog. Draft and normal modes lay down too little ink for glossy media.
Understand Why Glossy Photo Paper Reacts Differently to Ink
Glossy photo paper has a special coating that sits on top of the base sheet. This coating absorbs ink in a controlled way to produce sharp detail and bright color. Plain paper soaks ink into its fibers, but glossy paper holds ink right on the surface. That is why glossy prints look vivid and crisp when everything goes right.
The same coating becomes a problem when settings are wrong. If your printer thinks it is printing on plain paper, it sends too little ink. The colors look pale or shifted. If it sends too much ink, the surface puddles and dries with wrong tones. The coating only works as designed when the printer treats it as glossy media.
Different brands also build their coatings with different chemistry. A glossy sheet from one maker may handle ink differently from another. That is why a profile that works with one paper may produce odd colors on another. Understanding this helps you stop blaming the printer when the issue is paper recognition.
Once you accept that glossy paper is a precise system, you will start checking settings before printing. Treat each glossy paper as a unique surface that needs the right driver settings. This single shift in thinking solves most color problems before they happen.
Check the Paper Type Setting in Your Printer Driver
The single biggest cause of wrong colors on glossy paper is a mismatched paper type in your print dialog. Your printer driver controls how much ink to spray and how to dry it. If the driver thinks plain paper is loaded, it will print as if plain paper is loaded.
Open your print dialog and look for a setting called Media Type, Paper Type, or Print Material. Click it and find an option that matches your paper. Common choices include Glossy Photo Paper, Advanced Photo Paper, Premium Glossy, or Ultra Glossy. Pick the one that matches your paper brand and finish exactly.
If your paper brand is not in the list, choose the closest match. For example, third party glossy paper often works well with the Premium Glossy or Photo Paper Glossy option. Try a small test print first to confirm the colors look right.
After choosing the media type, also set the quality to High, Best, or Photo. Glossy paper needs more ink droplets than plain paper to render proper color. Lower quality modes hold back ink and cause faded, shifted, or splotchy results. Save your chosen settings as a preset so you do not forget next time.
Confirm You Are Printing on the Correct Glossy Side
Every glossy photo paper has a printable side and a back side. The printable side has the special coating that handles ink. The back side is usually plain or slightly textured and cannot absorb ink the same way. Printing on the wrong side gives you smeared, dull, and color shifted results.
To tell the difference, hold the sheet under light. The glossy side reflects more light and looks shiny. The back side looks matte, dull, or printed with a brand logo. Some papers have small text on the back, which is a clear hint that the opposite side is the printable one.
Load the paper with the glossy side facing the print head. Most top loading printers need the glossy side facing up. Most front loading printers need it facing down. Check your printer manual if you are unsure, since loading direction varies between models.
If you already printed on the wrong side and the ink will not dry, do not panic. Set the sheet aside flat for several hours, then reprint on a fresh sheet correctly. Mark a small dot on the glossy side of a sample sheet so you remember the direction for next time. This tiny habit saves many wasted prints.
Install and Use the Right ICC Color Profile
An ICC profile is a small file that tells your printer how to translate screen colors into ink colors for a specific paper. Without the right profile, your printer guesses, and the guess is often wrong. Using the correct ICC profile is the most powerful fix for accurate color.
Visit the website of your paper brand and search for ICC profiles. Look for a profile that matches your exact printer model, ink set, and paper. Download the file, which usually ends in .icc or .icm. On Windows, right click the file and choose Install Profile. On Mac, place it in the ColorSync Profiles folder in your Library.
When you print, open the print dialog in your photo software. Find the Color Management section. Choose Photoshop Manages Colors, Lightroom Manages Colors, or the equivalent in your app. Then pick the ICC profile you just installed.
Also set the rendering intent to Perceptual or Relative Colorimetric for photos. Perceptual works best for images with bright colors that may fall outside the printer range. Relative Colorimetric keeps in range colors more accurate. Turn off color management in the printer driver itself when your software handles colors. Two systems managing colors at once will fight and produce wrong results.
Calibrate Your Monitor for Accurate Color Matching
Your monitor shows colors based on its own settings, which may be far from the standard. If your screen shows colors too bright, too blue, or too warm, your edits will print wrong even with perfect printer settings. A calibrated monitor is the foundation of color accurate printing.
The best way to calibrate is with a hardware tool called a colorimeter. You plug it in, run the included software, and it measures and corrects your screen. The result is a custom profile that makes your display show colors close to a printing standard.
If you do not own a colorimeter, you can do a basic calibration through your operating system. On Windows, search for Calibrate Display Color. On Mac, open Display settings and choose Calibrate. Follow the prompts to set brightness, gamma, and white point. Set monitor brightness to around 80 to 120 candelas per square meter for print work.
Many people set screens too bright, which makes prints look too dark by comparison. Lower your screen brightness if your prints always come out darker than expected. Edit your photos under consistent room lighting, ideally with a daylight balanced bulb. Bright sunlight or warm yellow lamps will trick your eyes into making bad color choices.
Clean and Align Your Print Head Regularly
A clogged print head causes missing colors, banding, and color casts that ruin glossy prints. Even a partial clog in one ink channel will throw off the whole color balance. For example, a blocked cyan nozzle makes everything look red or orange. A blocked magenta nozzle makes everything look green.
Run a nozzle check from your printer software or the printer menu. The printer will print a small test pattern showing each color. If lines are missing or broken, you have a clog. Run the head cleaning function once and print another nozzle check. Avoid running multiple deep cleanings in a row, since they use a lot of ink.
If cleanings do not solve the problem, leave the printer off for a few hours. Sometimes ink solvents need time to soften dried ink in the nozzles. Then try one more clean cycle. For stubborn clogs, some printers allow manual cleaning with a damp lint free cloth on the head area.
Also run a print head alignment from the printer menu. Misaligned heads cause overlap or gaps in ink dots, which shows up as soft, slightly off color prints. Alignment takes only a minute and improves both sharpness and color accuracy on glossy paper.
Replace Low or Old Ink Cartridges
Ink quality drops as cartridges age or run low. Old ink can separate, dry, or change color over time, leading to inaccurate prints. If your cartridges are over a year old, color shifts become very likely. Check the install date if your printer tracks it.
Look at the ink level display on your printer. If any color is low, replace it before printing important photos. Even if the printer still allows printing, a low cartridge will not spray ink at the proper volume. The result is faded or shifted colors on glossy paper, where ink coverage matters most.
Use genuine ink or a reputable third party brand. Cheap unknown ink can have wrong color formulations that will never match the printer profile. If you switched ink brands recently and colors went wrong, that is likely the cause. Switching back to recommended ink usually fixes the issue.
Shake non gel cartridges gently before installing to mix any settled pigment. Store spare cartridges upright in a cool, dark place. Heat and light degrade ink before you ever open the box. With fresh, quality ink in every slot, you remove a major variable from the color equation.
Use the Correct Color Space in Your Editing Software
Color spaces define the range of colors a file can hold. The most common ones are sRGB, Adobe RGB, and ProPhoto RGB. If your file is in one color space and your printer expects another, colors will shift. This often shows as dull or oversaturated prints on glossy paper.
For most home printing, work in sRGB. It is the standard space supported by nearly all printers and software. Open your photo in your editor and check the assigned color space. In Photoshop, choose Edit and then Convert to Profile. Pick sRGB if it is not already set.
If you shoot in Adobe RGB on your camera, you can keep that wider space while editing for richer colors. Convert the final file to the color space supported by your printer profile before printing. Skipping this step often causes vivid colors to look flat once printed.
Avoid embedding ProPhoto RGB files for direct printing on consumer printers. The space is too wide and printers cannot reproduce all the colors. Always soft proof your image in your editor by simulating the printer profile before sending the print. Soft proofing shows you what the print will look like, so you can adjust colors first.
Adjust Print Quality and DPI Settings
Print quality settings control how much detail and ink your printer uses. Higher quality means more ink droplets per inch and slower, more careful printing. Glossy photo paper needs the highest quality setting to look right. Lower settings save time but ruin color and sharpness.
In your print dialog, find Quality, Print Quality, or Resolution. Choose High, Best, Photo, or the highest dpi number available. Common photo settings are 1200 dpi or 4800 by 1200 dpi. Higher dpi means tighter ink dots and smoother color blends, which glossy paper shows clearly.
Some drivers offer a custom or advanced mode. Inside, you may find sliders for ink density or color balance. Leave these at default unless you know exactly what you are changing. Random tweaks to advanced settings usually make colors worse, not better.
Be patient during high quality prints. A single photo can take several minutes, but the result is worth it. If your printer offers a borderless mode, try a small test first. Borderless printing sometimes shifts colors at the edges because of extra ink overspray. Adjust to bordered prints if you see strange edge tints.
Store Glossy Photo Paper Properly
Glossy paper is sensitive to humidity, heat, and dust. Damp paper changes how ink absorbs and dries, which leads to splotchy or shifted colors. If you store paper in a humid bathroom or near a window, it may already be damaged before you print.
Keep glossy paper in its original resealable bag or wrapper. After taking out a few sheets, close the bag tightly and squeeze out air. Store the package flat in a cool, dry drawer. Room temperatures between 60 and 75 degrees Fahrenheit work well. Avoid garages, basements, and attics where conditions swing.
If you suspect humidity damage, place a few sheets in a sealed bag with a silica gel pack for a day. The gel pulls out moisture. Then try printing again. Old paper that has yellowed or curled should be replaced, since the coating may have changed.
Handle sheets only by the edges to keep skin oils off the printable surface. Oils, dust, and fingerprints block ink absorption and cause spots that look like color errors. Use clean hands or cotton gloves for important prints. Treat your paper like film, and your prints will reward you.
Update Printer Drivers and Firmware
Outdated drivers cause many printing problems, including color issues. Printer makers release updates that fix color bugs, add paper profiles, and improve overall accuracy. If you have not updated in months, your printer may be missing key fixes.
Go to the support page of your printer brand and search for your exact model. Download the latest driver and full software package. Uninstall the old driver first through your computer settings, then install the new one. Restart your computer after installation.
Also check for firmware updates. Firmware runs inside the printer itself and controls how it processes print jobs. Most modern printers can update firmware through their built in menu when connected to the internet. Look under Settings, Maintenance, or Tools.
After updating, print a test photo to confirm colors look correct. Keep auto updates on if your printer supports them. Sometimes a new operating system update can break printer color handling, and a fresh driver fixes it immediately. Staying current saves hours of guessing later.
Test and Adjust with Small Print Sizes First
Before printing a full sheet of expensive glossy paper, run small test prints. A small test uses less ink and less paper but shows you the same color behavior as a full size print. This habit saves money and frustration.
Most photo software lets you print a portion of an image or a smaller scaled version. Print a 4 by 6 inch test of any photo you plan to enlarge. Check the colors under daylight, not under yellow indoor lighting. Indoor bulbs change how colors look and may hide or fake color problems.
If the test print looks off, adjust one variable at a time. Change the paper type setting, or pick a different ICC profile, or tweak brightness in your editor. Print another test. Changing one thing at a time tells you exactly what fixed or broke the result.
Keep a notebook or digital log of which settings produced the best print for each paper. Over time, you will build a personal recipe book for your printer and paper combinations. This small investment of effort pays back every time you print a photo you love.
Frequently Asked Questions
Why do my glossy prints look too dark compared to my screen?
Most screens are set too bright, which makes prints look dark by comparison. Lower your monitor brightness to about 100 candelas per square meter. Also brighten your image slightly in your editor before printing to compensate.
Can I use any ICC profile with any glossy paper?
No. ICC profiles are made for a specific combination of printer, ink, and paper. Using the wrong profile will cause color shifts. Always download the profile that matches all three parts of your setup.
Why do my prints have a pink or green color cast?
A color cast usually comes from a clogged print head, a wrong ICC profile, or mismatched color management between software and driver. Run a nozzle check first, then confirm only one system is managing colors.
How often should I clean my print head?
Run a nozzle check once a month if you print often. Only run a cleaning cycle if the nozzle check shows missing lines. Too many cleanings waste ink and can shorten print head life.
Does cheap glossy paper cause wrong colors?
Often yes. Cheap paper may have an uneven coating that absorbs ink unpredictably. Stick to known brands and always match the paper type in your driver settings for best results.
Should I print directly from my phone or use a computer?
A computer gives you more control over color profiles, paper types, and quality settings. Phone apps usually offer limited choices and may pick wrong defaults, which causes color errors on glossy paper.

I’m the voice behind Device Dossier. As a printing technology enthusiast, I spend my time testing printers, comparing specs, and writing honest reviews to help you find the perfect printing solution. When I’m not geeking out over print quality and page yields, you’ll find me exploring the latest in tech.