Why Is My Printer Smearing Wet Ink on the Final Output?
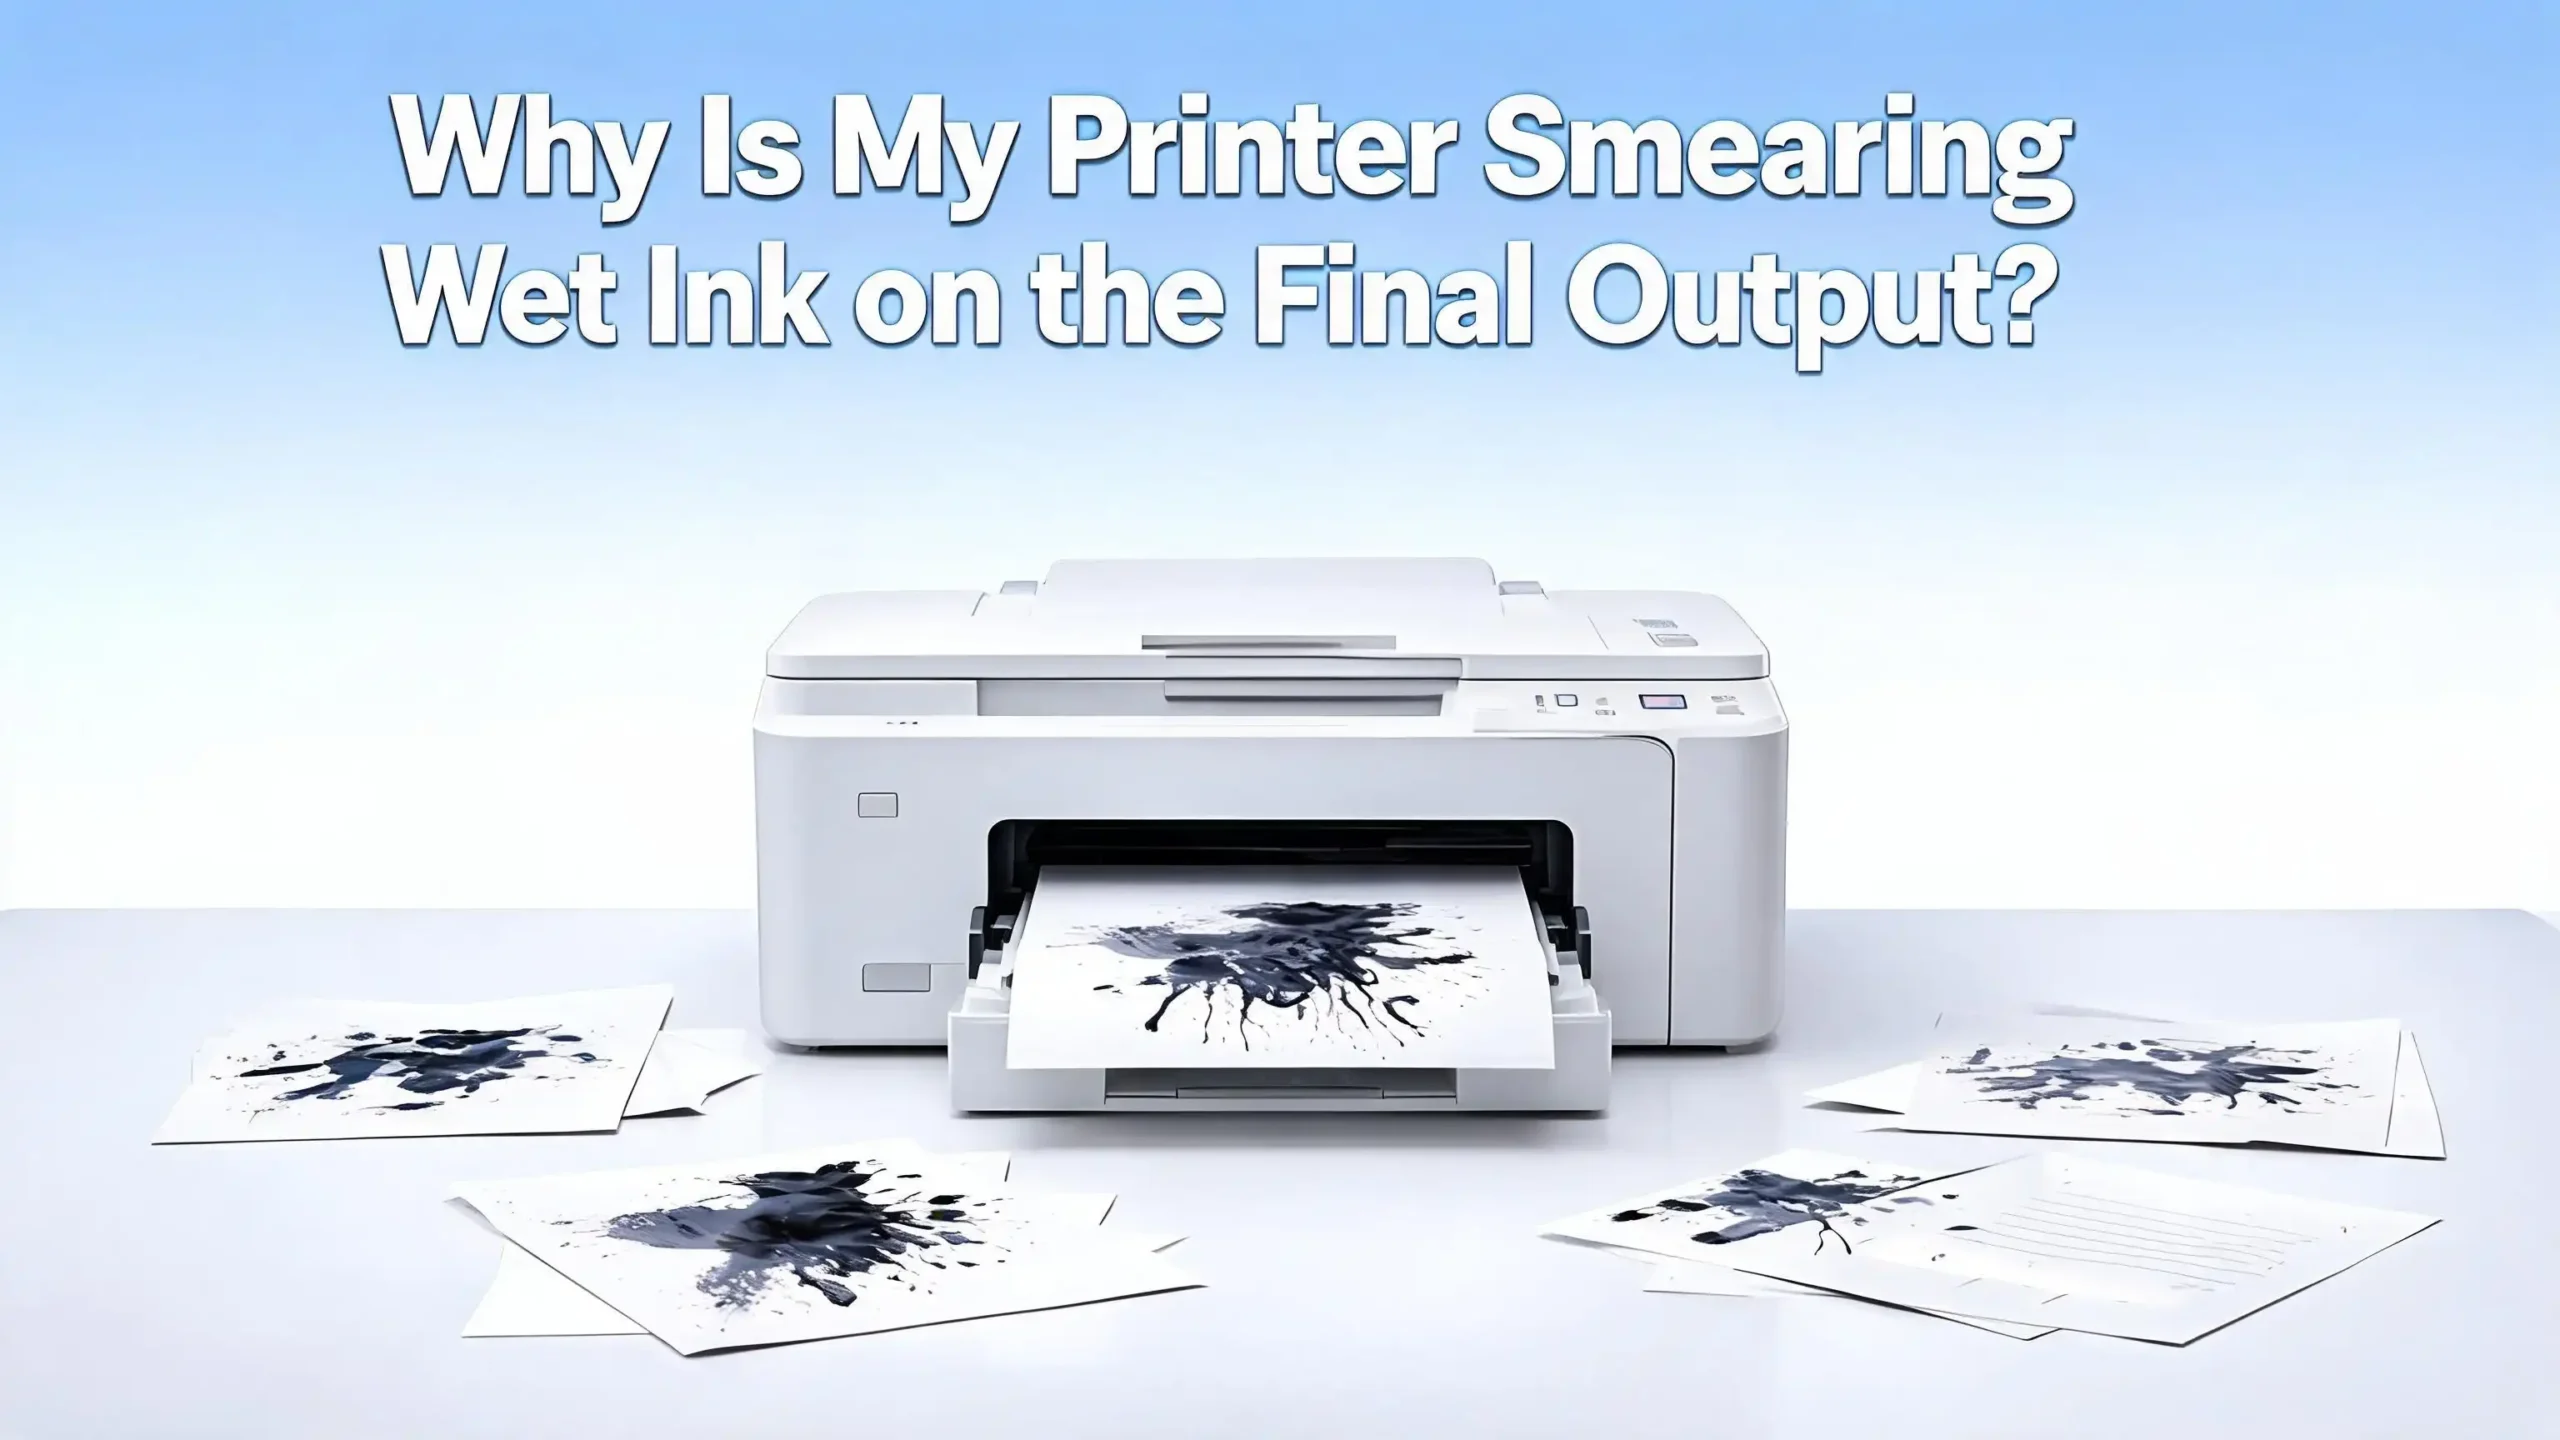
You just hit “Print” on an important document. The printer hums along, the paper slides out, and then you see it: wet ink smeared across the page. The text is blurry, the images look dragged, and your fingers come away stained. This problem wastes paper, ink, time, and patience.
Printer smearing affects both inkjet and laser printer users. The causes range from wrong paper settings to dirty internal rollers to high humidity in your workspace. The good news? Most of these issues have simple fixes you can do at home without calling a technician.
This guide walks you through every possible reason your printer smears wet ink and gives you clear, step by step solutions to stop it for good. Keep reading to get your prints looking clean and sharp again.
Key Takeaways
- Wrong paper type settings in your printer driver are one of the most common reasons ink does not dry on the page. Always match the media type setting to the actual paper loaded in your tray.
- Dirty rollers and printheads pick up excess ink and drag it across your pages. A quick cleaning with a lint free cloth and isopropyl alcohol can solve this in minutes.
- Low quality or incompatible paper cannot absorb ink or bond with toner correctly, leaving a wet, smeared surface. Use paper rated for your specific printer type.
- High humidity and poor paper storage cause paper fibers to absorb moisture from the air, which prevents ink from drying and toner from fusing properly. Store paper in a cool, dry place between 68°F and 76°F with 35% to 55% humidity.
- Clogged or misaligned printheads deposit ink unevenly, creating pools of wet ink in certain areas. Running your printer’s built in cleaning and alignment utility often resolves this.
- A faulty fuser unit in laser printers fails to heat toner powder enough to bond it to paper, leaving loose toner that smears at the slightest touch. Inspect and replace the fuser if your laser prints rub off easily.
Understanding How Ink Transfers to Paper
Before you can fix the smearing problem, it helps to understand how your printer puts ink on paper. Inkjet printers spray tiny droplets of liquid ink through nozzles in the printhead. The ink lands on the paper surface and must be absorbed into the paper fibers to dry. If the paper cannot absorb the ink fast enough, or if too much ink is deposited, the result is a wet, smeared mess.
Laser printers work differently. They use a dry powder called toner. A drum unit applies the toner to the paper, and then a fuser unit uses heat and pressure to melt the toner and bond it permanently. If the fuser does not reach the right temperature, or if the drum is scratched, toner sits loosely on the surface and smears when you touch it.
Knowing which type of printer you have determines which fixes apply to you. Inkjet smearing usually involves liquid ink that has not dried. Laser smearing usually involves toner that has not been fused. Both problems look similar on the final output, but the root causes and solutions differ. Check your printer model before applying any fix described in this guide.
Wrong Paper Type Settings in the Printer Driver
One of the most frequent causes of wet ink smearing is a mismatch between your paper type setting and the actual paper in the tray. Your printer driver includes a media type option, such as plain paper, photo paper, glossy paper, or cardstock. Each setting controls how much ink the printer lays down and how fast the paper moves through the machine.
If you load glossy photo paper but leave the setting on “plain paper,” the printer deposits too much ink too quickly. Glossy paper has a coated surface that absorbs ink slowly. The excess ink pools on the surface and smears as the paper exits.
To fix this, open your print dialog box and go to Printer Properties or Preferences. Find the media type or paper type dropdown menu. Select the option that matches your loaded paper exactly. For photo prints on glossy stock, choose “glossy photo paper.” For heavy cardstock, choose “cardstock” or “thick paper.” This single adjustment often eliminates smearing immediately. Make it a habit to check this setting before every print job, especially if you switch between different paper types often.
Using the Wrong Paper for Your Printer
Not all paper works well with every printer. Inkjet printers need paper that can absorb liquid ink quickly. Paper made for laser printers has a different coating that does not absorb liquid ink the same way. If you feed laser paper into an inkjet printer, the ink sits on the surface and smears before it can dry.
The reverse is also true. Laser printers need paper that can withstand high heat from the fuser. Some specialty inkjet papers warp or release coatings when exposed to laser fuser temperatures, causing toner smearing and even damage to internal parts.
Always check the paper packaging for compatibility labels. Look for terms like “inkjet compatible” or “laser compatible.” For best results, use paper rated for your specific printer type. Avoid very thin or very smooth paper that lacks enough fiber to absorb ink. If you print photos, use photo paper designed for your printer brand. This ensures the ink or toner adheres correctly and dries without smearing. Cheap, off brand paper may save money upfront but often causes print quality problems that waste more ink and paper in the long run.
Dirty or Worn Out Rollers Inside the Printer
Your printer has several internal rollers that guide paper through the machine. Over time, these rollers collect dust, paper fibers, and dried ink residue. When a dirty roller contacts your freshly printed page, it can drag wet ink across the surface and leave smear marks or lines.
In inkjet printers, the most common culprit is the output roller that touches the printed side of the paper as it exits. If this roller has ink buildup, it transfers old ink onto every new page.
Here is how to clean your rollers. Turn off the printer and unplug it. Open the rear access panel or paper tray area to expose the rollers. Dampen a lint free cloth with distilled water or isopropyl alcohol. Gently rotate each roller while wiping it clean. Let the rollers dry completely before closing the printer and turning it back on.
Many printers also have a built in roller cleaning function. Check your printer’s maintenance menu for an option labeled “clean rollers” or “clean paper path.” This feature feeds a blank sheet through the printer to pick up debris. Run this function once a month to prevent buildup. If a roller looks cracked, shiny, or no longer grips paper well, it may need replacement.
Clogged or Failing Printhead
The printhead is the component that sprays ink onto paper in an inkjet printer. When nozzles in the printhead become clogged, ink flow becomes uneven. Some areas receive too much ink while others receive too little. The oversaturated areas stay wet and smear as the paper moves through the printer.
Clogs happen when the printer sits unused for several days or weeks. Ink dries inside the tiny nozzles and blocks the flow. You might notice streaks, missing colors, or blotchy output alongside the smearing.
Run the printhead cleaning utility from your printer’s settings menu. Most printers offer this under “Maintenance” or “Tools.” The cleaning cycle pushes ink through the nozzles to clear dried residue. You may need to run it two or three times for stubborn clogs. After cleaning, print a nozzle check pattern to confirm all nozzles fire correctly.
If multiple cleaning cycles do not fix the problem, the printhead may need manual cleaning. Remove the printhead (if your model allows it) and soak the bottom in warm distilled water for 10 to 15 minutes. Dry it thoroughly before reinstalling. In severe cases, the printhead may need full replacement. Using your printer at least once a week prevents most clog related issues.
Printhead Alignment Is Off
A misaligned printhead deposits ink in the wrong positions on the page. This causes overlapping ink droplets, which creates excess wetness in certain areas. The result is visible smearing, blurry text, and fuzzy image edges.
Alignment can shift after you install new ink cartridges, move the printer to a new location, or experience a paper jam that jostles internal components. Some printers prompt you to run alignment automatically after a cartridge change, but this step is easy to skip or ignore.
Go to your printer’s maintenance menu and select “Align Printhead” or “Align Cartridges.” The printer will print a test page with alignment patterns. On some models, you scan the test page back in so the printer can read the patterns and adjust itself. On others, you choose the best looking pattern from a numbered list and enter your selection.
Run alignment every time you change cartridges or notice a drop in print quality. This quick process takes less than two minutes and can dramatically reduce smearing caused by ink buildup from misplaced droplets. It also improves text sharpness and color accuracy.
Too Much Ink Saturation in Print Settings
Printers let you control ink density or quality settings through the driver. If you set the quality to “Best” or “Maximum” for every print job, the printer lays down a heavy layer of ink. On standard paper, this much ink may not dry quickly enough before the next page lands on top of it or before you handle the output.
Photo paper and specialty media can handle higher ink loads because they are designed to absorb more ink. But plain copy paper has limits. Flooding it with ink causes bleeding, pooling, and smearing.
Reduce your print quality setting to “Normal” or “Standard” for everyday documents. Reserve “Best” or “High Quality” settings for photo prints on compatible photo paper. You can also look for an “ink density” or “color intensity” slider in advanced printer settings. Lowering this value reduces the total amount of ink deposited per page.
This fix is especially important for double sided printing. The second side of the page passes through the printer while the first side is still drying. Lower ink density helps both sides dry faster and avoids smearing during the duplex process.
High Humidity and Poor Paper Storage
Paper is highly sensitive to moisture. When stored in a humid room, paper fibers absorb water from the air. Damp paper cannot absorb ink properly because the fibers are already saturated with moisture. The ink sits on the surface and smears.
For laser printers, damp paper causes a different problem. Moisture interferes with the fuser’s ability to bond toner, resulting in loose toner that rubs off. You might also notice paper jams, curling, and pages sticking together.
Store your paper in its original sealed packaging until you are ready to use it. Keep it in a room with temperatures between 68°F and 76°F and humidity between 35% and 55%. Avoid storing paper near windows, in basements, or in bathrooms. If you live in a humid climate, consider using a small dehumidifier near your printing area.
Only load the amount of paper you plan to use in the next day or two. Do not leave a full ream sitting in an open tray for weeks. If paper feels damp, wavy, or limp, replace it with a fresh, dry stack. This simple storage habit prevents a surprising number of smearing and jamming problems.
Faulty Fuser Unit in Laser Printers
The fuser unit is a critical part of every laser printer. It uses heated rollers to melt toner powder and press it into the paper fibers. If the fuser fails or wears out, toner does not bond to the paper. The result is a printed page where the text and images rub off at the slightest touch, leaving black or colored smears on your hands and on stacked pages.
Signs of a failing fuser include prints that feel powdery, pages that come out unusually warm or cold, and toner that flakes off when you bend the paper. You may also see wrinkled or creased output.
To check the fuser, print a test page and immediately rub a finger across the text. If the toner smudges easily, the fuser is likely not reaching the correct temperature. Check your printer settings for a “fuser mode” or “paper type” setting. Selecting a heavier paper type often increases fuser temperature and solves mild cases.
If the fuser is physically damaged or worn beyond adjustment, it needs replacement. Consult your printer’s manual for the fuser part number and replacement instructions. Many fusers are designed as user replaceable units that slide out of the printer. Fuser replacement costs far less than buying a new printer and restores full print quality.
Toner Cartridge Problems in Laser Printers
A defective, nearly empty, or incompatible toner cartridge can cause smearing in laser printers. When toner levels run low, the cartridge may distribute powder unevenly. Some areas get too much toner while others get too little, producing blotchy, smeared output.
Damaged cartridges can also leak toner powder inside the printer. This loose toner coats the rollers, drum, and paper path, leaving smears and streaks on every page that passes through.
Remove the toner cartridge and inspect it visually. Look for cracks, leaks, or uneven toner distribution. Gently shake the cartridge from side to side to redistribute the remaining toner. Reinstall it firmly, making sure it clicks into place. If the cartridge is damaged or nearly empty, replace it.
Always use toner cartridges compatible with your specific printer model. Using the wrong cartridge can cause fit issues that lead to leaks and uneven toner application. If you prefer third party cartridges, choose ones from reputable manufacturers with good reviews. A cheap, poorly made cartridge can damage your drum unit and cause persistent smearing that outlasts the cartridge itself.
Running the Printer’s Built In Cleaning Cycle
Most modern printers include automated cleaning functions that address smearing without requiring you to open the machine. These cycles flush ink through nozzles, wipe the printhead, and clean internal surfaces. Running them regularly prevents the gradual buildup of residue that leads to smeared output.
For inkjet printers, look under Settings, then Maintenance or Tools. You will find options like “Clean Printhead,” “Deep Clean,” and “Clean Paper Path.” Start with a standard clean. If smearing continues, run a deep clean. Then print a test page to check the results.
For laser printers, the cleaning function typically runs a blank page through the fuser and rollers to pick up loose toner. Access this from the printer’s control panel under Maintenance or Setup. Some laser printers also offer a drum cleaning cycle that removes residue from the imaging drum.
Do not overuse printhead cleaning on inkjet printers. Each cycle consumes a significant amount of ink. Two to three standard cleans in a row is usually enough. If the problem persists after that, the issue likely lies elsewhere, such as paper type, humidity, or a worn component. Schedule monthly cleaning as part of a regular maintenance routine to keep smearing at bay.
Allowing Enough Drying Time Before Handling Prints
Sometimes the fix is the simplest one: give your prints time to dry before you touch them. Inkjet prints, especially those on photo paper or thick cardstock, can take 30 seconds to several minutes to dry fully. Picking up a page too soon transfers wet ink to your fingers and to the back of the next page in the stack.
Glossy and semi gloss papers dry slower than plain paper because their coated surfaces do not absorb ink as quickly. High coverage prints with large images or solid color blocks also take longer because more ink sits on the surface.
After printing, let each page sit in the output tray for at least 30 seconds before handling. For photo prints, wait two to five minutes. If you are printing a large batch, spread the finished pages out on a flat surface rather than stacking them immediately. This allows air to circulate around each sheet and speeds up drying.
Using a small desk fan pointed at the output tray can also help. The gentle airflow evaporates moisture from the ink faster. Avoid touching the printed surface directly. Instead, handle pages by their edges until they are fully dry.
When to Call a Professional for Printer Repair
If you have tried all the solutions above and your printer still smears ink, the problem may require professional attention. Internal components like the fuser, drum unit, transfer belt, or printhead assembly can wear out over time. These parts are harder to diagnose and replace without experience.
Signs that you need professional help include persistent smearing after cleaning, strange noises during printing, burning smells, visible physical damage inside the printer, and error messages related to the fuser or drum.
Contact your printer manufacturer’s support team first. Many offer free phone or chat support that can walk you through advanced troubleshooting. If the printer is still under warranty, the manufacturer may repair or replace it at no cost. For out of warranty printers, a local printer repair service can diagnose the issue and give you a cost estimate.
Compare the repair cost against the price of a new printer. If the repair exceeds 50% of the replacement cost, buying a new printer may be the better investment. However, for high end laser printers or wide format inkjet models, professional repair almost always makes more financial sense than replacement.
Frequently Asked Questions
Why does my printer smear ink only on glossy paper?
Glossy paper has a coated surface that absorbs ink much slower than plain paper. If your printer driver is set to “plain paper” while you use glossy stock, the printer deposits too much ink too quickly. Change the media type setting in your printer preferences to match the glossy paper you are using. This reduces the ink volume and adjusts the printing speed to allow proper drying.
Can high humidity really cause printer smearing?
Yes. Paper absorbs moisture from humid air, and damp paper cannot absorb ink or bond with toner correctly. This leaves ink or toner sitting on the surface where it smears easily. Store paper in a dry location with humidity between 35% and 55%. Replace any paper that feels wavy or limp before printing.
How often should I clean my printer to prevent smearing?
A monthly cleaning schedule works well for most home and office printers. Run the built in printhead cleaning and paper path cleaning utilities once a month. Wipe the rollers with a damp lint free cloth every one to two months. If you print frequently, you may need to clean more often.
Does using third party ink or toner cause smearing?
It can if the ink or toner is low quality or incompatible with your printer. Some third party products have different viscosity or particle size than the original manufacturer’s supplies. This can lead to clogs, leaks, and poor adhesion. If you use third party supplies, choose reputable brands that specify compatibility with your exact printer model.
Why does my laser printer’s toner rub off the paper?
Toner that rubs off has not been fused properly. The fuser unit may be worn out, set to the wrong temperature, or mismatched with your paper type setting. Try selecting a heavier paper type in your printer settings to increase fuser heat. If the problem continues, the fuser unit likely needs replacement.
Is it normal for ink to smear if I touch a page right after printing?
It depends on the paper type and ink coverage. Freshly printed inkjet pages on glossy or coated paper may take one to five minutes to dry fully. Light contact during this period can cause smearing. Wait at least 30 seconds for plain paper and several minutes for photo paper before handling your prints.
I’m the voice behind Device Dossier. As a printing technology enthusiast, I spend my time testing printers, comparing specs, and writing honest reviews to help you find the perfect printing solution. When I’m not geeking out over print quality and page yields, you’ll find me exploring the latest in tech.