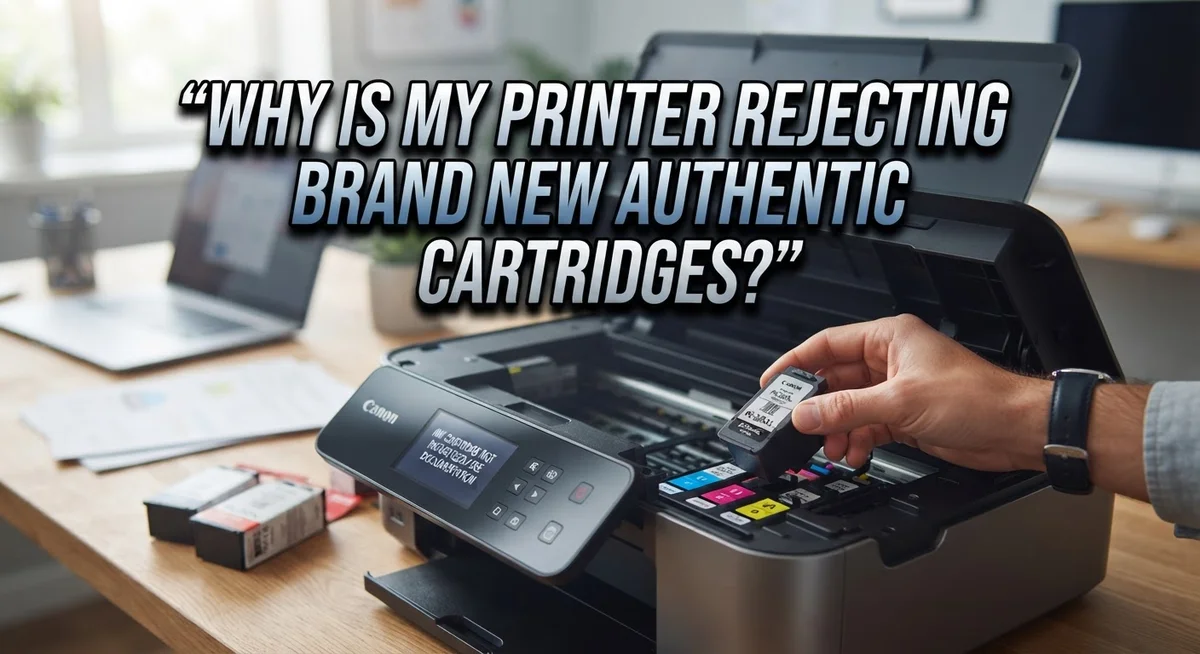
Why Is My Printer Rejecting Brand New Authentic Cartridges?
You just bought a brand new cartridge. You open the box. You install it carefully.
Then your printer flashes an error message. It says the cartridge is incompatible or not recognized.
This is frustrating. You know the cartridge is authentic. You know it should work.
But your printer disagrees.
The good news? This problem is common. It happens to many printer owners.
Software glitches can also trick your printer into rejecting a perfectly good cartridge.
In this article, we will explain why this happens. You will learn the most common causes behind cartridge rejection.
In a Nutshell
- Reseat the cartridge. Take it out and put it back in firmly. Make sure you hear it click into place.
- Remove the orange tape. Sometimes the protective tape gets left on by mistake. This blocks the printer from reading the cartridge.
- Avoid touching the copper contacts. Oils from your fingers can block the connection. Handle cartridges by their sides only.
- Check for the right model. Cartridges made for a different printer or region will not work. Always match the cartridge to your exact printer model.
- Restart your printer. A simple power cycle can clear software glitches. Turn it off, wait a few seconds, then turn it back on.
- Install all required cartridges. Some printers will not function unless every slot is filled. Even an empty color slot can trigger an error.
Common Reasons Printers Reject Authentic Cartridges
Your printer rejects authentic cartridges for several specific reasons. Understanding these causes helps you fix the problem quickly.
Incomplete seating is the most common culprit. Cartridges must click firmly into their slots. If you do not push hard enough, the printer’s sensors cannot detect the cartridge properly. The cartridge sits loose inside the compartment. Your printer then displays an error message even though the cartridge is genuine and new.
Contaminated copper contacts prevent proper communication. These small metal pieces on the cartridge connect your printer to the ink supply. When you touch them with your bare fingers, skin oils transfer to the contacts. This blocks the electrical signal. Your printer cannot verify the cartridge, so it rejects it. Always handle cartridges by their sides, never by the contact areas.
Regional and model mismatches cause rejection too. Printers sold in different countries sometimes use different cartridge designs. A cartridge made for a European printer model may not work in the North American version of the same model. Check your printer’s manual or the cartridge packaging to confirm compatibility. The model number must match exactly.
Software glitches and hardware detection failures happen occasionally. Your printer’s internal computer may fail to recognize a perfectly good cartridge. This is a temporary malfunction, not a sign of a defective product. A power cycle often resolves this issue.
Mixing old and new cartridges creates problems. If your printer previously used different cartridges, do not combine old ones with new ones. Your printer may reject the new cartridge because it detects a mismatch in the system. Replace all cartridges at the same time when possible.
Missing cartridges in required slots trigger rejection. Many printers require all color cartridges to be present and installed, even if you only print in black. If any slot sits empty, the printer refuses to function. Install cartridges in every available slot.
These reasons explain why your authentic cartridge gets rejected. Each one has a straightforward fix.
How Cartridge Seating Affects Detection
Cartridge seating is how firmly your cartridge sits in its slot. When a cartridge is not fully seated, your printer cannot detect it properly. This is the single most common reason printers reject authentic cartridges.
Your printer has small sensors inside each cartridge slot. These sensors read information from copper contacts on the cartridge. When the cartridge sits loosely, the contacts do not align correctly with the sensors. Your printer then sends an error message because it cannot read the cartridge data.
Proper seating requires a firm click. You should hear or feel a distinct clicking sound when you push the cartridge all the way in. If you do not hear this click, the cartridge is not seated correctly. Push it in again until you feel resistance and hear that confirmation sound.
The insertion angle matters too. Cartridges must slide straight into their slots at the correct angle. If you insert them at an angle or with force, they may sit partially in the slot. This incomplete seating blocks the electrical connection between the cartridge and printer.
Contamination also affects seating quality. If dust, debris, or dried ink builds up inside the slot, the cartridge cannot sit flush against the back wall. The cartridge will stop before reaching its proper position. This creates the same detection problem as loose seating.
Temperature can play a small role as well. If your printer was just turned on or moved from a cold location, the plastic cartridge slot may be slightly contracted. Wait a few minutes for the printer to reach room temperature. Then try reinserting the cartridge.
Always check that the cartridge slides smoothly into the slot without resistance. If you feel grinding or unusual friction, stop and remove the cartridge. Inspect the slot for debris or damage. Clean the area gently with a dry cloth if needed. Proper seating ensures your printer can communicate with the cartridge and verify it is authentic.
Step-by-Step: Reinstalling Your Cartridges Correctly
Start by turning off your printer completely. Wait at least 30 seconds before powering it back on. This pause lets the printer’s internal system reset and clears any temporary software confusion.
Next, open the cartridge access door. Most printers have a front panel or top cover that swings open to reveal the cartridge slots. Look for a button or latch labeled “open” or “cartridge access.”
Remove each cartridge one at a time. Pull the cartridge straight out toward you with steady pressure. Do not twist or angle it sideways, as this can damage the internal connectors.
Once removed, inspect the protective orange or yellow tape on the cartridge. If this tape is still present, peel it off completely. Many people miss this step, and the tape blocks the ink from flowing properly.
Check the copper contacts on the cartridge bottom. These small metal strips should look clean and shiny. If you see dust or dried ink, gently wipe them with a dry, lint-free cloth. Do not use water or cleaning solutions.
Look inside each empty cartridge slot. Use a flashlight to spot any debris, dust, or dried ink buildup. If you find dirt, use a dry cloth to wipe the slot carefully. Do not insert anything sharp into the slot.
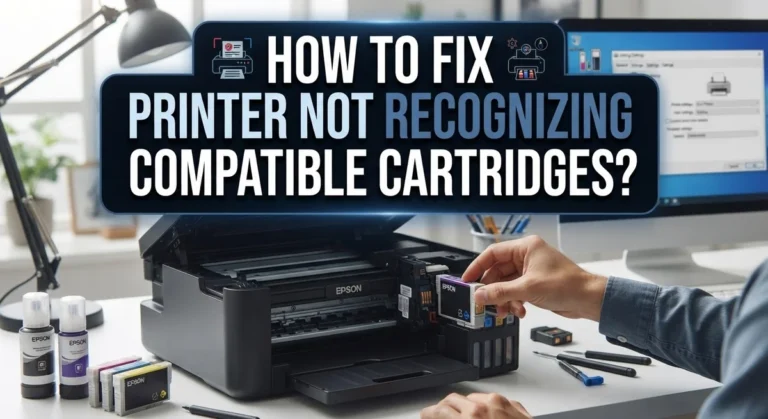
Now reinsert each cartridge one at a time. Slide it straight into the slot at a slight downward angle. Push firmly until you hear or feel a distinct click. The cartridge should sit flush with no gaps showing.
After all cartridges are seated, close the access door. Power on your printer and wait for the startup cycle to complete.
The printer may run a brief cleaning cycle automatically. This is normal and helps establish communication with the new cartridges. Wait a few minutes without interrupting this process.
If your printer displays an error message, note the exact text. This information helps you identify whether the issue is a seating problem, a compatibility mismatch, or a software glitch that needs different troubleshooting steps.
Checking Cartridge Compatibility and Regional Variants
Cartridge compatibility is often the real reason your printer rejects authentic cartridges. Your printer model expects specific cartridge types. Installing cartridges designed for a different printer model will trigger an error. Always verify the cartridge model number matches your printer’s specifications.
Regional variants create a common compatibility problem. Printers sold in North America use different cartridges than printers sold in Europe or Asia. A cartridge purchased in one region may not work in a printer from another region. Check your printer’s documentation to confirm which regional variant you own.
Country specific cartridges add another layer of complexity. Some manufacturers produce cartridges optimized for specific countries. These cartridges contain different chip programming or ink formulations. Your printer’s software recognizes only cartridges programmed for its designated region.
Check your printer’s model number on the device itself. Look for a label on the back or inside the access panel. The model number appears as a series of letters and numbers. Write this number down before purchasing replacement cartridges.
Compare the cartridge packaging with your printer model. The packaging clearly states which printer models accept that cartridge. Mismatches happen when customers grab the wrong box from store shelves. Take time to match every digit of your printer’s model number.
Verify the cartridge chip version too. Manufacturers sometimes release updated chip versions for the same printer model. Your printer may reject older chip versions while accepting newer ones. The cartridge packaging usually displays the chip version or generation number.
Check whether your printer uses single cartridges or combo cartridges. Some printers accept individual color cartridges while others require combined cartridge sets. Installing individual cartridges in a printer designed for combo units causes rejection.
Contact the cartridge manufacturer’s support team if you remain uncertain. Provide your printer’s complete model number. They can confirm whether the cartridges you purchased are truly compatible. This verification prevents wasted money on incompatible supplies.
Mistakes That Trigger False Rejection Errors
Installation mistakes are the leading cause of false rejection errors. Your printer’s sensors are extremely sensitive. Even small errors during setup trigger compatibility warnings that feel like hardware failures.
Incomplete insertion is the most common mistake. Many people push cartridges halfway into the slot and assume they are seated. Your cartridge must click firmly into place. Listen for an audible click or feel for the resistance stopping suddenly. If you do not hear or feel this click, the cartridge is not fully seated. Your printer’s detection system cannot read the chip properly when cartridges sit at an angle.
Touching the copper contacts during installation causes immediate rejection. These small metal strips on the cartridge bottom transfer data between your cartridge and printer. Skin oils and fingerprints create an invisible barrier. Your printer cannot communicate with the cartridge when contacts are contaminated. Always hold cartridges by the sides only. Never touch the bottom, nozzles, or any metal parts.
Removing protective tape incorrectly creates problems too. Orange or yellow tape protects the cartridge during shipping. You must remove all of this tape before installation. Some people miss small pieces. Tape left on the contacts prevents proper detection. Check both sides of the cartridge before inserting it.
Mixing old and new cartridges triggers rejection errors. If your printer previously used different cartridges, do not combine them in the same cycle. Your printer’s software sometimes requires matching cartridge generations. Old cartridges may have outdated chip versions that conflict with new ones. Replace all cartridges at the same time for best results.
Installing the wrong cartridge model causes rejection too. Printers have many variants across different regions and countries. A cartridge designed for European models may not work in North American printers. Always verify your exact printer model number before purchasing replacements. Check the cartridge packaging against your printer specifications carefully.
These mistakes feel like hardware problems but are actually installation errors. Fixing them usually solves rejection messages immediately.
Troubleshooting Persistent Rejection Issues
When your printer keeps rejecting brand new authentic cartridges, the problem often stems from a few specific issues. Understanding these issues helps you fix the problem quickly.
Software glitches cause many rejection errors. Your printer’s detection system may fail to recognize the cartridge chip even though everything is installed correctly. This happens when the printer’s firmware has a bug or the cartridge reader becomes confused. A simple power cycle often resolves this issue. Turn off your printer completely, wait 30 seconds, and turn it back on.
Hardware detection failures also trigger false rejections. The cartridge slot contacts may need cleaning if dust or debris blocks the connection. Use a dry, lint-free cloth to gently wipe the copper contacts inside the cartridge slot. Do not use water or cleaning solutions.
Regional and country variant mismatches create persistent problems. Cartridges sold in one country may not work in printers purchased in another region. Your printer’s firmware recognizes only cartridges designed for that specific market. Check your printer’s documentation to confirm which cartridge variants it accepts.
Incompatibility with your exact printer model is another common cause. Printer manufacturers release multiple models with similar names. A cartridge designed for one model may not work in a slightly different version. Verify the complete model number on your printer and compare it exactly with the cartridge packaging.
Missing cartridges prevent the printer from functioning. Some printers require all cartridge slots to have cartridges installed, even if you only print in black. If one slot remains empty, the printer rejects all cartridges as a safety feature. Install a cartridge in every slot.
If rejection errors continue after checking these issues, contact your printer manufacturer’s support team. Provide them with your printer’s exact model number and the cartridge model number. They can verify compatibility and help troubleshoot detection failures specific to your device.
Final Thoughts
Printer rejection issues feel frustrating, but most problems have simple fixes. Your printer is not broken. It is just being cautious about what it accepts.
Patience solves most rejection problems. Take a moment to reseat your cartridges properly. Check the model number twice before you panic.
Remember that printers use detection systems for good reasons. They protect your device from damage. They also protect your prints from poor quality output.
Software and hardware both play a role in these errors. Sometimes a simple restart clears the confusion. Other times you need to dig deeper into compatibility details.
Do not assume a rejected cartridge is defective right away. Genuine cartridges get rejected often due to small installation errors. Check the basics first before contacting support.
Keep your printer’s manual nearby for quick reference. It lists exact model numbers and cartridge types. This small habit saves you time later.
Avoid buying cartridges in bulk until you confirm compatibility. One correct test cartridge saves you from wasted money. It also saves you unnecessary stress.
If problems continue after trying every fix, reach out to support teams. They have tools to diagnose deeper issues. They can also confirm if your printer needs service.
Every printer model behaves differently, and that is normal. What works for one household may not work for yours. Stay patient and follow steps in order.
Most rejection issues resolve within minutes once you know the cause. The key is checking simple things first. Seating, contacts, and compatibility solve the majority of cases.
Your printer wants to work with you, not against you. Understanding why it rejects cartridges helps you fix things faster. This knowledge also prevents future frustration.
Stay calm, check the basics, and give your printer a chance. Most rejection errors are minor and easy to correct. With the right approach, you will get back to printing quickly.
Frequently Asked Questions
Why does my printer say the cartridge is incompatible when I know it’s the right one?
Your printer’s detection system may have encountered a software glitch. The cartridge could also be a regional variant designed for a different country’s printer model. Always check your printer’s model number against the cartridge packaging to confirm they match exactly. Sometimes the cartridge slot contacts need cleaning if dust has accumulated inside.
What should I do if the cartridge is still rejected after reinserting it?
First, power cycle your printer completely. Turn it off for 30 seconds, then turn it back on. Remove the cartridge again and inspect the copper contacts for any debris or fingerprints. Wipe them gently with a clean, dry cloth. Reinsert the cartridge firmly until you hear a click. If rejection continues, verify the cartridge model matches your specific printer variant.
Do I need to replace all cartridges at once if one gets rejected?
Some printers require all cartridge slots to have cartridges installed before they function properly. Check your printer manual to see if this applies to your model. If one cartridge keeps getting rejected while others work fine, the issue likely involves that specific cartridge or its slot rather than a system wide problem.
Can mixing old and new cartridges cause rejection errors?
Yes, absolutely. Your printer may reject a new cartridge if it detects older cartridges still installed. Remove all cartridges first, then install only the new authentic ones. This resets your printer’s detection system and prevents compatibility conflicts between different cartridge generations.

I’m the voice behind Device Dossier. As a printing technology enthusiast, I spend my time testing printers, comparing specs, and writing honest reviews to help you find the perfect printing solution. When I’m not geeking out over print quality and page yields, you’ll find me exploring the latest in tech.