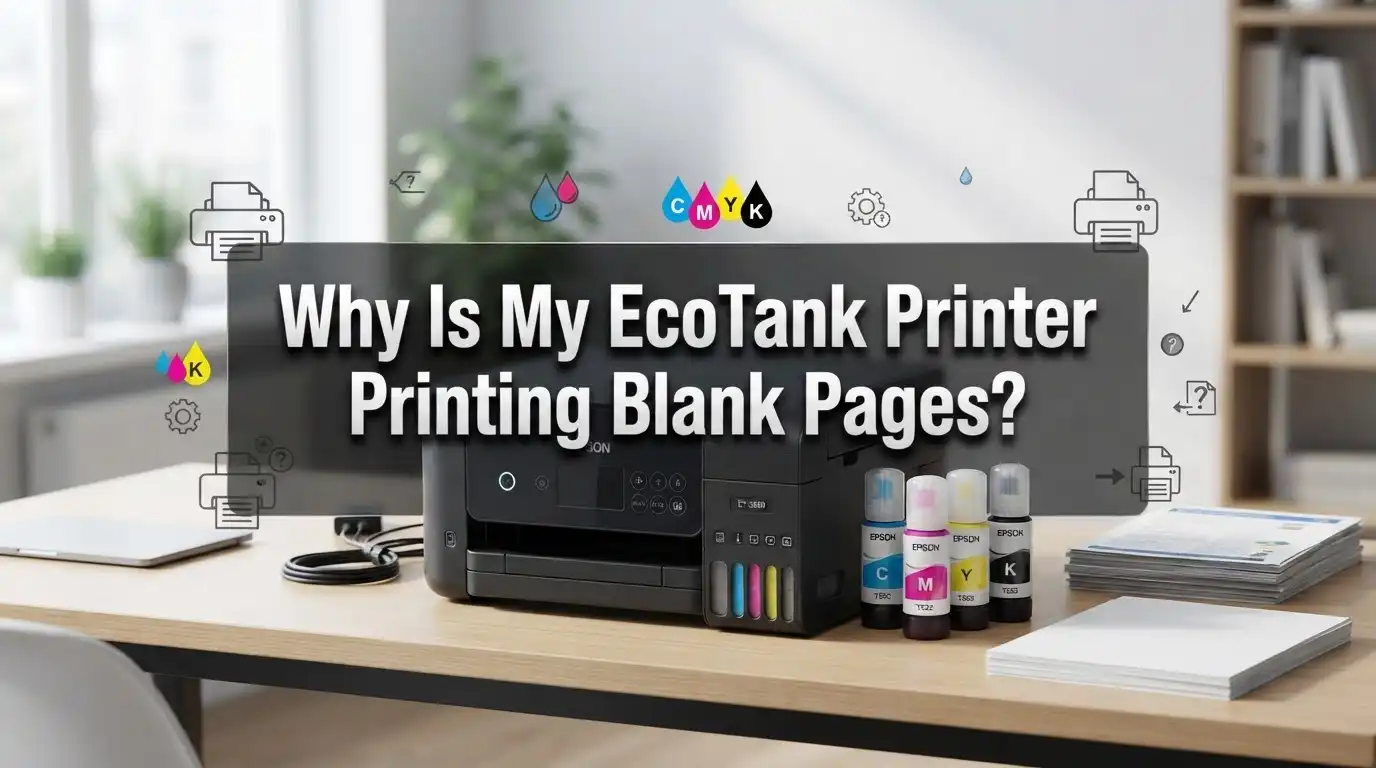
Why Is My EcoTank Printer Printing Blank Pages?
Have you ever hit print and gotten nothing but empty paper? Your EcoTank printer looks fine. The ink tanks seem full. But blank pages keep coming out.
This problem frustrates many printer owners. You need documents ready now, not later. Instead, you get stacks of wasted paper.
The good news is that this issue is common and fixable. Most blank page problems come from a few simple causes. Clogged printhead nozzles top the list. Dried ink from inactivity also plays a big role.
In this article, we will explain why your EcoTank printer prints blank pages. We will walk through the most common causes step by step. You will also learn practical fixes you can try right away.
In a Nutshell
- Clogged nozzles cause most blank pages. Dried ink blocks the printhead when your printer sits unused for a while.
- Full ink tanks do not guarantee working cartridges. They can still be faulty or seated incorrectly, even when ink looks full.
- Run a nozzle check first. This test shows you exactly where the blockage is happening.
- Clean the printhead through your printer menu. This simple step solves most blank page issues without extra tools.
- Check cartridge installation carefully. Make sure each one clicks into place and sits properly in its slot.
- Restart your printer the right way. Turn it off, then hold the Power and Resume buttons together for a few seconds.
Common Causes of Blank Page Printing
Your EcoTank printer prints blank pages for several specific reasons. Understanding these causes helps you fix the problem quickly.
Clogged printhead nozzles represent the most common culprit. Ink dries inside the tiny nozzles when your printer sits unused for weeks or months. This dried ink blocks the flow of fresh ink to the paper. Even though your ink tanks appear full, nothing reaches the page.
Low or empty ink levels also cause blank pages. Your printer cannot produce any color or text without sufficient ink. Check your tank levels on the printer’s display screen. Some cartridges show full tanks but contain faulty ink that will not flow properly.
Improper cartridge installation prevents ink from reaching the printhead. Each cartridge must click firmly into its slot. If a cartridge sits loose or at an angle, the connection breaks. Your printer then cannot access the ink inside.
Incorrect print settings sometimes create this issue too. Your printer might be set to draft mode with very light ink coverage. The output appears blank or extremely faint on the page.
Extended inactivity dries out your printhead over time. Printers left unplugged for months develop dried ink blockages. The longer your machine sits idle, the more likely this becomes.
Debris or dust can also clog the nozzles. Particles enter the printhead during normal operation. They accumulate and block ink flow.
Start by checking your ink levels first. Then verify each cartridge sits correctly in place. Run a nozzle check test through your printer menu. This test reveals exactly where the blockage exists. Most blank page problems stem from one of these causes, and each one has a straightforward solution.
Why Printhead Clogs Happen After Inactivity
When your EcoTank printer sits unused for days or weeks, the ink inside the printhead can dry out and harden. This dried ink creates a blockage that prevents fresh ink from flowing to the paper. Think of it like a straw with old juice stuck inside—water cannot pass through until you clean it.
Printheads contain tiny nozzles that spray ink onto your page. These nozzles are extremely small, sometimes smaller than a human hair. Even a tiny amount of dried ink can completely block them. When you do not use your printer regularly, air gets inside the nozzles and causes the ink to evaporate and solidify.
Heat and humidity also play a role in this process. If your printer sits in a warm room or near a heat source, the ink dries faster. Cold environments can slow down ink flow too, making clogs more likely when you finally try to print again.
The longer your printer stays idle, the greater the risk of clogging. A printer unused for a month faces more problems than one used weekly. This is why manufacturers recommend running cleaning cycles regularly, even if you do not print often.
The good news is that this type of clog is usually reversible. Your printer has built in cleaning functions specifically designed to dissolve dried ink and restore normal flow. A nozzle check followed by a head cleaning cycle can often fix the problem in minutes.
Prevention is easier than fixing clogs. Use your printer at least once every two weeks. Run a quick nozzle check monthly to catch early signs of drying before blank pages appear.
Step-by-Step: Running a Nozzle Check
Running a nozzle check is your first diagnostic step. This test reveals whether your printhead nozzles are actually spraying ink or if they’re blocked.
Start by turning off your EcoTank printer completely. Use the power button on the front panel. Wait about 10 seconds after shutdown before proceeding to the next step.
Next, locate the Power button and the button marked with a question mark or settings icon. Hold both buttons down simultaneously for 3 to 5 seconds. Your printer will beep or display a message indicating it’s entering diagnostic mode.
The nozzle check utility will run automatically. Your printer prints a test pattern with colored lines and dots. Each color represents one ink channel in your system.
Look carefully at the printed test page. You should see solid, continuous lines for each color. Gaps, missing sections, or faint streaks indicate a clogged nozzle in that specific color channel.
If all lines print clearly and completely, your nozzles are functioning normally. This means the blank page problem stems from something else like incorrect print settings or cartridge issues.
If you see gaps or missing colors, a blockage exists in those specific nozzles. This is actually good news because it pinpoints your exact problem.
Keep this test page for reference. You’ll compare it against future nozzle checks after running cleaning cycles. This helps you track whether cleaning efforts are working.
Some printers let you access the nozzle check through the printer menu instead of button combinations. Check your user manual for your specific model’s exact process. The principle remains the same across all EcoTank models.
How to Perform a Head Cleaning Cycle
A head cleaning cycle removes dried ink and clears blockages from your printhead nozzles. This process uses pressurized ink flow to flush out debris and restore normal printing.
Start by turning off your EcoTank printer completely using the power button. Wait about 30 seconds before proceeding to the next step.
Open your printer’s menu system using the control panel buttons or touchscreen display. Look for a “Maintenance” or “Tools” option in the main menu. Select “Head Cleaning” or “Nozzle Cleaning” from the available options.
Your printer will display a confirmation message asking if you want to proceed. Press “Yes” or “OK” to start the cleaning cycle. The process typically takes 2 to 5 minutes to complete.
During the cleaning cycle, you’ll hear mechanical sounds coming from your printer. This is normal. The printer is moving the printhead and pushing ink through the nozzles to clear blockages.
Do not turn off your printer or open any access panels while the cleaning is running. Interrupting the cycle can cause incomplete cleaning or damage to internal components.
Once the cycle finishes, your printer will return to the ready state. Run a nozzle check immediately after to see if the cleaning worked. Print the test pattern and examine it for any remaining gaps or missing colors.
If blank pages persist after one cleaning cycle, wait 30 minutes and run the cycle again. Sometimes stubborn clogs require multiple cleaning attempts. Most printhead blockages clear after two or three cleaning cycles.
If printing remains blank after several cleaning cycles, check your ink cartridge levels and seating. A faulty cartridge or improper installation may be the actual cause of your blank page problem.
Checking Ink Levels and Cartridge Installation
Your EcoTank printer relies on proper ink levels and correct cartridge placement to produce quality prints. When blank pages appear, these two factors are often the culprits. Let’s check both systematically.
Start by examining your ink levels. Most EcoTank printers display ink status on the control panel or through the printer software on your computer. Open your printer’s menu and navigate to the ink level indicator. You should see four color tanks: black, cyan, magenta, and yellow. If any tank shows empty or critically low, that explains your blank pages.
Here’s the important part: full tanks don’t always mean functional cartridges. A cartridge can appear full but still fail to dispense ink properly. This happens when the internal valve gets stuck or when debris blocks the ink pathway.
Next, verify that your cartridges are seated correctly. Turn off your printer completely. Open the cartridge access panel according to your printer’s manual. Remove each cartridge one at a time and inspect the connection points. Look for any protective seals still attached. These plastic covers must be removed before installation. Reinsert each cartridge firmly until you hear a click. The cartridge should sit flush against the printer body with no gaps.
After reinstalling cartridges, run a nozzle check immediately. This test reveals whether ink is actually reaching your printhead. If the nozzle check shows gaps or missing colors, your cartridges may be faulty despite appearing full. If all colors print clearly, your ink system is working properly and the problem lies elsewhere.
Document your nozzle check results by keeping the test page. You’ll use this as a comparison after running cleaning cycles.
Mistakes That Make Blank Pages Worse
Blank pages happen when you make specific mistakes during troubleshooting. Understanding these errors helps you avoid making the problem worse.
Ignoring low ink warnings is the first major mistake. Many users see a warning message and dismiss it. They continue printing anyway. This forces your printhead to work without enough ink, which causes permanent damage to the nozzles. Once nozzles dry out completely, cleaning cycles may not restore them.
Skipping regular cleaning cycles creates another serious issue. If you don’t run head cleaning for weeks or months, dried ink hardens inside the nozzles. This buildup becomes much harder to remove than fresh blockages. Prevention is easier than repair here.
Assuming full ink tanks mean everything works leads people down the wrong path. Your tank can show a full level while the cartridge itself is faulty or improperly seated. You’ll waste time troubleshooting the wrong problem. Always verify cartridge installation before running expensive cleaning cycles.
Opening printer panels during cleaning interrupts the process and damages internal components. The printer needs to complete its cycle without interruption. Stopping it midway leaves residual ink inside the lines.
Not documenting nozzle check results prevents you from tracking progress. Without a reference test page, you won’t know if cleaning actually worked. Keep each test page so you can compare before and after.
Leaving your printer unused for long periods without running maintenance cycles causes ink to dry inside the nozzles. Set a reminder to run a nozzle check monthly if you don’t print regularly.
These mistakes compound each other. One error often leads to the next problem, making blank pages harder to fix.
Troubleshooting When Cleaning Cycles Don’t Work
When standard cleaning cycles don’t solve your blank page problem, you need to dig deeper. The issue usually points to a blockage that resists normal maintenance.
Start by running a nozzle check utility. This test reveals exactly which nozzles are clogged or completely blocked. Your printer will spray ink onto a test page, showing you the pattern of any gaps or missing colors. If you see significant blank areas, your printhead needs more aggressive treatment.
Run multiple cleaning cycles in succession. Don’t just run one cycle and assume it worked. Many users find that running two or three cycles back to back clears stubborn dried ink deposits. Wait a few minutes between cycles to let the cleaning solution penetrate the blockages.
If cleaning cycles still fail, check your cartridge seating again. Sometimes cartridges shift slightly during cleaning vibrations. Remove each cartridge and reinstall it firmly until you hear a click. This simple step resolves more cases than you’d expect.
Consider your printer’s activity level. Machines left unused for weeks or months develop worse clogs because ink dries faster inside idle nozzles. If your printer sits unused frequently, run a cleaning cycle before each printing session.
Try printing a high ink coverage document. Some users report that printing graphics or photos with heavy ink use helps flush out minor blockages naturally. This works better than printing text, which uses minimal ink.
If nothing works after multiple cleaning attempts, your printhead may need professional service. Persistent blank pages after thorough troubleshooting suggest internal damage or cartridge failure. Document all your attempts and results before contacting support, as this information helps technicians diagnose the exact problem quickly.
Preventing Future Blank Page Problems
Preventing blank page problems starts with regular maintenance habits. Your EcoTank printer needs consistent use to keep ink flowing smoothly through the nozzles. When you print at least once per week, you reduce the risk of ink drying inside the printhead.
Run cleaning cycles every month, even if your printer works perfectly. This simple step keeps ink pathways clear and prevents blockages before they cause blank pages. Set a calendar reminder so you don’t forget this important task.
Always respond to low ink warnings immediately. Don’t wait until tanks are completely empty. Running your printer with low ink forces the system to work harder and can damage internal components.
Store your printer in a cool, dry location away from direct sunlight. Heat and humidity affect ink consistency and can cause clogs. Keep the printer in an upright position during storage.
Check cartridge seating every few months. Over time, vibrations from printing can loosen cartridges slightly. A quick inspection takes seconds and prevents major issues later.
Use your printer regularly for best results. Frequent printing keeps ink fresh and flowing. If you travel or take extended breaks, run a cleaning cycle before you leave and another one when you return.
Keep your printer’s firmware updated when updates become available. Updates often include improvements to print quality and reliability. Check the manufacturer’s website periodically for new versions.
Store replacement cartridges in their original sealed packaging until you need them. Exposure to air causes ink to thicken and dry out. This simple storage method extends cartridge life significantly.
Document your maintenance schedule in writing. Track when you run cleaning cycles and when you replace cartridges. This record helps you spot patterns and catch problems early.
Final Thoughts
Blank pages from your EcoTank printer feel frustrating. But most causes trace back to simple, fixable issues.
Clogged nozzles cause the majority of blank page problems. A quick nozzle check tells you exactly what’s happening inside your printer.
Dried ink builds up when printers sit unused for weeks. Regular printing keeps ink flowing smoothly through the system.
Cartridge seating matters more than people realize. Even full ink tanks won’t help if cartridges sit improperly in their slots.
Testing before assuming failure saves you time and stress. Run diagnostics first instead of guessing at solutions.
Most blank page issues respond well to basic troubleshooting steps. Power cycling, cleaning cycles, and nozzle checks solve problems quickly.
Patience matters during this process. Some fixes need multiple attempts before nozzles clear completely.
Your printer gives you warning signs before blank pages start. Low ink alerts and unusual sounds signal trouble ahead.
Listening to these signals prevents bigger headaches later. Address small issues before they become major printing failures.
Consistent maintenance keeps your EcoTank printer running well long term. Monthly cleaning cycles and regular use prevent most blank page scenarios.
Think of your printer like any machine you rely on daily. It needs attention and care to perform consistently.
When basic fixes don’t work, professional service becomes your next step. Don’t force solutions that clearly aren’t working.
Your printer’s health depends on proactive habits, not reactive fixes. Small efforts now prevent bigger problems tomorrow.
Blank pages don’t have to become a recurring nightmare. With the right knowledge, you can solve this problem confidently and keep your printer working smoothly for years ahead.
Frequently Asked Questions
Why is my printer producing blank pages when the ink tanks look full?
Full ink tanks don’t always mean your cartridges work properly. Your cartridge may sit improperly in its slot, breaking the connection between the tank and printhead. Start by removing each cartridge and reinserting it firmly until you hear a click. Also check that protective seals were removed from new cartridges before installation.
Even with proper seating, faulty cartridges happen. Run your nozzle check utility through the printer menu to test ink flow. This simple test reveals whether ink actually reaches your printhead or if a cartridge has internal problems.
What causes the printhead to clog in the first place?
Dried ink is the main culprit. When your printer sits unused for weeks or months, ink inside the nozzles hardens and blocks spray patterns. This happens faster in dry climates or warm rooms.
Debris and dust can also enter nozzles if your printer stays uncovered in dusty spaces. Keep your printer in a cool, clean location away from direct sunlight and dust sources.
How do I know if a cleaning cycle actually worked?
Print a test page after running the cleaning cycle. Your printer menu has a nozzle check option that produces a pattern with colored lines and dots. Clear, solid lines mean your nozzles spray properly. Gaps, missing colors, or faint sections indicate the clog remains.
Run multiple cleaning cycles if the first attempt shows gaps. Wait 30 minutes between cycles to let solvents work through the dried ink.
Should I try cleaning cycles before replacing cartridges?
Yes, absolutely. Cleaning cycles cost nothing and solve most blank page problems within one or two attempts. Only replace cartridges after you’ve confirmed they seat correctly and nozzle checks still show blockages.
This approach saves you money and helps you identify whether your real problem is a clogged printhead or a faulty cartridge.

I’m the voice behind Device Dossier. As a printing technology enthusiast, I spend my time testing printers, comparing specs, and writing honest reviews to help you find the perfect printing solution. When I’m not geeking out over print quality and page yields, you’ll find me exploring the latest in tech.