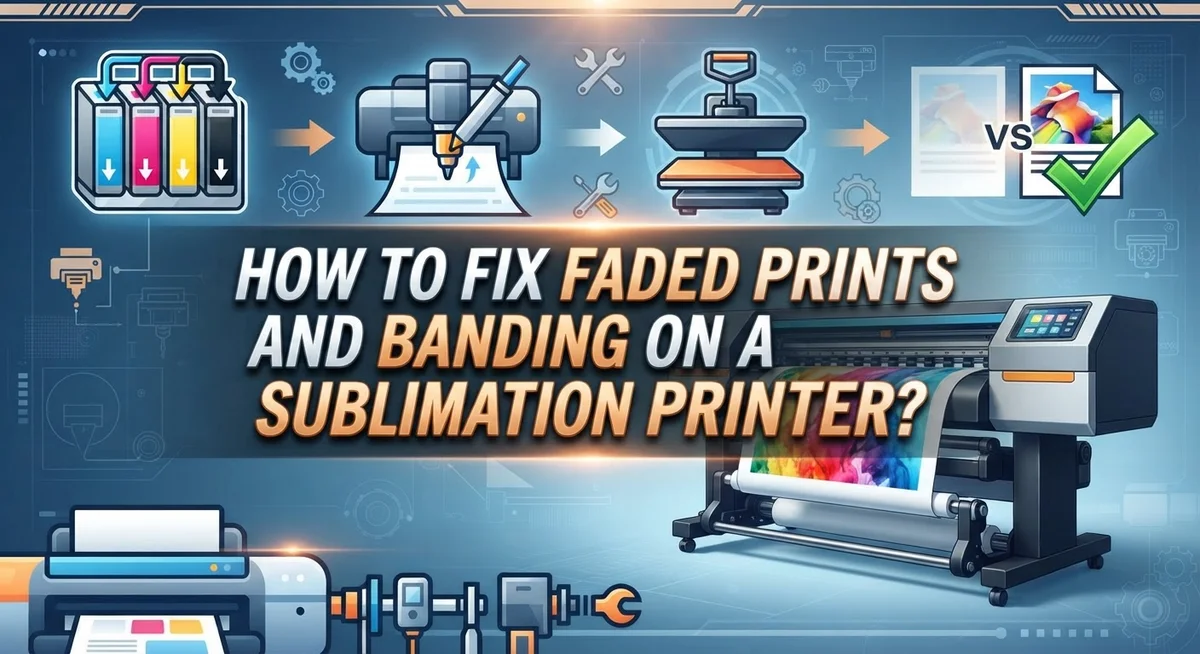
How to Fix Faded Prints and Banding on a Sublimation Printer?
Your sublimation prints suddenly look dull. Colors seem washed out. Strange lines appear across your designs.
You are not alone. Many sublimation printer users face this exact problem.
Faded prints and banding can ruin an otherwise perfect project. The good news? These issues almost always have simple fixes.
Most fading happens because of missing color profiles, wrong transfer paper, or incorrect heat settings. Banding often points to ink flow problems or uneven pressing.
This guide walks you through every common cause. You will learn how to spot the real issue behind your print problems.
In a Nutshell
- Install the right ICC profile. This step fixes most color and fading issues right away. Your printer model needs its exact matching profile.
- Check your transfer paper. Wrong paper types cause dull colors and poor ink transfer. Always use paper made for sublimation printing.
- Fix banding with a nozzle check. Banding often means ink did not load fully through the print head. Run a cleaning cycle to clear this.
- Preheat your blank surface. This step helps ink transfer evenly and prevents patchy spots. Skipping it often leads to faded areas.
- Press with even pressure. Uneven heat press settings create light streaks or faint lines. Apply steady pressure across the entire surface.
- Let prints dry fully. Touching prints too soon smudges the design. This simple mistake causes fading you can easily avoid.
Common Causes of Faded Prints and Banding
Faded prints happen for several specific reasons. Missing or incorrect ICC color profiles top the list. Your printer needs the exact profile for your model to display true colors. Without it, images look washed out and dull.
Wrong transfer paper causes major fading too. Sublimation ink bonds differently to various paper types. Using standard inkjet paper instead of sublimation transfer paper prevents proper color saturation. The ink sits on the surface rather than absorbing deeply.
Poor quality or low ink levels create faded results. When cartridges run low, the printer cannot deposit enough dye onto the transfer medium. Cheap ink formulations also produce weaker color intensity than quality sublimation inks.
Incorrect heat settings directly impact color vibrancy. Too low heat prevents complete ink transfer. The dye never fully bonds to your blank or substrate. Too high heat can actually burn out certain colors and create uneven fading across your design.
Banding appears as faint horizontal lines across your print. This happens when ink does not load evenly through the print head. Clogged nozzles or air bubbles in the ink lines create these visible streaks. Uneven heat press pressure also causes banding. If one area receives more pressure than another, ink transfers unevenly.
Handling prints too quickly makes fading worse. Touching or moving designs before they fully dry smudges the sublimation dye. This removes color from the transfer paper and reduces vibrancy on your final product.
Understanding these causes helps you fix problems fast. Each issue has a simple solution. Check your profiles first, verify your paper type second, and inspect your heat settings third.
Setting Up ICC Color Profiles Correctly
ICC color profiles act as a translation layer between your design and your sublimation printer. They tell your printer exactly how to reproduce each color in your artwork. Without the correct profile, colors print dull and washed out.
Start by identifying your exact printer model. Visit the manufacturer’s website and download the ICC profile specifically made for your printer. Generic profiles do not work well for sublimation equipment. The profile you need matches your printer model precisely.
Install the profile in your operating system. On Windows, place ICC files in the System32 folder under the ColorProfiles directory. On Mac, put them in the Library folder under ColorSync. Your computer now recognizes this profile as an available option.
Open your design software and locate the color management settings. Most programs have this under File or Edit menus. Select your printer’s ICC profile from the dropdown list. This tells the software to use your printer’s specific color data when processing the image.
Before printing, set your software to “Relative Colorimetric” rendering intent. This setting preserves color accuracy while adapting to your printer’s capabilities. Choose “Perceptual” only if colors appear too bright or oversaturated.
Test print a color reference image first. Compare the printed result to your original design on screen. If colors still look faded, verify you selected the correct profile in both your software and printer driver settings.
Incorrect profiles remain one of the biggest causes of faded sublimation prints. Taking time to install and configure the right profile fixes most color problems immediately. Your prints will show vibrant, accurate colors that match your expectations.
Choosing the Right Ink and Transfer Paper
Sublimation ink and transfer paper work together as a system. When either component fails, your prints fade or band. Understanding how to choose both correctly prevents most quality problems.
Sublimation ink quality matters deeply. Low quality or expired ink produces dull colors and weak transfers. Always verify your cartridges contain genuine sublimation ink, not standard inkjet ink. Standard ink will not bond properly to blanks during heat pressing. Check that cartridge levels stay above the minimum line. Empty or nearly empty cartridges cannot deliver consistent color saturation.
Transfer paper selection directly affects your final results. Sublimation requires special transfer paper designed specifically for this process. Regular inkjet paper will not work. The paper must have the correct coating to absorb sublimation ink without bleeding or running. Different paper types exist for different applications. Some papers work better for cotton fabrics, while others suit polyester or hard blanks like mugs and plates.
Match your paper type to your specific project. Using cotton transfer paper on a polyester blank creates fading. Using hard surface paper on fabric produces poor color transfer. Read the paper specifications carefully before purchasing.
Store both ink and paper properly. Humidity and temperature affect ink consistency and paper coating. Keep cartridges upright in a cool, dry space. Store transfer paper flat in sealed containers to prevent moisture absorption. Damp paper causes ink to spread unevenly, creating banding and faded areas.
Test a small sample before committing to a full project. Print a color chart on your chosen paper combination. Heat press it onto your blank material at your standard settings. This simple test reveals compatibility issues quickly and saves you from wasting expensive blanks.
Step-by-Step Guide to Fixing Faded Prints
Start by checking your ink cartridge levels first. Low ink is one of the quickest culprits behind faded output. Open your printer settings and look at the ink gauge. If levels are below 50%, refill or replace cartridges immediately.
Next, verify your heat press temperature is correct for your specific blank material. Sublimation requires precise heat to bond dye molecules into the surface. Too cold and colors stay pale. Too hot and they can actually fade or shift in tone. Check your blank manufacturer’s instructions for the exact temperature range, usually between 350°F and 400°F.
Clean your heat press platen and all contact surfaces thoroughly. Dust and residue block heat transfer and create uneven pressure zones. Use a lint free cloth and gentle cleaner designed for heat press maintenance.
Ensure your blank is completely preheated before pressing. A cold surface prevents proper dye absorption. Let your preheated blank sit on the press for a full 10 to 15 seconds before transferring your design.
Apply consistent, even pressure across the entire design area. Use a hand pressure gauge if available to maintain uniform contact. Uneven pressing causes some areas to receive full color while others appear washed out.
After pressing, let the print cool completely before removing it from the heat press. Rushing this step traps moisture and prevents proper dye setting.
Finally, handle finished prints with clean hands and store them in a cool, dry location away from direct sunlight. Moisture and UV exposure fade sublimated colors over time. These practical steps address most fading issues quickly and effectively.
Step-by-Step Guide to Eliminating Banding Lines
Banding lines appear as faint horizontal stripes across your print. These lines happen when ink doesn’t flow evenly through your printer head. The good news is you can eliminate them with specific steps.
Start by checking your ink cartridge levels. Low ink causes uneven distribution and creates visible bands. Fill all cartridges to the recommended level before printing. If cartridges are full, remove them and inspect the nozzles for clogs. Dried ink buildup blocks proper ink flow.
Run your printer’s cleaning cycle next. Most sublimation printers have an automatic cleaning function in their driver settings. This flushes out dried ink and restores smooth ink delivery. Run the cycle two or three times if banding persists.
Check your transfer paper quality. Incompatible or low quality paper doesn’t absorb ink evenly. Verify you’re using the correct paper type for your printer model. Store paper in sealed containers to prevent moisture absorption, which causes uneven ink transfer.
Adjust your printer driver settings carefully. Ensure your color mode matches your paper type. Set your print quality to the highest available setting. Lower quality settings reduce ink output and create visible gaps.
Test your heat press next. Uneven heat application during transfer can make banding more visible. Press your design with consistent, even pressure across the entire surface. Ensure your blank is completely preheated before pressing.
Allow proper drying time between steps. Rush the process and banding becomes more obvious. Let your print cool fully before removing it from the heat press.
If banding continues after these steps, your printer head may need professional service. Some damage requires replacement parts rather than simple adjustments.
Heat Press Settings and Pressure Tips for Consistent Results
Your heat press settings directly control how well dye transfers into your blanks. Temperature, pressure, and time work together as a system. Get any one wrong, and you’ll see faded prints or banding.
Temperature is your foundation. Most sublimation blanks require between 350 and 400 degrees Fahrenheit. Check your specific blank’s instructions first. A heat press that’s too cool won’t activate the dye properly. Your prints will look pale and washed out. A press that’s too hot can scorch the design or cause uneven color distribution.
Pressure matters just as much. You need enough force to push dye into the material, but not so much that you crush the fibers. Aim for firm, consistent pressure across the entire design area. Uneven pressure creates light spots and dark spots on the same print. This is often mistaken for fading when it’s actually pressure variation.
Dwell time is how long you hold the design under heat. Most blanks need between 45 and 60 seconds. Shorter times leave incomplete transfers. Longer times risk scorching or color bleeding.
Use these practical tips. Preheat your heat press for at least 15 minutes before your first transfer. This ensures the platen reaches stable temperature. Place your blank on the press for 10 seconds before applying the transfer paper. This preheating step helps dye absorption significantly.
Check your pressure gauge regularly. Many heat presses lose pressure over time. A gauge that reads correctly ensures consistent results. Replace worn platens when they become uneven or damaged.
Test your settings on scrap blanks first. Write down the exact temperature, pressure, and time that produces your best results. Consistency comes from repeating proven settings.
Mistakes That Cause Print Quality Issues
Mistakes during the sublimation process create most print quality problems you’ll encounter. Understanding these errors helps you avoid faded prints and banding lines before they happen.
Using the wrong ICC color profile is the top mistake. Your printer needs the exact profile for your specific model. Without it, colors print incorrectly and appear washed out. Install the correct driver and profile from your printer manufacturer’s website.
Selecting incompatible transfer paper causes serious issues. Sublimation ink works only with specially coated transfer paper. Regular paper won’t absorb the dye properly. Your prints fade quickly and colors look dull.
Handling prints too early is another common error. Many people remove designs from the heat press and immediately touch them. This smudges the transfer and causes fading. Let prints cool completely before handling them.
Skipping the preheating step prevents proper dye absorption. Your blank must reach full temperature before pressing. A cold surface rejects the sublimation dye. Always preheat blanks for the recommended time.
Applying uneven pressure creates banding and faint lines. You need consistent force across the entire design. Pressing harder on one side than another results in patchy color transfer.
Using low quality or old ink produces faded results. Check your cartridge levels regularly. Old ink loses potency and doesn’t transfer vibrant colors. Replace cartridges when they run low.
Rushing the drying process makes problems worse. Sublimation requires time for the dye to set into materials. Skip this step and colors fade faster.
Incorrect heat settings ruin transfers completely. Too little heat prevents dye absorption. Too much heat burns the material. Follow your blank manufacturer’s temperature recommendations exactly.
Troubleshooting Persistent Print Problems
When your sublimation prints look faded or show banding, the problem usually stems from a few specific sources. Understanding these issues helps you fix them quickly and get back to producing quality transfers.
Faded prints happen most often because of missing or incorrect ICC color profiles. Your printer needs the exact profile for your specific model to reproduce colors accurately. Without it, your printer can’t communicate properly with your design software. Install the correct ICC driver and color profile from your printer manufacturer’s website. This single step fixes faded prints for many users.
The second major cause is using incompatible or low quality transfer paper. Sublimation paper must have the right coating to accept dye properly. Wrong paper types won’t absorb ink evenly, leaving your prints looking washed out. Always verify you’re using the correct transfer paper designed for sublimation.
Banding appears as faint horizontal lines across your design. This usually means ink isn’t flowing evenly through your printer head. Run your printer’s cleaning cycle to clear any blockages. Check your ink cartridge levels too. Low ink creates uneven distribution and visible bands across prints.
Heat settings also affect how well dye transfers into blanks. Most sublimation materials need between 350 and 400 degrees Fahrenheit. Apply even pressure across the entire surface. Uneven pressing leaves some areas faded while others look darker.
Finally, allow proper drying time between steps. Handling prints before they fully dry causes smudging and fading. Rushing this process makes problems worse.
Test each fix one at a time. Start with your ICC profiles, then check your paper type, then adjust your heat settings. Most fading and banding issues disappear once you address these core problems.
Final Thoughts
Fixing faded prints and banding does not need to be complicated. Most problems trace back to a few root causes. Once you spot the pattern, fixes come naturally.
Start with your ICC profiles. They control how colors translate onto your blanks. Wrong or missing profiles cause weak, dull prints every time.
Next, check your transfer paper. The right paper holds ink correctly and releases it evenly under heat. Cheap or mismatched paper leads to patchy results.
Your heat press settings matter just as much. Temperature, pressure, and time work together. If one is off, your whole print suffers.
Banding often points to ink flow issues. Run a nozzle check before every big project. This simple step saves you from wasted blanks and frustration.
Patience pays off too. Let every print dry fully before you touch it. Rushing this step smudges your hard work in seconds.
Think of sublimation printing as a system. Each part depends on the other. Skip one step, and the whole print can fail.
Testing one fix at a time helps you learn what your setup needs. This builds real confidence over time.
Keep a simple log of your settings and outcomes. Notice what temperature, pressure, and paper combination gives you the best results.
With consistent care, faded prints and banding become rare. Your printer performs best when you treat it well. Clean it often, store ink properly, and calibrate profiles regularly.
Sublimation printing rewards attention to detail. Small adjustments often bring big improvements. Trust the process, stay consistent, and your prints will look sharp and vibrant every time.
Frequently Asked Questions
Why do my sublimation prints look faded even though I’m using new ink?
Faded prints usually happen for one of three reasons. First, your ICC color profile might be missing or wrong for your specific printer model. The profile tells your printer how to convert colors correctly. Second, your heat press temperature could be too low, which prevents dyes from bonding properly into the blank material. Third, you might be handling prints before they fully dry. Even slight touching can reduce color vibrancy.
Check your driver settings first. Make sure you installed the exact ICC profile that matches your printer model. Then verify your heat press reads the correct temperature before pressing any blanks.
What causes banding or faint horizontal lines on my prints?
Banding appears when ink doesn’t flow evenly through your printer’s system. This usually means your ink cartridges aren’t completely filled or aren’t seated properly in their slots. Uneven pressure during the heat press also creates banding across your design.
Before pressing, check that all cartridge levels are adequate. Make sure each cartridge clicks firmly into place. During pressing, apply steady, even pressure across the entire surface of your blank. Don’t press harder on one side than the other.
Can I fix banding by adjusting my heat press settings?
Heat press settings affect color transfer, but they won’t fix banding caused by ink flow problems. However, incorrect temperature can make banding worse. If your press runs too hot, it can cause uneven dye absorption. If it runs too cool, colors won’t transfer fully.
Set your heat press to the temperature recommended for your specific blank material. Use a heat press thermometer to verify accuracy. Banding usually requires checking your ink system first, not adjusting temperature.
Should I preheat my sublimation blanks before pressing?
Yes. Preheating helps dyes absorb more evenly into the blank material. Cold blanks cause uneven color transfer and can contribute to fading. Heat your blank for about 3 to 5 seconds before placing your transfer paper on top.
This small step makes a noticeable difference in color saturation and reduces the chance of faded results across your finished prints.

I’m the voice behind Device Dossier. As a printing technology enthusiast, I spend my time testing printers, comparing specs, and writing honest reviews to help you find the perfect printing solution. When I’m not geeking out over print quality and page yields, you’ll find me exploring the latest in tech.