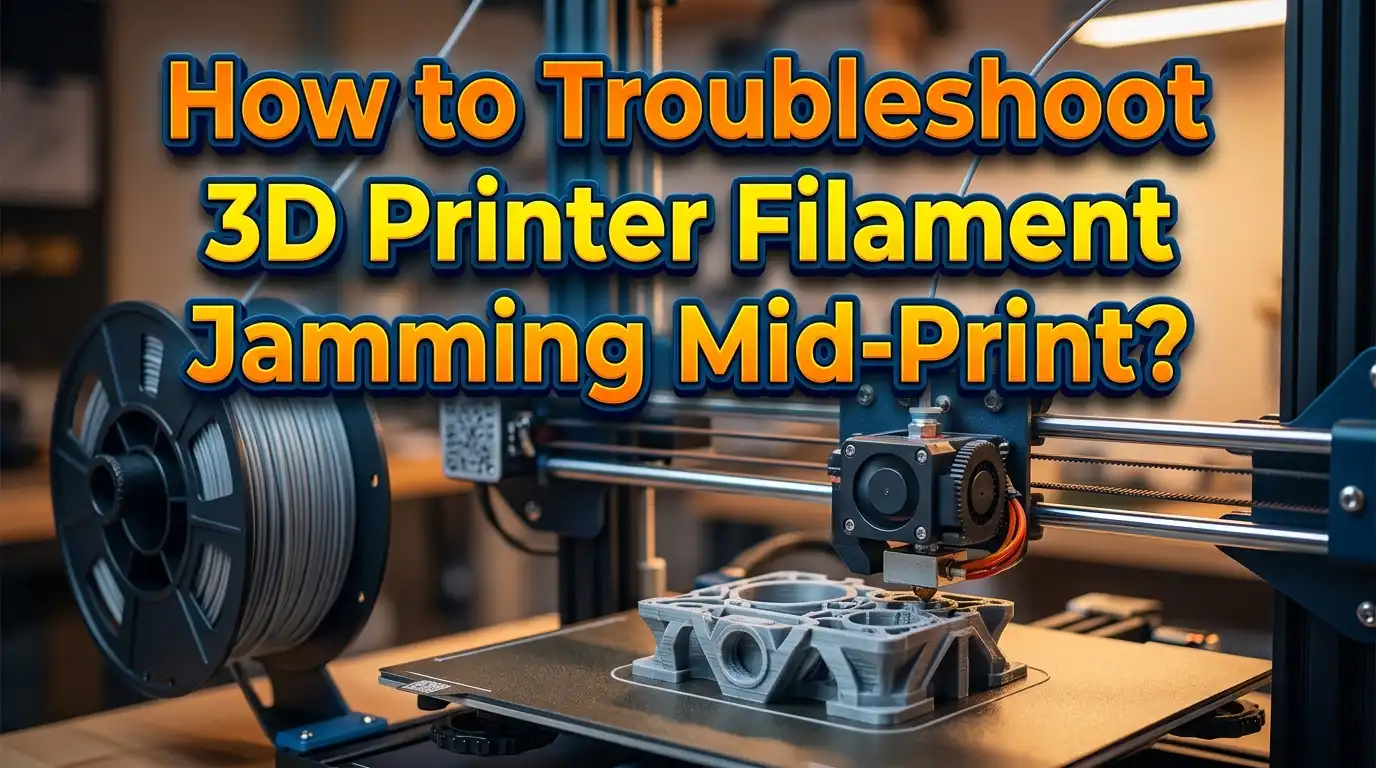
How to Troubleshoot 3D Printer Filament Jamming Mid Print?
You pressed start, watched those first layers go down perfectly, and walked away feeling confident. Then you came back to find the extruder clicking, filament chewed to a pulp, and your print ruined halfway through. If this sounds familiar, you are not alone.
The good news is that filament jams are almost always fixable. The bad news is that the causes can range from a tangled spool to a failing thermistor.
This guide walks you through every possible reason your filament jams during a print and gives you clear, practical solutions for each one.
Key Takeaways
- Filament jams mid print usually come from a small number of common causes. These include partial nozzle clogs, heat creep, incorrect retraction settings, tangled spools, and worn extruder gears. Most of these problems have quick fixes once you identify the root cause.
- Always start with the simplest explanation first. Check the spool for tangles, make sure the filament is not brittle from moisture, and verify that the extruder gear is clean before you start disassembling your hot end.
- Heat creep is a silent and common cause of mid print jams. It happens when heat travels up from the nozzle into the cold zone, softening filament before it reaches the melt zone. Good cooling and correct retraction settings prevent this.
- The cold pull method is your best friend for clearing clogs. It removes debris from inside the nozzle without disassembly and should be part of your regular maintenance routine.
- Proper filament storage prevents many jams before they happen. Moisture causes filament to swell, pop, and jam. Store your spools in airtight containers with desiccant packs to keep them dry.
- Slicer settings matter as much as hardware. Wrong temperatures, excessive retraction distance, and misconfigured flow rates can all cause jams on a perfectly functional printer.
What Exactly Is a Filament Jam
A filament jam occurs when the filament cannot move through the feed path from the spool to the nozzle. The extruder motor keeps trying to push the material forward, but something blocks the flow. You will often hear a clicking or thumping sound from the extruder when this happens.
The extruder gear then starts grinding into the stationary filament. This creates a groove or flat spot on the filament that prevents the gear from gripping it. Once the filament is chewed through, the extruder loses all traction and extrusion stops completely. Your printer keeps moving along its programmed path, but nothing comes out of the nozzle.
It is important to understand that a filament jam is different from a clogged nozzle. A jam typically occurs upstream in the extruder, Bowden tube, or heat break area. A clog happens at the nozzle tip itself. The symptoms look similar from the outside, but the fixes can be quite different. Knowing where the blockage is saves you a lot of time during troubleshooting.
Some jams are partial, meaning filament still flows but at a reduced rate. These partial jams cause under extrusion, thin layers, and gaps in your print. They can be harder to notice until the problem gets bad enough to stop extrusion entirely.
Check Your Filament Spool First
The simplest cause of a mid print jam is a problem with the filament spool itself. Always check the spool before you start taking apart your extruder or hot end. This quick inspection can save you significant time.
Look at the spool and see if the filament has crossed over itself or formed a knot. Tangles happen when the free end of the filament slips under another loop on the spool. Once the printer pulls the filament up to that knot, the spool locks and extrusion stops. This is especially common with new spools that were not wound properly at the factory.
Make sure the spool rotates freely on its holder. A spool that wobbles, catches on the holder, or has too much friction will resist the pull of the extruder. This extra resistance can be enough to cause the extruder gear to slip and grind the filament. Some spool holders work better than others, so consider whether yours provides smooth, low friction rotation.
Also check whether the filament path from the spool to the extruder has any sharp bends. A smooth, gentle curve with no tight angles reduces feed resistance. If your filament has to make a sharp turn before entering the extruder, it adds unnecessary force that can contribute to jams, especially during fast retractions.
Test Your Filament for Moisture and Brittleness
Filament absorbs moisture from the air over time. This is true for all filament types, but nylon, PETG, and TPU are especially prone to moisture absorption. Even PLA can degrade if left out in humid conditions for weeks or months.
Wet filament causes several problems during printing. The moisture turns to steam inside the hot end, creating bubbles and popping sounds. This steam pressure disrupts the smooth flow of melted plastic through the nozzle. You might see rough surfaces, tiny holes in your layers, or inconsistent extrusion before the filament eventually jams.
A simple test for moisture damage is to bend a piece of filament. Dry PLA should bend and flex. If it snaps cleanly with little effort, it has absorbed too much moisture and become brittle. Brittle filament can break inside the Bowden tube or extruder, leaving a piece stuck that blocks the path for new filament.
The fix is to dry your filament. You can use a dedicated filament dryer or a food dehydrator set to the correct temperature for your material. PLA dries well at around 45°C for four to six hours. PETG and nylon may need higher temperatures and longer drying times. For prevention, always store unused spools in sealed bags or containers with silica gel desiccant packs. This one habit alone can prevent a large percentage of filament jams.
Inspect and Clean the Extruder Gear
The extruder gear is the small toothed wheel that grips the filament and pushes it forward. Over time, this gear accumulates plastic debris from previous jams and normal wear. When the teeth fill up with ground plastic, the gear loses its ability to grip the filament properly.
Open up your extruder assembly and look at the drive gear closely. You may see packed plastic shavings between the teeth. Use a small brass brush or a toothpick to clean out the debris. Compressed air can also help remove fine particles from the gear teeth. Do this cleaning regularly as part of your maintenance routine.
While you have the extruder open, check the tension setting. Most extruders have a spring loaded arm that presses an idler bearing against the drive gear, sandwiching the filament between them. If the tension is too loose, the gear will slip on the filament. If the tension is too tight, it will crush the filament flat, making it wider than the feed path and causing a jam downstream.
Also check whether the gear is properly aligned with the filament path. The teeth should contact the filament right at its center. Misalignment causes uneven pressure and can push the filament to one side, where it catches on the edge of the feed hole. After cleaning and adjusting, feed filament through by hand to confirm smooth operation before starting a print.
Understand and Prevent Heat Creep
Heat creep is one of the most common causes of mid print filament jams, and many users do not realize it is happening. Heat creep occurs when thermal energy from the heater block travels upward through the heat break into the cold zone of the hot end. This causes the filament to soften too early, before it reaches the melt zone.
When filament softens in the cold zone, it expands and sticks to the inner walls of the heat break or Bowden tube. This creates a plug that the extruder cannot push through. Heat creep jams often happen during long prints because the heat has more time to migrate upward. Short prints may finish without any issue, which makes this problem confusing to diagnose.
The heat break relies on active cooling from a small fan to maintain a sharp temperature transition between the hot and cold zones. If this fan is failing, running slowly, or blocked by dust, heat creep becomes much more likely. Check that your hot end cooling fan spins freely and moves a good amount of air over the heat sink fins.
Printing in an enclosed chamber can also increase heat creep because the ambient temperature rises. If you use an enclosure, make sure the hot end fan still gets enough cool air. Reducing your printing temperature by five to ten degrees can also help if you notice heat creep only happens on long prints. Additionally, check your retraction settings, because excessive retraction pulls molten filament up into the cold zone and accelerates the problem.
Clear a Clogged Nozzle with the Cold Pull Method
A partial or full nozzle clog is a direct cause of filament jams. Debris, carbonized filament, or leftover material from a previous print can block the narrow opening of the nozzle. The cold pull method is the most effective way to clear this blockage without removing or replacing the nozzle.
Start by removing the current filament from the extruder. Load a piece of light colored filament such as white PLA or nylon. Heat the nozzle to the normal printing temperature for that material and manually push the filament through until you see it flow out of the nozzle tip.
Now turn off the heater and let the temperature drop. For PLA, wait until it reaches about 90°C. For nylon, wait until about 140°C. At this temperature, pull the filament firmly and quickly straight out of the hot end. The tip of the extracted filament should have the shape of the inside of your nozzle.
Examine the tip closely. If you see dark specks, black residue, or discolored material embedded in it, the pull successfully removed debris. Cut off the dirty tip, reheat, and repeat the process until the pulled filament comes out clean. Most clogs clear within three to five cold pulls. This method is safe, effective, and should be done as preventive maintenance every few weeks of active printing.
Adjust Your Retraction Settings
Retraction is a slicer setting that briefly reverses the extruder motor to pull filament backward. This prevents stringing and oozing when the nozzle travels across open spaces. However, incorrect retraction settings are a frequent cause of mid print jams.
If the retraction distance is set too high, the extruder pulls molten filament up out of the melt zone and into the cooler part of the hot end. The molten plastic then solidifies in the cold zone and creates a plug. This is a primary trigger for heat creep jams. For Bowden tube printers, a retraction distance of 4 to 6 mm is usually appropriate. For direct drive extruders, 0.5 to 2 mm is typical.
Retraction speed also matters. If the speed is too fast, the extruder gear can strip the filament during the retraction move, especially if the filament is already soft. A retraction speed between 25 and 45 mm per second works well for most setups. Start with conservative values and increase only if you still see stringing.
If your print has many retraction moves in a short area, the repeated back and forth motion can grind the same spot on the filament repeatedly. Some slicers offer a “maximum retraction count” setting that limits how many times the extruder retracts within a given length of filament. Enabling this feature protects the filament from excessive wear in retraction heavy prints.
Set the Correct Printing Temperature
Every filament type has a recommended temperature range printed on the spool or listed on the manufacturer’s data sheet. Printing too cold means the filament does not melt fully, which creates back pressure that the extruder cannot overcome. This results in grinding and a jam.
Printing too hot usually does not cause jams directly, but it contributes to heat creep and makes the filament inside the hot end very runny. Overly fluid filament can ooze and carbonize around the nozzle, building up residue that eventually leads to a partial clog. The ideal temperature is one where the filament flows smoothly with good layer adhesion but does not drip or string excessively.
A temperature tower is a useful test print that changes the nozzle temperature at each level. It lets you visually compare print quality at different temperatures and find the sweet spot for your specific spool of filament. Two spools of PLA from different manufacturers can have different ideal temperatures, so this test is worth running for each new brand or color you try.
Watch the temperature reading on your printer’s display during a print. If the actual temperature drops significantly below the target or fluctuates wildly, there may be a hardware issue with the heater cartridge or thermistor. A faulty thermistor can send wrong readings to the mainboard, causing the heater to behave erratically and leading to inconsistent extrusion.
Examine the PTFE Tube and Feed Path
If your printer uses a Bowden tube setup, the PTFE tube is a critical part of the filament feed path. Any damage, deformation, or blockage in this tube can cause enough friction to jam the filament mid print.
Remove the PTFE tube from both ends and look through it. It should be a clear, unobstructed channel. Check the ends of the tube for signs of heat damage. The end that sits inside or near the hot end often darkens, shrinks, or deforms from prolonged heat exposure. This narrowing creates a bottleneck that restricts filament flow.
If you see damage at the end of the tube, use a sharp blade to trim off the affected section. Make sure the cut is clean and square, not angled. An angled cut creates a gap between the tube and the nozzle where molten filament can pool and solidify, forming a plug. Some users replace the PTFE tube entirely every few months as a preventive measure.
Also check for kinks or tight bends along the length of the tube. A kinked Bowden tube adds significant friction to the filament path. Route the tube so that it makes smooth, gentle curves with no sharp angles. If your printer setup forces the tube into a tight bend, consider using a tube guide or relocating the spool holder to improve the routing.
Check Nozzle Height and First Layer Calibration
A nozzle that is too close to the print bed during the first layer can cause a filament jam. When the gap between the nozzle and the bed is too small, the extruded filament has nowhere to go. This creates back pressure that pushes filament backward into the extruder, leading to grinding and a jam.
The first layer should be slightly squished but not completely flat. You should see individual lines with slight overlap between them. If the first layer looks translucent or the nozzle drags across it, the nozzle is too close. Raise the Z offset slightly until the first layer has a healthy appearance.
Many printers have automatic bed leveling, but the Z offset still requires manual fine tuning. Use a piece of standard printer paper as a feeler gauge. Slide it between the nozzle and the bed. You should feel slight friction but still be able to move the paper. This gives a gap of roughly 0.1 mm, which is a good starting point for most printers.
A bed that is not level can also contribute to jams. If one corner is too high, the nozzle will be too close in that area and may jam when printing moves to that section of the bed. Run your printer’s bed leveling routine before long or important prints, and check the leveling periodically as it can shift from vibrations during printing.
Review Your Slicer Settings for Flow and Speed
Sometimes the hardware is perfectly fine, but the slicer settings create conditions that cause a jam. Print speed, flow rate, and layer height all affect how much filament the extruder needs to push through the nozzle per second.
If the print speed is too fast for the nozzle temperature, the filament cannot melt quickly enough. The extruder pushes harder and harder against filament that has not fully liquefied, which eventually causes the gear to grind and slip. Reducing the print speed by 10 to 20 percent can solve this problem, especially with larger nozzle sizes or higher layer heights that demand more material flow.
The flow rate or extrusion multiplier controls how much filament the printer pushes out relative to what the slicer calculates. A flow rate set too high forces more material through the nozzle than it can handle, creating excess pressure. Most prints work well with a flow rate between 95 and 105 percent. Calibrate this value by printing a single wall cube and measuring the wall thickness with calipers.
Layer height should also match your nozzle size. A good rule of thumb is to keep the layer height between 25 and 75 percent of the nozzle diameter. For a standard 0.4 mm nozzle, this means layer heights between 0.1 and 0.3 mm. Going outside this range increases the risk of extrusion problems and potential jams.
Inspect the Hot End Cooling Fan
The hot end cooling fan is a small but critical component. Its job is to keep the heat sink and cold zone of the hot end cool so that filament remains solid until it enters the melt zone. If this fan fails, heat creep becomes almost inevitable on longer prints.
Listen to the fan during a print. It should spin quietly and consistently. A fan that makes grinding noises, stops intermittently, or does not spin at all needs immediate replacement. These fans are inexpensive and easy to swap on most printers. Running a print without a functioning hot end fan is a recipe for repeated jams.
Dust and debris can accumulate on the fan blades and heat sink fins over time. Use compressed air to blow out dust from the heat sink and fan assembly every few weeks. This keeps airflow at its maximum and prevents heat from building up in the cold zone.
Do not confuse the hot end cooling fan with the part cooling fan. The part cooling fan blows air on the printed layers to cool them after extrusion. The hot end cooling fan blows air on the heat sink above the heater block. Both fans are important, but only the hot end fan directly prevents filament jams from heat creep. Make sure the hot end fan runs at full speed whenever the hot end is heated, even during idle or preheat.
Check for Firmware and Electronics Issues
If you have ruled out all mechanical and slicer related causes, the problem might be with the printer’s electronics or firmware. These issues are less common but can cause extrusion to stop mid print.
The extruder stepper motor is driven by a stepper driver on the mainboard. If this driver overheats, it can shut down temporarily, causing the extruder to stop pushing filament. The motor may resume after cooling down, but by then the damage is done. Make sure the mainboard enclosure has proper ventilation and that any cooling fans on the electronics are working.
A faulty thermistor can send incorrect temperature readings to the printer’s control board. If the reported temperature is higher than the actual temperature, the printer may not heat the nozzle enough, causing filament to remain partially solid and jam. Watch the temperature display for erratic jumps or impossible readings like negative values. These are signs of a damaged or loose thermistor.
Firmware updates from the printer manufacturer can fix bugs that cause extrusion errors. Check the manufacturer’s website or community forums for the latest firmware version. Updating firmware is usually straightforward and can resolve mysterious issues that do not have an obvious hardware explanation. Always back up your current settings before updating.
Build a Preventive Maintenance Routine
The best way to deal with filament jams is to prevent them from happening in the first place. A simple maintenance routine performed regularly can eliminate most causes of mid print jams and keep your printer running smoothly for months.
Clean the extruder gear every few prints, especially after a jam. Perform a cold pull every two to four weeks of active printing to clear any buildup inside the nozzle. This is quick to do and keeps the nozzle clear before a partial clog becomes a full blockage.
Inspect the PTFE tube monthly. Trim or replace it if the hot end shows any signs of heat damage. Check all fans for dust buildup and clean them with compressed air. Verify that both the hot end cooling fan and the part cooling fan spin freely and at full speed.
Store all filament in sealed containers with desiccant when not in use. Label your containers with the date you opened the spool so you know how long each roll has been exposed to air. This helps you prioritize which spools to use first and when to dry filament before printing.
Keep a simple log of any jams you experience. Note the filament type, print settings, and what fixed the problem. Over time, this log becomes a personal troubleshooting guide that helps you identify patterns and prevent recurring issues. A few minutes of maintenance after each print session saves hours of frustration later.
Frequently Asked Questions
Why does my 3D printer jam only during long prints?
This is a classic sign of heat creep. During short prints, the heat does not have enough time to travel up through the heat break into the cold zone. On long prints, the thermal energy gradually saturates the area above the melt zone. The filament softens prematurely, expands, and sticks to the inner walls, forming a plug. Make sure your hot end cooling fan works properly, reduce retraction distance, and consider lowering the print temperature by a few degrees.
Can I reuse filament that has been chewed by the extruder gear?
It is best not to. The ground section of filament has lost its consistent diameter, so the extruder gear cannot grip it properly. If you try to feed a chewed piece back through the extruder, it will likely slip and jam again immediately. Cut off the damaged section and feed fresh filament from above the damaged area.
How often should I replace my nozzle to prevent jams?
Brass nozzles are consumable parts. If you print regularly with standard PLA or PETG, a brass nozzle can last several hundred hours of printing before it shows significant wear. However, if you print with abrasive filaments like carbon fiber or glow in the dark materials, the nozzle wears much faster. Replace the nozzle when you notice consistent under extrusion or rough print quality despite clean settings.
What is the difference between a filament jam and a clogged nozzle?
A filament jam occurs when the filament gets stuck somewhere along the feed path before the melt zone. The blockage is usually in the extruder, Bowden tube, or heat break area. A clogged nozzle is a blockage specifically at the nozzle tip, caused by carbonized material or debris. Jams cause the extruder gear to grind the filament, while clogs often result in thin, uneven extrusion or no flow at all.
Do all metal hot ends reduce filament jams?
All metal hot ends eliminate the PTFE tube from the melt zone, which removes one potential failure point. They handle higher temperatures better and are less prone to degradation over time. However, all metal hot ends can be slightly more prone to heat creep with PLA because the metal heat break conducts more heat than a PTFE lined one. Proper cooling and retraction settings are still essential regardless of hot end type.
How do I know if my retraction settings are causing jams?
A key indicator is that jams happen during prints with many travel moves and retractions but not during prints with continuous extrusion. Reduce your retraction distance by 1 to 2 mm and lower the retraction speed by 10 mm per second. Run a test print and observe the results. If the jams stop but stringing increases, find a middle ground that balances both.
I’m the voice behind Device Dossier. As a printing technology enthusiast, I spend my time testing printers, comparing specs, and writing honest reviews to help you find the perfect printing solution. When I’m not geeking out over print quality and page yields, you’ll find me exploring the latest in tech.