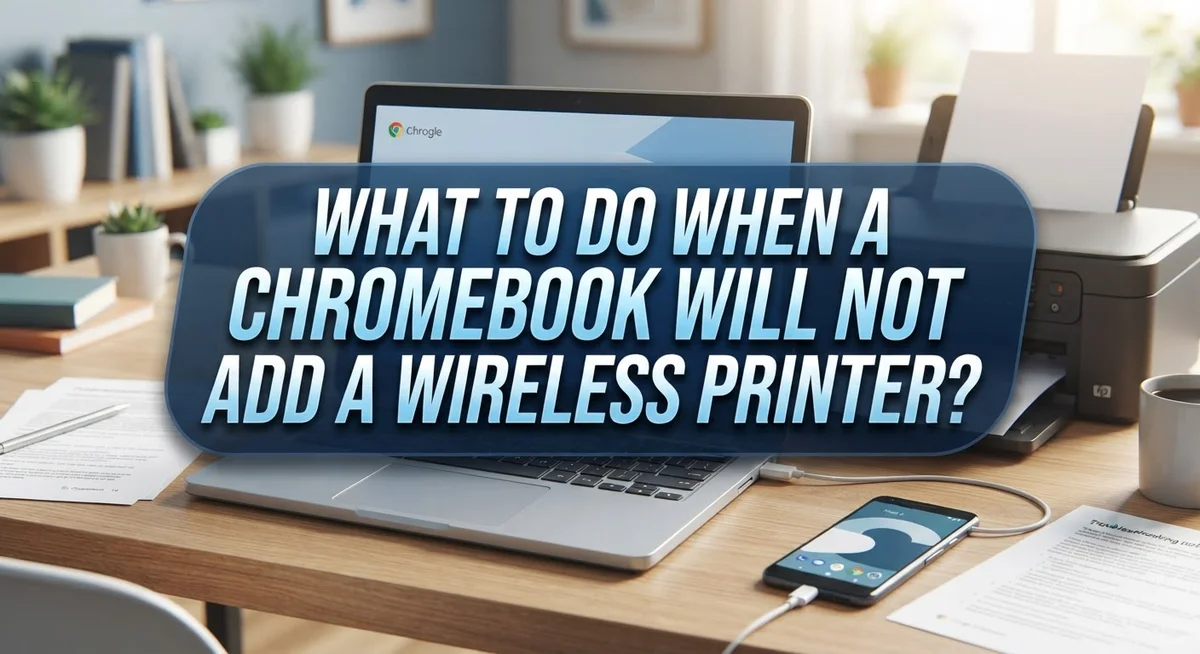
What to Do When a Chromebook Will Not Add a Wireless Printer?
Trying to print a document, but your Chromebook will not add a wireless printer? You are not alone. This is one of the most common issues Chromebook users face.
The good news is that this problem is usually easy to fix. Most connection issues happen because of small, simple things.
This guide will walk you through every step to solve the problem. We will show you how to check your Wi-Fi connection first. Then, we will explain how to find your printer in Chromebook Settings.
In a Nutshell
- Check your Wi-Fi first. Your Chromebook and printer must connect to the same wireless network. This is the most common reason printers do not show up.
- Restart both devices. A simple restart of your Chromebook and printer often clears small glitches. This fixes many connection problems instantly.
- Search for the printer setting. Go to your Chromebook Settings and type “printer” in the search bar. This takes you straight to the right menu.
- Add the printer manually if needed. If your printer does not appear automatically, use the Add Manually option. Enter the printer details carefully.
- Watch for typos. Small mistakes in printer names or addresses can stop the connection. Double check everything before saving.
- Confirm printer compatibility. Some older printers may not work well with Chromebooks. Check your printer’s specs if problems continue.
How Chromebook Wireless Printing Works
Chromebook wireless printing works through a direct connection between your device and printer over the same Wi-Fi network. Both devices communicate without needing special software or older cloud services.
When you want to print, your Chromebook sends the document to your printer through your home or office network. The printer receives this information and produces your physical copy. This process happens automatically once the connection is established.
Your printer must be Wi-Fi enabled to work with a Chromebook. Most modern wireless printers have this feature built in. The printer needs to connect to your network just like your Chromebook does. You can usually find this setting in your printer’s menu or control panel.
The connection process is straightforward. Your Chromebook searches for available printers on the same network. When it finds your printer, you select it from a list. Your Chromebook stores this information so future printing is quick and easy.
Network compatibility is essential for this system to work. If your Chromebook connects to one Wi-Fi network and your printer connects to a different one, they cannot communicate. They must share the exact same network name and connection.
Modern Chromebooks no longer require Google Cloud Print, which Google discontinued in 2021. This means setup is simpler than before. Your Chromebook handles printing directly to your device without extra steps or accounts.
Sometimes printers do not appear automatically in your available list. This happens when network settings block visibility or when you need to add manual information. Chromebooks allow you to add printers manually by entering specific details about your device.
Understanding this basic process helps you troubleshoot problems quickly. You will know exactly where communication should happen and what might be blocking it.
Before You Begin: Requirements and Compatibility Checks
Before you try to connect your Chromebook to a wireless printer, gather a few key pieces of information. This prep work saves time and prevents frustration later.
First, confirm that your printer supports Wi-Fi connectivity. Not all printers have wireless capability, so check your printer’s manual or specifications. Look for terms like “wireless,” “Wi-Fi enabled,” or “network ready.” If your printer only has a USB port, it cannot connect wirelessly to your Chromebook.
Next, verify that your Chromebook has Wi-Fi turned on. Go to the bottom right corner of your screen and check the network icon. You should see your Wi-Fi network name listed. If Wi-Fi is off, turn it on before proceeding.
Make sure both your Chromebook and printer are connected to the same Wi-Fi network. This is the most common reason connections fail. Check your printer’s settings or display panel to see which network it uses. Your Chromebook should show the same network name.
Gather your printer’s model number and name. You will need this information when adding the printer manually. This detail appears on your printer’s label or in its settings menu.
Check that your printer is powered on and ready. Many printers enter sleep mode after a few minutes. Wake it up and ensure no error lights are flashing on the device.
Finally, make sure your Chromebook’s operating system is up to date. Outdated software can cause connection problems. Go to Settings, click “About Chrome OS,” and check for updates.
These quick checks take just a few minutes but prevent most connection problems before they start.
Step-by-Step: Adding a Wireless Printer to Your Chromebook
Start by opening your Chromebook’s Settings menu. Look for the search bar at the top and type “printer” to find the printing options quickly.
Your Chromebook will display a list of available printers on your network. If you see your printer listed, click on it to select it. The system will attempt to connect automatically.
If your printer appears in the list, click “Add” or “Connect” to complete the pairing. Your Chromebook will confirm when the connection succeeds. You should see a notification showing your printer is now ready to use.
In cases where your printer does not show up automatically, look for an “Add Manually” or “Add Printer” button. Click this option to enter your printer’s details by hand.
When adding manually, you will need your printer’s network address or IP address. This information is usually found on your printer’s settings menu or control panel. Check your printer’s display screen or printed documentation for guidance on locating this address.
Type the printer information carefully into the fields provided. Double check every character to avoid typos that could prevent connection. Small spelling mistakes or number errors will cause the setup to fail.
After entering the details, click “Add” to save your printer to the Chromebook. The system will test the connection and notify you if it succeeds.
Once your printer connects successfully, it will appear in your list of available devices. You can now print documents directly from your Chromebook. Test the connection by printing a sample page to confirm everything works properly.
Manually Adding a Printer When Auto-Detection Fails
When your printer doesn’t appear in the automatic list, you can still connect it manually. This approach works well when auto-detection fails for various reasons.
Start by opening your Chromebook’s Settings menu. Look for the printer section by searching “printer” in the settings search bar. You’ll see options for available printers, but you also need to find the “Add Manually” or “Add Printer” button. This button lets you enter printer details directly instead of waiting for automatic discovery.
You’ll need your printer’s network address to proceed. This is called the IP address. You can find this information in your printer’s settings menu or on the printer’s display screen. Check your printer’s manual if you’re unsure where to look. Write down the IP address carefully before starting.
Return to your Chromebook and enter the IP address in the provided field. Type slowly and double-check each number and period. Typos are the most common reason manual connections fail. Even one wrong digit prevents your Chromebook from finding the printer.
After entering the IP address, click the “Add” button to save your printer. Your Chromebook will attempt to connect using the information you provided. Wait a few moments for the connection to establish.
If the connection still doesn’t work, restart both your Chromebook and printer. Power off each device completely, wait 30 seconds, then turn them back on. This simple step resolves many connection issues. After restarting, try adding the printer manually again using the same IP address. The connection should work this time in most cases.
Common Mistakes That Prevent Printer Connections
One of the biggest reasons your Chromebook won’t add a wireless printer comes down to simple mistakes that are easy to fix. Understanding these errors helps you solve connection problems fast.
The most common mistake is having your devices on different Wi-Fi networks. Your Chromebook and printer must connect to the exact same network to communicate. Check your Chromebook’s Wi-Fi settings and confirm the network name. Then verify your printer is also on that same network. Many people overlook this step and spend hours troubleshooting when the real problem is network mismatch.
Another frequent error involves typos when entering printer information manually. A single wrong character in the printer’s name or network address stops the connection completely. Type slowly and double check each letter and number before clicking add. Even one misplaced digit ruins the entire process.
Forgetting to enable Wi-Fi on your Chromebook creates instant connection failure. Your device needs Wi-Fi turned on to find and communicate with your printer. Check your Chromebook’s quick settings menu to confirm Wi-Fi is active.
People also attempt connections without restarting their devices first. Both your Chromebook and printer benefit from a fresh restart. Power off both devices completely, wait 30 seconds, then power them back on. This clears temporary errors that block connectivity.
Additionally, many users try connecting before their printer finishes its startup process. Give your printer at least two minutes after powering on before attempting connection. The printer needs time to join the network properly.
Finally, using outdated printer drivers or incompatible printers causes problems too. Check that your specific printer model works with Chromebooks before spending time on troubleshooting steps.
Troubleshooting Persistent Connection Problems
When your Chromebook refuses to add a wireless printer after initial troubleshooting, you need a systematic approach. Start by restarting both devices completely. Power off your Chromebook fully, then shut down your printer. Wait 30 seconds, then power them back on in this order: printer first, then Chromebook. This simple step fixes most stubborn connection issues.
Next, verify your network connection. Check that both devices truly connect to the same Wi-Fi network. Open your Chromebook’s Wi-Fi menu and confirm the network name. Then check your printer’s network settings directly on its control panel or through its own settings menu. Devices on different networks will never communicate.
If problems persist, forget the printer connection and try adding it fresh. Go to Settings, search for “printer,” and remove the problematic printer from your saved list. Then attempt the connection process again from scratch.
Check your printer’s compatibility with Chromebook. Visit your printer manufacturer’s support page to confirm it works with Chromebook operating systems. Some older printers lack the necessary wireless drivers for Chrome OS.
Test your Wi-Fi signal strength. Move your printer closer to your router temporarily. Weak signals cause connection failures. If the printer connects successfully at closer range, you’ve found your issue.
Restart your router as a final step. Unplug it for 60 seconds, then plug it back in. This refreshes your entire network and often resolves stubborn connectivity problems that affect multiple devices.
If none of these steps work, your printer may need a firmware update or have a hardware issue preventing wireless communication.
Fixing a Printer That Stops Working After a Previous Successful Setup
When your printer worked before but suddenly stopped connecting, the problem usually stems from a temporary glitch rather than a permanent issue. The first step is to restart both devices completely. Power off your Chromebook and printer, wait 30 seconds, then turn them back on. This simple action resolves most connection drops.
Next, verify both devices still connect to the same Wi-Fi network. Your printer may have disconnected from your network without you realizing it. Check your printer’s display panel or settings menu to confirm its network status. Your Chromebook should show the same network name in its Wi-Fi settings.
If restarting doesn’t work, remove the printer from your Chromebook and add it again fresh. Open your Chromebook’s Settings menu and search for “printer.” Find your printer in the available list and select it. The system will re-establish the connection from scratch.
Check your printer’s compatibility with your Chromebook model. Some older printers may have limited wireless support. Visit your printer manufacturer’s website to see if it officially supports Chromebook connections.
Test your Wi-Fi signal strength in the room where your printer sits. Weak signals cause connection failures. Move your printer closer to your router if possible.
If your printer still won’t connect, restart your router itself. Unplug it for 30 seconds, then plug it back in. Wait for all lights to stabilize before attempting to reconnect your printer.
Your printer may also need a firmware update to maintain compatibility. Check your printer’s settings or manufacturer’s website for available updates. If nothing works after these steps, your printer might have a hardware issue requiring professional service.
Tips to Keep Your Chromebook and Printer Connected Reliably
Keeping your Chromebook and printer connected reliably requires consistent attention to a few key practices. Start with network basics. Both your Chromebook and printer must stay on the same Wi-Fi network at all times. Check your network settings regularly to confirm they haven’t drifted to different connections.
Restart devices periodically. Even when everything works smoothly, occasional restarts prevent connection drift. Power down your printer and Chromebook once a week, then turn them back on. This simple step clears temporary glitches before they become problems.
Keep your printer within reasonable Wi-Fi range. Walls and distance weaken signals significantly. Position your printer in a central location where Wi-Fi reaches strongly. Move it away from microwave ovens and cordless phones, which interfere with wireless signals.
Verify printer compatibility with your specific Chromebook model. Check your printer’s manual or manufacturer’s website to confirm it supports Chromebook connections. Some older printers lack this capability entirely.
Monitor your printer’s status regularly. Check that it shows as online and ready. Many printers display their connection status on a small screen or through LED indicators.
Update firmware when available. Both your printer and Chromebook benefit from updates. These updates often fix connection problems and improve reliability. Enable automatic updates in your Chromebook settings whenever possible.
Test your connection by printing a simple document monthly. This catches problems early before they become serious. If printing fails, restart both devices immediately rather than waiting.
Save your printer’s network information in a safe place. Write down the printer’s name and IP address. This information helps you reconnect quickly if something goes wrong. Regular maintenance prevents most connection issues from developing in the first place.
Final Thoughts
Connecting a wireless printer to your Chromebook should feel simple. Most connection problems come from small issues. A wrong Wi-Fi network, a typo, or a printer that needs a restart often causes the trouble.
Patience makes a big difference here. Give your printer time to fully start up. Give your Chromebook time to search for available devices on the network.
Start with the basics every time. Check that both devices share the same Wi-Fi network. Confirm your printer is powered on and ready. These two checks solve most connection failures.
If automatic detection fails, try the manual option. Enter your printer’s details carefully into your Chromebook settings. Double check every letter and number before saving.
Restarting devices remains one of the most useful fixes. A quick restart of your Chromebook and printer clears many temporary glitches. This simple step often works when nothing else does.
Remember that printer compatibility matters too. Some older printers may not fully support Chromebook connections. Checking your printer’s specifications can save you time and frustration.
Network stability plays a role as well. A weak Wi-Fi signal can prevent your Chromebook from finding your printer. Moving your printer closer to your router sometimes helps.
Regular maintenance keeps things running smoothly. Test your printer connection every so often. This helps you catch problems early before they become bigger headaches.
Chromebooks are built to make printing easy. When you understand the basic steps, most connection issues become quick fixes rather than big frustrations.
With a little patience and these simple checks, you can get your Chromebook and printer working together again. Most problems have simple solutions. Stay calm, follow the steps, and your printer should connect without much trouble.
Frequently Asked Questions
Why doesn’t my printer appear in the available printer list?
Your printer may not show up because it’s on a different Wi-Fi network than your Chromebook. Double check that both devices connect to the same network. If they do share the network, try restarting your printer. Wait about two minutes, then refresh your Chromebook’s printer list.
If the printer still doesn’t appear, use the “Add Manually” option in your Chromebook settings. You’ll need your printer’s IP address or network name. Check your printer’s display panel or settings menu to find this information.
Can I add a printer manually if automatic detection fails?
Yes, absolutely. Go to your Chromebook Settings and search for “printer.” Select the option to add a printer manually. You’ll enter your printer’s network details directly instead of waiting for automatic detection.
Make sure you type the information carefully. Even small typos or misspellings can prevent the connection from working. Take your time entering the printer’s name and network address.
What should I do if my printer was working before but suddenly stopped?
Start by restarting both your Chromebook and printer. This fixes most temporary connection issues. Power off your printer completely, wait one minute, then turn it back on. Do the same with your Chromebook.
After both devices restart, check that they’re still on the same Wi-Fi network. Sometimes a device accidentally disconnects. If the problem persists, remove the printer from your Chromebook entirely and add it again as if it’s brand new.
Does my printer need to be compatible with Chromebooks?
Yes, printer compatibility matters for successful connections. Most modern wireless printers work with Chromebooks, but older models might not. Check your printer’s documentation or manufacturer website to confirm it supports Chromebook connections.
If your printer isn’t compatible, you may need to use a different printing method or consider a newer printer model.

I’m the voice behind Device Dossier. As a printing technology enthusiast, I spend my time testing printers, comparing specs, and writing honest reviews to help you find the perfect printing solution. When I’m not geeking out over print quality and page yields, you’ll find me exploring the latest in tech.