How to Fix Streaky and Smudged Print Quality on Laser Printers?
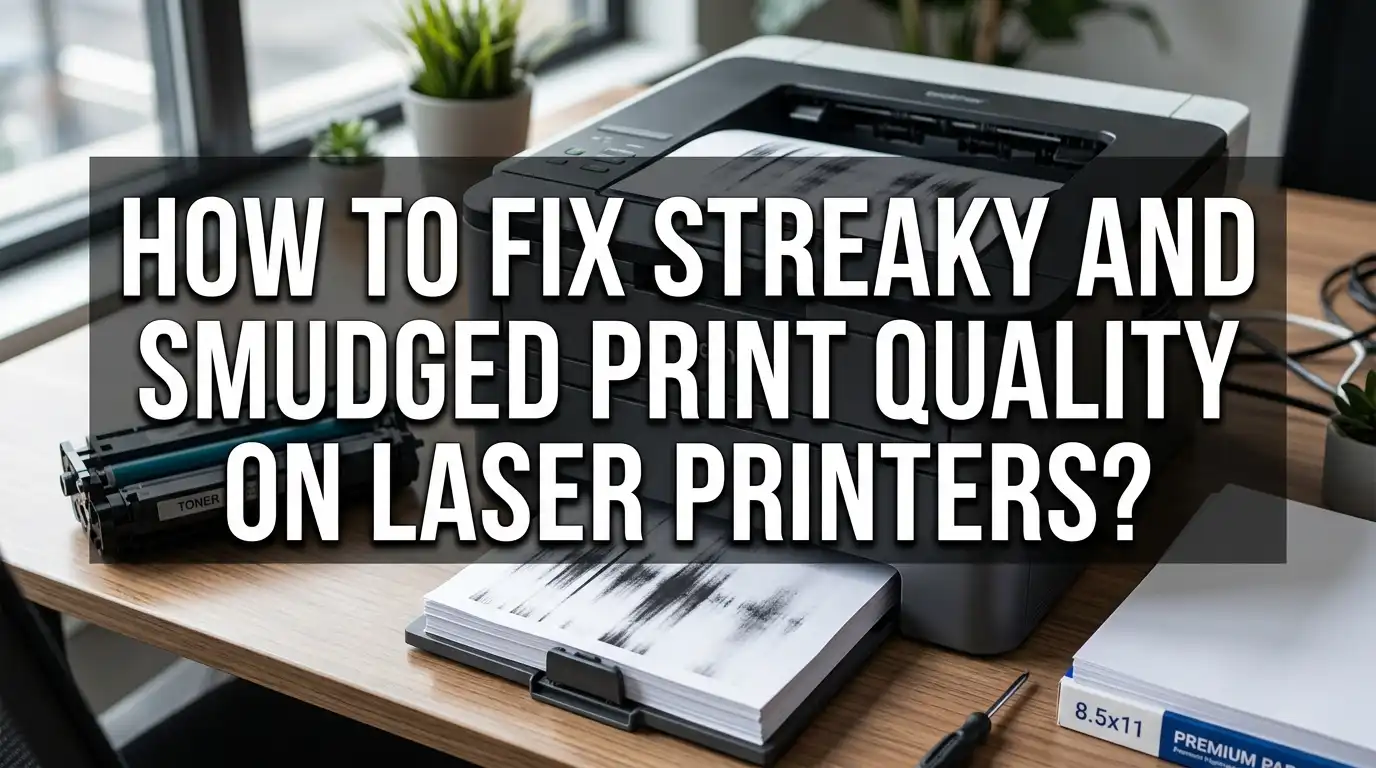
Streaky pages and smudged text can turn a simple print job into a frustrating mess. You need a clean report, but your laser printer keeps leaving marks all over it. The good news? Most of these problems have simple fixes.
Laser printers rely on toner, drums, and rollers working together. When one part gets dirty or worn out, your prints suffer. Smudges, streaks, faded text, and ghost images are common warning signs.
This article walks you through the exact steps to fix these issues. You will learn how to run a proper cleaning cycle on your printer. We will also cover how to check your toner cartridge and clean the imaging drum safely.
By the end of this guide, you will know how to spot the real cause of your print problems. You will also learn simple maintenance habits to keep your printer running smoothly. Let’s get your prints looking sharp again.
In a Nutshell
- Run a cleaning cycle first. Most laser printers have a built in cleaning feature. This simple step often solves minor streaking problems right away.
- Check your toner cartridge levels. Low or empty cartridges cause faded prints and smudges. Replace cartridges before they run completely dry.
- Clean the drum and corona wire gently. Residue buildup on these parts leads to ghosting and streaks. Always follow your manufacturer’s cleaning guidance for safe results.
- Inspect the rollers regularly. Dirty or worn rollers often cause smudging and paper jams. Clean them carefully as part of routine maintenance.
- Use dry, quality paper only. Damp or low quality paper creates streaks and smudges. Avoid paper with sticky or glue like coatings too.
- Skip compressed air and household cleaners. These common mistakes spread toner dust and damage internal parts. Stick to proper tools made for printer maintenance.
Common Causes of Streaks and Smudges on Laser Prints
Streaks and smudges on your laser printer output happen for specific reasons. Understanding these causes helps you fix the problem quickly and prevent it from happening again.
Toner cartridge issues are the most common culprit. When your toner runs low, the printer struggles to apply enough color to the page. This creates faint lines or uneven coverage. Empty cartridges make this problem worse. The cartridge may also leak if it’s damaged or installed incorrectly.
Drum and corona wire problems cause visible streaks too. The imaging drum transfers toner to your paper. When dust, toner residue, or debris builds up on the drum surface, it leaves marks on every page. The corona wire charges the drum, and buildup here produces similar streaking patterns.
Roller contamination affects print quality significantly. Your printer uses multiple rollers to move paper and apply toner. Dirty or worn rollers leave smudges across the page. Paper dust and toner particles accumulate on these parts over time.
Paper quality matters more than you think. Damp or low quality paper causes smudging. Moisture makes toner stick poorly to the surface. Paper with coatings or adhesive residue damages internal components and creates print defects.
Fuser unit problems result in smudged or faint output. This component heats and bonds toner to paper. When it malfunctions, toner doesn’t stick properly.
Environmental factors play a role too. High humidity causes paper to absorb moisture. Cold temperatures affect how toner behaves. Both situations lead to streaking and smudging.
Most of these issues are fixable with basic maintenance. Regular cleaning and using quality supplies prevent problems before they start.
Running a Built-In Printer Cleaning Cycle
A built in printer cleaning cycle is your first line of defense against streaks and smudges. This feature removes excess toner dust and residue from inside your machine automatically.
Start by accessing your printer’s menu. Most laser printers have a settings or maintenance button on the control panel. Look for options labeled “Cleaning,” “Maintenance,” or “Diagnostics.” The exact location varies by model, so check your printer’s manual if you’re unsure.
Once you find the cleaning cycle option, select it and let the machine run. This process typically takes 5 to 15 minutes. Your printer will move internal components and purge excess toner. During this time, avoid opening the printer or interrupting the cycle.
After the cleaning cycle finishes, print a test page. This helps you see if the streaks or smudges improved. A test page shows the actual print quality without any document variables affecting the results.
Run the cleaning cycle every few weeks for regular maintenance. If you print heavily, consider running it weekly. This prevents buildup before it causes visible problems on your output.
If streaks persist after one cleaning cycle, run it again. Sometimes stubborn residue needs multiple passes to clear completely. However, if problems continue after two or three cycles, the issue likely stems from something else like a low toner cartridge or contaminated drum.
The cleaning cycle works best as a preventive tool. Regular use keeps your printer in top condition and extends the life of internal components. Think of it like routine car maintenance. Small, consistent efforts prevent bigger problems down the road.
Checking and Replacing Toner Cartridges Correctly
Your toner cartridge plays a huge role in print quality. Low or empty cartridges cause faded prints, streaks, and smudges. Check your cartridge levels regularly through your printer’s display menu or settings panel.
Low toner signs include faint output, white streaks, or incomplete prints. Replace the cartridge immediately when you see these warning messages. Don’t wait until the cartridge is completely empty, as this damages internal components.
To replace a toner cartridge correctly, first power off your printer completely. Open the access door or front panel where the cartridge sits. Most printers have simple release levers or clips that hold the cartridge in place.
Gently pull the cartridge straight out toward you. Avoid tilting or shaking it, as loose toner inside can spill everywhere. Set it aside carefully on a clean surface.
Before inserting a new cartridge, inspect the cartridge slot inside your printer. Wipe away any visible toner dust with a soft, dry cloth. Do not use compressed air or wet materials here.
Take your new cartridge and remove all protective seals and tape from the outside. These covers prevent toner from leaking during shipping. Slide the new cartridge straight into the slot until you hear a click or feel it lock into place.
Close the access door firmly. Power your printer back on and print a test page. The test page should show clear, even coverage with no fading or streaks.
Always use cartridges approved by your printer manufacturer. Compatible or refilled cartridges sometimes cause quality problems. Keep spare cartridges stored in a cool, dry place away from direct sunlight. Proper storage prevents toner from clumping or drying out inside the cartridge.
Cleaning the Imaging Drum and Corona Wire Safely
The imaging drum and corona wire are sensitive components. They collect toner residue over time, which causes streaks and smudges on your prints. Cleaning them properly keeps your printer working well.
Start by powering off your printer completely. This protects you from electrical shock and prevents accidental damage. Wait a few minutes for the printer to cool down fully.
Open the access panel to locate the imaging drum. It’s usually a green or black cylindrical component. The corona wire sits near the drum. Handle both parts with extreme care since they’re delicate.
Use only soft materials for cleaning. A lint free cloth works best. Never touch the drum surface with your bare hands because skin oils cause permanent damage. Gently wipe the drum in one direction only, not back and forth.
For the corona wire, use a soft brush or cloth. Move slowly along the entire length of the wire. Remove all visible toner dust and residue buildup. This step takes patience but makes a real difference in print quality.
Avoid compressed air at all costs. It spreads fine toner particles into the air and into your lungs. It also pushes toner deeper into printer components where it causes more problems.
Let both components air dry completely before reassembling. This usually takes five to ten minutes. Replace any protective covers or panels you removed.
Print a test page after reassembly. The streaks should disappear or reduce significantly. Clean the drum and corona wire every few months, or more often if you print heavily. Regular maintenance prevents most print quality issues before they start.
Inspecting and Maintaining Rollers for Consistent Output
Rollers inside your laser printer move paper through the machine. Over time, these rollers collect dust, toner residue, and paper fibers. This buildup causes streaks, smudges, and misfeeds. Regular roller maintenance keeps your prints clean and consistent.
Start by powering off your printer completely. Open the access panels to locate the pickup rollers and feed rollers. These parts sit near the paper tray area. Look for visible dust or dark residue on the roller surfaces.
Use a soft, lint free cloth slightly dampened with distilled water. Gently wipe each roller in a circular motion. Never use harsh chemicals or household cleaners on rollers. These damage the rubber material and leave harmful residue.
For stubborn toner buildup, use a cloth with minimal moisture. Avoid soaking the rollers. Let them air dry completely before closing the panels. Damp rollers can cause paper jams and toner smudging.
Check your printer manual for the exact roller locations. Some models have easily accessible rollers, while others require removing the toner cartridge first. Follow your manufacturer’s guidance for your specific model.
Inspect rollers every month if you print frequently. Clean them every three months during regular maintenance. Replace rollers if they show cracks, permanent discoloration, or loss of grip. Worn rollers cannot grab paper properly and cause feed problems.
After cleaning, run a test page to check print quality. If streaks continue, the rollers may need replacement. Proper roller care prevents most paper feed issues and improves overall print output. Regular maintenance saves money by avoiding costly repairs and cartridge waste.
Paper Selection and Storage Best Practices
Paper quality affects your print output more than many people realize. Laser printers work best with paper that has the right moisture level and surface texture. Paper that is too wet absorbs toner unevenly and causes smudging. Paper that is too dry can create static electricity, which leads to streaks and spots.
Store your paper in a cool, dry location. Humidity levels between 40 and 50 percent work best. Keep paper in its original ream wrapper until you use it. This protects it from moisture changes in the air.
Avoid storing paper near windows, doors, or vents. Temperature swings and air drafts cause paper to absorb moisture unevenly. Never stack heavy items on top of paper reams. Pressure can damage the fibers and affect how toner sticks to the surface.
Use paper that your printer manufacturer recommends. Standard copy paper works well for most laser printers. Specialty papers like cardstock or glossy sheets may cause smudging if your printer is not designed for them. Check your printer manual for approved paper weights and types.
Before loading paper into your printer, fan the stack gently. This separates any stuck sheets and removes dust particles. Dust on paper surfaces causes streaks when rollers move the paper through the machine.
Never use damp paper in your laser printer. If your storage area has high humidity, let paper sit in your print room for 24 hours before use. This allows the paper to adjust to the room’s moisture level.
Rotate your paper stock regularly. Old paper can absorb moisture over time, even in storage. Fresh paper gives you the best print results and fewer quality problems.
Mistakes That Make Print Quality Worse
Using household cleaners is one of the biggest mistakes you can make with your laser printer. These products contain chemicals that damage internal components and leave residue behind. Stick to distilled water and lint free cloths only.
Compressed air seems helpful, but it’s actually harmful. When you spray compressed air inside your printer, fine toner particles scatter everywhere. They get into the air you breathe and settle deeper into your machine. This makes streaks and smudges worse, not better.
Ignoring low toner levels causes major print quality problems. Empty or nearly empty cartridges produce faded, streaky output. Replace cartridges as soon as your printer alerts you. Don’t wait until the cartridge is completely empty.
Neglecting drum and corona wire buildup is another common error. Residue accumulates on these parts over time. This buildup causes smudges and dark spots on your pages. Clean these components regularly according to your printer manual.
Using incorrect paper types creates unnecessary problems. Sticky, coated, or damp paper jams your printer and damages rollers. Always use paper that your manufacturer recommends. Check the weight and finish specifications in your printer manual.
Skipping regular maintenance leads to bigger issues later. Many people only clean their printer when problems appear. Regular maintenance prevents most streaking and smudging problems before they start. Run your printer’s built in cleaning cycle monthly if you print often.
Mixing cartridge types causes quality issues too. Refilled or incompatible cartridges sometimes work poorly with your specific printer model. Stick with cartridges approved by your manufacturer.
Finally, avoid opening internal components without proper guidance. Touching sensitive parts like the imaging drum can cause permanent damage. Always consult your manual before attempting any repairs.
Troubleshooting Persistent Print Defects
When your laser printer produces streaky or smudged output, the problem usually falls into one of four categories: cleaning issues, cartridge problems, paper quality, or worn components. Identifying which category applies helps you fix the issue faster.
Start by running your printer’s built in cleaning cycle. Most laser printers have this feature in the settings menu. Access your printer’s control panel and look for maintenance or cleaning options. This automated process removes loose toner and debris from internal surfaces. Let the cycle complete fully before printing a test page.
Next, check your toner cartridge levels. Low or empty cartridges produce faded streaks across your pages. Replace the cartridge if it’s running low. Don’t wait until it’s completely empty, as this damages print quality and can harm your printer.
Examine your paper next. Moisture is a major culprit behind smudging. If your storage area has high humidity, paper absorbs moisture and causes toner to smudge during printing. Store paper in a cool, dry location away from windows and doors. Fan the stack gently before loading it into your printer.
If cleaning and paper checks don’t solve the problem, internal components may need attention. The imaging drum and corona wire accumulate toner residue over time. This buildup causes persistent streaks and smudges. Follow your printer manual carefully when inspecting these parts. Use only soft, lint free cloths slightly dampened with distilled water.
Regular maintenance prevents most print quality problems. Check rollers monthly if you print frequently. Clean the paper path to remove debris. These simple steps keep your printer running smoothly and producing clear, professional output consistently.
Final Thoughts
Streaky and smudged prints don’t have to ruin your workday. Most problems come from simple causes. Cleaning cycles, toner checks, and paper care solve the majority of cases.
Your printer works hard every day. Small maintenance habits keep it running smoothly. A few minutes of care saves you hours of frustration later.
Start with the basics first. Run a cleaning cycle. Check your toner levels. These two steps fix many print quality issues.
If problems continue, look deeper. Examine your rollers for dust or wear. Check your imaging drum and corona wire for buildup.
Paper matters more than you think. Dry, quality paper prevents many smudging problems. Store it properly and your prints will look better.
Remember what not to do. Skip household cleaners and compressed air. These common mistakes make problems worse, not better.
Low toner cartridges cause more harm than people realize. Replace them early. Don’t wait until they’re completely empty.
Your printer manual holds useful answers. It shows you exact roller locations. It explains safe cleaning methods for your specific model.
Regular care prevents most streaking and smudging issues. Think of maintenance as prevention, not just repair. This mindset saves you time and money.
Some problems need professional help. If cleaning, toner checks, and paper adjustments don’t work, a technician can look deeper. Internal components sometimes need expert attention.
Most laser printer streaking and smudging problems have simple fixes. Clean regularly. Check toner often. Store paper correctly. Avoid common mistakes.
Follow these steps consistently. Your printer will reward you with clean, crisp prints every time. Good habits truly matter for long term printer health.
Frequently Asked Questions
Why does my laser printer produce faint or ghosted images?
Ghosting happens when toner doesn’t transfer properly to paper. This usually means your imaging drum has residue buildup. The drum picks up toner and transfers it to paper, but old toner particles block the process.
Run your printer’s cleaning cycle first. If faint printing continues, the imaging drum likely needs attention. Check your toner cartridge level too. Low toner causes faint output even when the cartridge isn’t empty.
Can I use compressed air to clean my laser printer?
No. Compressed air spreads fine toner particles everywhere inside your printer. Toner is powder that becomes airborne easily. Once it spreads, it contaminates other components and makes problems worse.
Use only the cleaning methods your printer manual recommends. Most modern printers have a built in cleaning cycle. Run this feature regularly. It safely removes toner dust without spreading particles around.
What paper problems cause smudging?
Moisture is the main culprit. Humid paper picks up moisture from the air. When toner heats and fuses to damp paper, smudging occurs. Store paper in a dry location and let it acclimate to your print room before use.
Also avoid sticky or coated papers unless your printer supports them. Check your manual for approved paper types. Quality paper prevents most smudging issues.
How often should I clean my laser printer?
If you print frequently, check rollers and components monthly. For light users, quarterly cleaning works fine. Regular maintenance prevents buildup before it causes problems.
Most importantly, run the built in cleaning cycle monthly. This keeps internal surfaces free of toner dust and extends your printer’s life.

I’m the voice behind Device Dossier. As a printing technology enthusiast, I spend my time testing printers, comparing specs, and writing honest reviews to help you find the perfect printing solution. When I’m not geeking out over print quality and page yields, you’ll find me exploring the latest in tech.