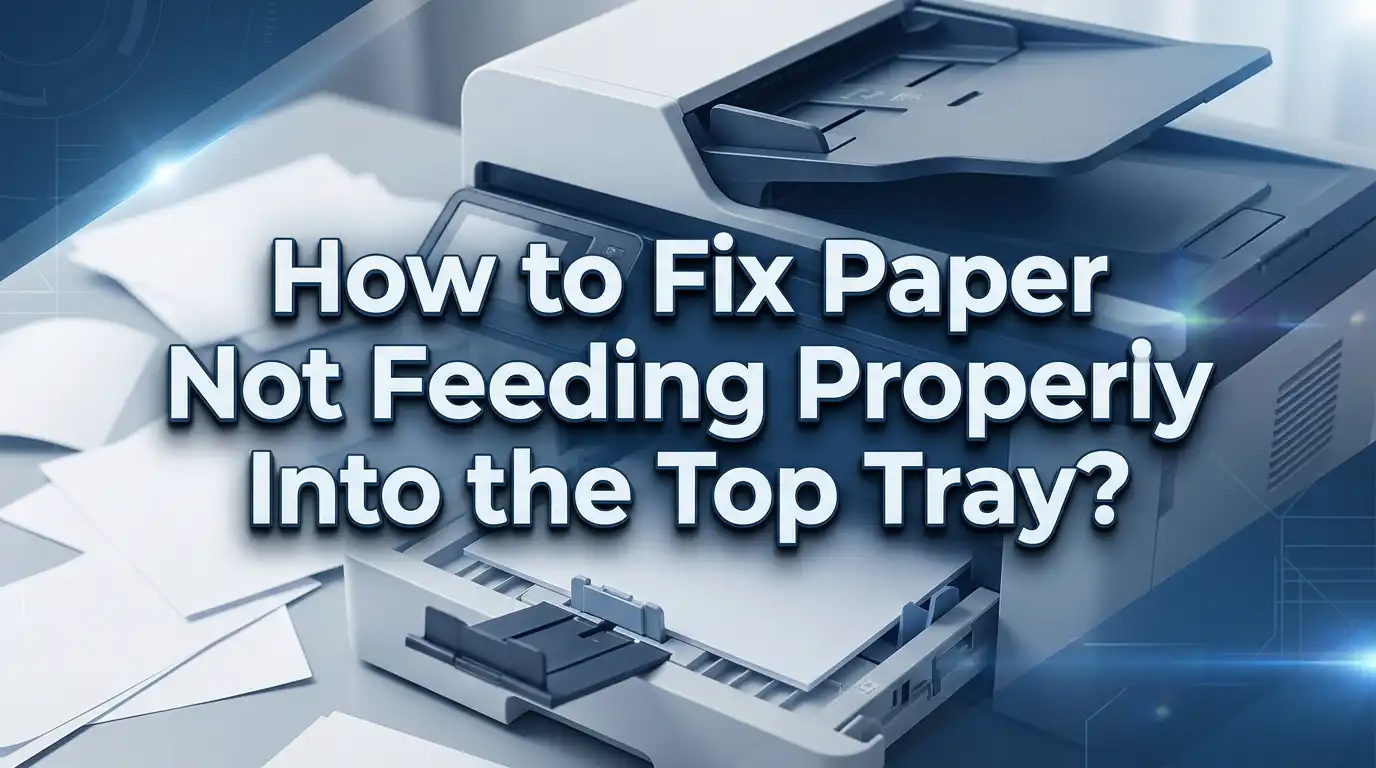
How to Fix Paper Not Feeding Properly Into the Top Tray?
You press print, walk over to your printer, and nothing comes out. The printer makes some noise, maybe a grinding sound, and then flashes an error. The paper is right there in the top tray, but the machine refuses to grab it. This is one of the most common and frustrating printer problems people face at home and in the office.
Paper feed failures can happen to any printer brand, whether you own an HP, Canon, Brother, Epson, or any other model. The good news is that most paper feeding issues have simple fixes you can do yourself without calling a technician. The problem usually comes down to dirty rollers, incorrect paper loading, wrong settings, or worn parts.
This guide walks you through every possible cause and fix for paper not feeding from the top tray. Each section covers a specific issue and gives you clear steps to solve it. By the end, you will know exactly what to check, what to clean, and when to replace parts.
In a Nutshell
- Dirty or worn pickup rollers are the number one reason printers fail to grab paper from the top tray. Cleaning them with a damp lint free cloth fixes the issue in most cases. If your printer makes a motor sound but the paper does not move, the rollers are almost certainly the problem.
- Incorrect paper loading causes more feed failures than most people realize. Overfilling the tray, using damp or curled paper, or setting the paper guides too tight can all stop the paper from entering the printer. Always fan the paper stack before loading and stay below the maximum fill line.
- Wrong printer driver settings can also block paper feeding. If your printer is set to pull from a manual feed slot or expects thick photo paper when you loaded plain sheets, it may refuse to feed. Always match the paper type and tray selection in your print settings to what is actually in the tray.
- Paper quality and storage conditions play a bigger role than expected. Paper stored in humid rooms absorbs moisture, curls, and sticks together. Fresh, dry paper from a sealed ream is the best way to test whether the paper itself is the issue.
- A simple power cycle clears many temporary sensor glitches. Turn off the printer, unplug it for 30 seconds, and plug it back in. This resets the internal sensors and feed motor and resolves many one time errors.
Understanding Why Paper Fails to Feed From the Top Tray
The paper feeding system in your printer relies on a precise balance of friction and separation. A small rubber roller called the pickup roller presses against the top sheet in the tray and uses friction to pull it forward. A second component called the separation pad sits below and ensures only one sheet advances at a time.
When any part of this system breaks down, feeding stops. Dust and paper fiber accumulate on the roller surface over time. This buildup makes the rubber slippery and reduces its grip. The roller spins, but the paper stays still.
Other factors also contribute to feed failures. Paper that is too damp, too dry, or curled does not sit flat in the tray, and the roller cannot grip it properly. Guides that are too tight press on the stack and create resistance. Guides that are too loose allow the paper to shift and enter the feed path at an angle.
Understanding this basic mechanism helps you diagnose the issue faster. If you hear the motor running but the paper does not move, the problem is almost always with the roller or the paper surface. If the paper enters the printer but jams immediately, the guides or paper alignment are more likely at fault.
Remove and Reload the Paper Correctly
The fastest first step is to remove all paper from the top tray and reload it fresh. This single action fixes a surprising number of feed problems because it eliminates static cling, realigns the stack, and clears any shifted sheets.
Take the entire stack out of the tray. Hold it firmly on both ends and fan the edges by bending the stack gently in one direction and then the other. This separates any sheets stuck together by static or moisture. Tap the stack on a flat surface to align all edges evenly.
Now place the paper back in the tray, but only load 10 to 20 sheets for this test. Push the side guides and rear guide snugly against the paper. The guides should touch the edges of the stack without pressing hard enough to bow or bend the sheets. There should be just enough room for the paper to move freely upward.
Check that the stack sits below the maximum fill line marked inside the tray. Overfilling is a very common cause of feed failures because the extra pressure makes it hard for the roller to grab just one sheet. Run a test print after reloading. If the paper feeds correctly, add more sheets gradually.
Clean the Pickup Rollers
Dirty pickup rollers are the single most common cause of paper feed problems. Over time, dust, paper fibers, and residue build up on the rubber surface. This makes the roller smooth and shiny instead of matte and grippy. The roller spins but cannot pull the paper forward.
Turn off the printer and unplug it from the power outlet. Open the top tray and look for the small rubber roller above the paper stack area. On most printers, you can see it by removing the tray and looking up into the feed area. Some models require you to open a rear or front access panel.
Dampen a lint free cloth with distilled water. Do not soak the cloth. Gently press it against the roller and rotate the roller with your fingers to clean the entire surface. Wipe away all visible dust and dark residue. If the manufacturer of your printer allows it, you can use a small amount of isopropyl alcohol for stubborn buildup.
Let the rollers dry completely for at least 10 to 15 minutes before plugging the printer back in. Never use harsh chemical cleaners, ammonia, or acetone on the rollers. These substances damage the rubber and make the problem worse.
After cleaning, load a small stack of fresh paper and run several test prints. If the paper feeds smoothly, the rollers were the issue. Make a habit of cleaning them every few months to prevent future problems.
Check the Paper Guides and Tray Alignment
Paper guides inside the tray serve a critical purpose. They keep the stack aligned so each sheet enters the feed path straight and centered. If the guides are misaligned, too tight, or too loose, the paper will not feed correctly or will feed at an angle and jam.
Pull the top tray out of the printer. Remove all paper and inspect the guides. Most trays have a side guide that slides left and right and a rear guide that slides forward and back. Move each guide to see if it slides freely. Sometimes paper scraps or debris get stuck under the guide and prevent proper movement.
Place your paper in the tray and slide each guide until it gently touches the edge of the stack. The key word here is gently. If you push the guide too firmly against the paper, it creates friction that resists the feed roller. The paper should be able to move up and down slightly when you press on the top of the stack.
Also check that the tray itself is fully seated in the printer. Push it in until you hear or feel a click. A tray that is slightly pulled out may not align with the pickup roller, and the roller will spin above the paper without making contact. A misaligned tray is easy to overlook but common after a paper jam removal.
Use the Right Paper Type and Quality
Not all paper feeds the same way through a printer. Thick cardstock, glossy photo paper, labels, and envelopes all have different surface textures and weights. Loading the wrong paper type can cause the pickup roller to slip or the separation pad to fail.
For troubleshooting purposes, always test with fresh, standard 80 gsm (20 lb) copy paper from a sealed ream. This eliminates paper quality as a variable. If the printer feeds standard paper without issues, the problem is likely related to the specialty media you were using.
Check the paper for visible defects before loading. Sheets that are wrinkled, torn at the edges, curled, or stuck together will not feed properly. Discard any damaged sheets. Even a small curl at the corner can cause a sheet to catch on the feed mechanism.
Paper that has been sitting open and exposed to air for weeks absorbs moisture from the environment. This is especially true in humid climates. Damp paper swells slightly, curls, and sticks to adjacent sheets. Store your paper in a sealed container or keep it in its original packaging until you are ready to use it. If you suspect moisture is the problem, try a fresh ream and see if the issue disappears.
Adjust Printer Driver Settings
Sometimes the printer hardware works fine, but incorrect software settings prevent paper from feeding. Your printer driver tells the machine which tray to use, what paper type to expect, and what paper size is loaded. A mismatch between these settings and reality causes errors.
Open your print dialog box from any application. Look for the paper source or tray selection setting. Make sure it points to the top tray, often labeled as Tray 1, Main Tray, or Upper Tray. If “Manual Feed” or “Rear Tray” is selected, the printer will ignore the top tray entirely and wait for paper from a different location.
Check the paper type setting as well. If this is set to “Thick Paper,” “Photo Paper,” or “Labels” but you loaded plain paper, the printer may adjust its feed speed or roller pressure in a way that prevents pickup. Set the paper type to match exactly what you loaded.
Also confirm the paper size is correct. Selecting A4 when Letter size paper is loaded, or the reverse, can trigger a size mismatch error. Some printers will display a prompt on their screen asking you to confirm the paper size. Others will simply stop and wait. Match the driver setting to the actual paper size in the tray to clear this issue.
Perform a Printer Power Cycle
A full power cycle resets the internal electronics, clears temporary errors, and reinitializes the feed mechanism. This is a simple step, but it resolves many intermittent paper feed problems caused by sensor glitches or motor lockups.
Turn off the printer using its power button. Then unplug the power cable from the back of the printer or from the wall outlet. Wait at least 30 seconds. This waiting period allows the internal capacitors to discharge and clears any stored error states.
Plug the printer back in and turn it on. Wait for it to complete its startup routine. Most printers run through a short calibration and roller test during startup. Once the printer shows a ready status, load paper and send a test print.
If the printer feeds paper after the power cycle but the problem returns later, a deeper issue may exist. Intermittent feed failures that come and go often point to a roller that is on the edge of wearing out. It works sometimes when conditions are perfect but fails when the paper is slightly different or the environment changes. In this case, cleaning the rollers or planning for a roller replacement is the best long term fix.
Clear Any Remaining Paper Jams
A small piece of paper stuck inside the feed path can block all future paper from entering. Even after you clear a visible jam, tiny scraps or torn corners can remain hidden inside the printer and cause repeated feed failures.
Turn off and unplug the printer. Open every access panel, including the front cover, rear panel, and the tray compartment. Use a flashlight to look inside the feed path for any paper remnants. Check behind the rollers and under any visible flaps or covers.
If you find a torn piece, pull it out gently in the direction the paper would normally travel. Pulling against the feed direction can damage internal components. Use tweezers for small pieces that are hard to reach with your fingers.
Some printers have a rear access door specifically for clearing jams. Open it and check for paper that may have stalled midway through the print path. On models with a duplexer (automatic two sided printing), also check the duplex unit for stuck paper. Once you have confirmed the entire path is clear, close all panels, reload paper, and test again.
Inspect and Replace Worn Rollers or Separation Pads
Pickup rollers and separation pads are wear items. They degrade with use and eventually lose their ability to grip and separate paper. If cleaning the rollers only fixes the problem for a few days before it returns, the parts likely need replacement.
Look at the pickup roller closely. A healthy roller has a matte, slightly tacky rubber surface. A worn roller appears shiny, smooth, or hard. You might also see visible cracks in the rubber. Press your fingertip against the roller. If it feels hard and slick instead of soft and grippy, it needs replacement.
The separation pad sits opposite the pickup roller inside the tray area. It provides a friction surface that peels off extra sheets. A worn separation pad looks flattened, smooth, or has a visible groove worn into its surface. When this pad wears out, the printer feeds multiple sheets at once or fails to separate them at all.
Replacement rollers and separation pads are available for most printer models. Check your printer manufacturer’s website for the correct part number. Many of these parts are designed for user replacement and snap in without tools. Follow the instructions provided with the replacement part. After installing new rollers, run several test prints to verify smooth feeding.
Address Humidity and Paper Storage Problems
Humidity has a direct and measurable effect on paper behavior. Paper is made from wood fibers that absorb and release moisture depending on the environment. In high humidity above 60%, paper absorbs water from the air, swells, and becomes wavy or curled at the edges.
This moisture makes sheets stick together. The pickup roller grabs two or three sheets instead of one, or the wet paper does not separate from the pad. You may notice the printer feeds multiple pages at once or produces wrinkled prints. Both of these symptoms point to excess moisture in the paper.
In very low humidity below 20%, paper becomes brittle and develops strong static charges. Sheets cling together from static electricity, and the roller struggles to pull individual pages. You may hear a crackling sound when you fan the stack.
The ideal storage condition for printer paper is a temperature between 68 and 76 degrees Fahrenheit (20 to 24 degrees Celsius) and humidity between 30% and 60%. Store paper in its original sealed wrapper until you are ready to use it. Keep it off the floor and away from exterior walls, windows, and heating vents. If you live in a very humid area, consider using a dehumidifier in the room where you store paper and operate the printer.
Update or Reinstall Printer Firmware and Drivers
Outdated firmware or corrupted driver software can cause unusual printer behavior, including paper feed errors. Printer manufacturers release firmware updates that fix known bugs and improve feed performance.
Visit the support page for your printer brand. Enter your printer model number and look for the latest firmware version. Compare it to the firmware currently installed on your printer, which you can usually find in the printer’s settings menu under “About” or “Printer Information.” If a newer version exists, download and install it following the manufacturer’s instructions.
On your computer, also check that you have the latest printer driver installed. On Windows, go to Device Manager, find your printer, right click it, and select Update Driver. On Mac, go to System Settings, then Printers and Scanners, and check for updates. Sometimes removing the printer from your computer and adding it again with a fresh driver installation resolves persistent issues.
A corrupted print queue can also cause apparent feed problems. The printer may appear stuck because a corrupted job is blocking the queue. Open your print queue, cancel all pending jobs, and try a fresh test print. This simple step clears a surprising number of phantom feed errors.
When to Call a Professional Technician
Most paper feed problems have DIY solutions, but some situations require professional help. Knowing when to stop troubleshooting saves you time and prevents accidental damage to your printer.
Call a technician if you have cleaned the rollers, replaced the separation pad, tested with fresh paper, verified all settings, and the problem persists. Internal gear damage, a faulty feed motor, or a broken sensor requires diagnostic tools and replacement parts that are not practical for most users.
If your printer is still under warranty, contact the manufacturer’s support team before attempting any repairs beyond basic cleaning. Opening certain printer compartments or replacing internal parts yourself may void the warranty. Check your warranty terms before proceeding.
Also consider the age and value of your printer. If the machine is several years old and the repair cost approaches 50% or more of a new printer’s price, replacing the printer may be the smarter financial decision. Modern printers have improved feed mechanisms and updated roller designs that reduce the frequency of paper feed problems.
Frequently Asked Questions
Why does my printer grab multiple sheets at once from the top tray?
Multiple sheet feeding usually means the separation pad is worn or the paper sheets are sticking together. Fan the paper stack before loading to break static cling. If you are in a humid environment, try a fresh ream of paper stored in dry conditions. If the problem persists after these steps, the separation pad likely needs replacement.
Can I use rubbing alcohol to clean printer rollers?
You can use a small amount of isopropyl alcohol if your printer manufacturer allows it. However, distilled water on a lint free cloth works well for most cleaning tasks. Alcohol can dry out rubber over time and shorten the life of the roller. Avoid using acetone, ammonia, or household cleaners.
How often should I clean the pickup rollers on my printer?
For average home use, cleaning the rollers every three to six months is a good practice. If you print frequently or use specialty paper like matte or textured stock, clean them monthly. These paper types leave more fiber residue on the rollers and reduce grip faster.
Why does my printer say “Out of Paper” when there is paper in the tray?
This error usually means the pickup roller cannot grip the paper or a sensor is not detecting the stack. Clean the rollers first. Then check that the paper is loaded correctly and the tray is fully seated. If the error persists, the paper sensor inside the tray may be blocked by debris or may have failed.
Does paper weight affect feeding from the top tray?
Yes. Most top trays are designed for standard weight paper between 75 and 90 gsm (20 to 24 lb). Paper that is too thick may not bend enough to enter the feed path. Paper that is too thin may not provide enough resistance for the separation pad. Always check your printer’s specifications for the supported paper weight range before loading specialty media.
Should I leave paper in the tray when the printer is not in use?
It is best to remove paper from the tray if you do not plan to print for several weeks. Paper left in an open tray absorbs moisture from the air and can curl or stick together. If you print regularly, leaving paper in the tray is fine, but replace the stack with fresh paper if you notice any curling or dampness.
I’m the voice behind Device Dossier. As a printing technology enthusiast, I spend my time testing printers, comparing specs, and writing honest reviews to help you find the perfect printing solution. When I’m not geeking out over print quality and page yields, you’ll find me exploring the latest in tech.