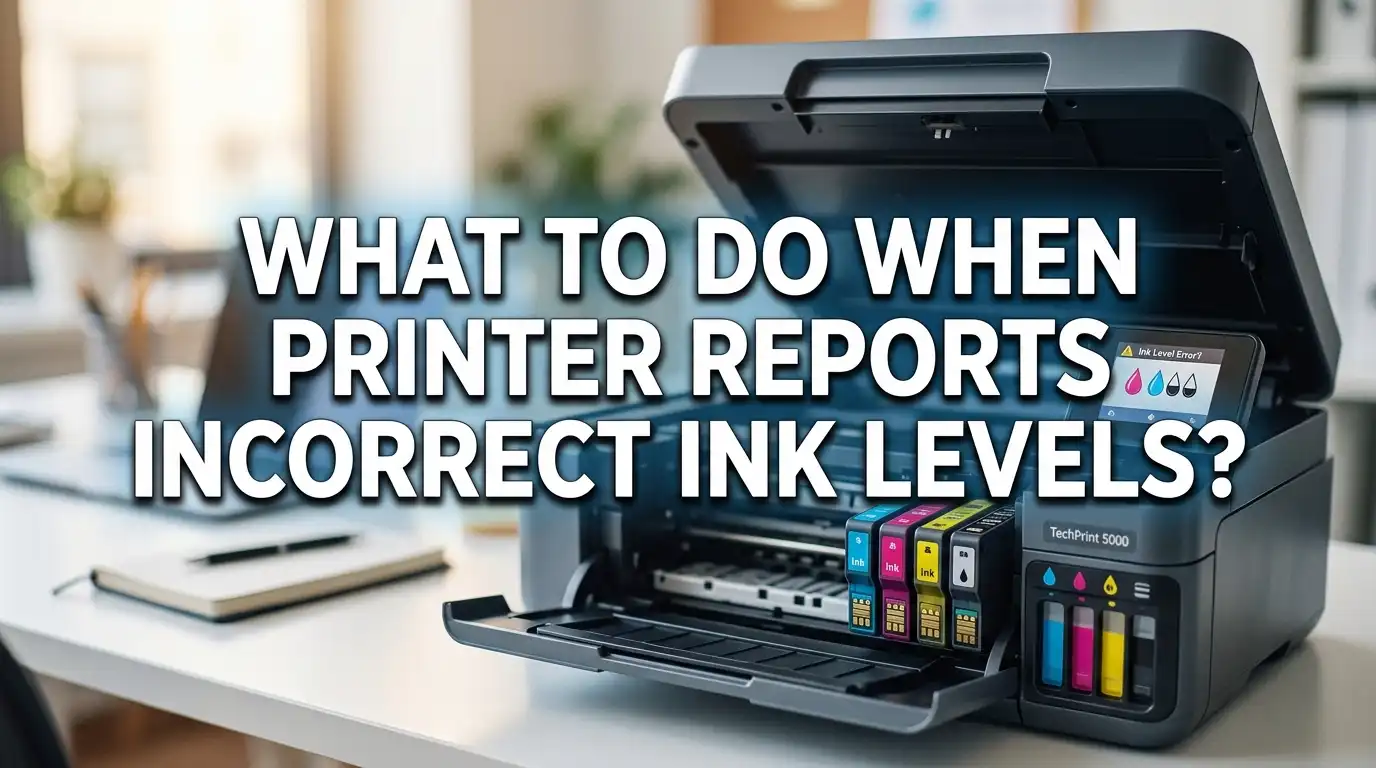
What to Do When Your Printer Reports Incorrect Ink Levels?
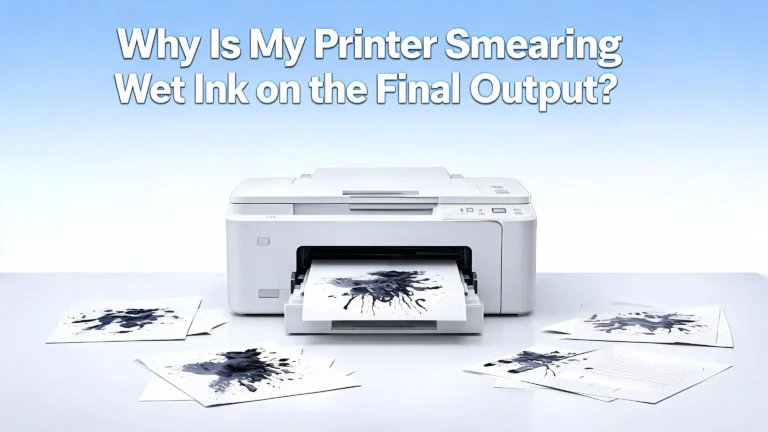
You just installed a fresh ink cartridge, but your printer still flashes a “low ink” warning. The colors on screen show nearly empty tanks. You know the cartridge is full because you can see the ink or you literally just opened the package. This is one of the most frustrating printer problems people face every day.
Incorrect ink level readings affect millions of printer users worldwide. The issue spans every major brand, including HP, Canon, Epson, and Brother. Your printer may refuse to print, display error messages, or block you from completing an urgent document. The worst part? You waste money replacing cartridges that still have plenty of ink left inside them.
This guide walks you through the exact reasons your printer lies about its ink levels. It also gives you clear, step by step solutions to fix the problem on any printer brand.
Key Takeaways
- Printers estimate ink levels using software, not actual measurement. Most inkjet printers track page counts and ink drop data stored on a small chip inside each cartridge. They do not physically measure the liquid remaining in the tank. This means the reading can easily become inaccurate after refills or cartridge swaps.
- Power cycling your printer is the fastest first fix. Turning off the printer, unplugging it for five minutes, and restarting it clears temporary memory errors that cause false ink warnings. This simple step solves the problem for many users.
- Dirty cartridge contacts cause recognition failures. A small amount of dust or dried ink on the cartridge chip or the printer’s contact pins can disrupt communication. Cleaning these contacts with a lint free cloth often restores correct ink readings.
- Firmware updates can create new ink level problems. Some manufacturers push firmware updates that change how printers read cartridge chips. These updates sometimes block third party or refilled cartridges entirely. Disabling automatic firmware updates protects you from unexpected issues.
- Each printer brand has a specific override method. Canon printers let you hold the Stop/Reset button for seven seconds to bypass low ink warnings. HP printers may need a chip reset or service menu access. Brother and Epson have their own reset procedures. Knowing your brand’s method saves you time and stress.
Why Printers Report Wrong Ink Levels
Understanding why your printer displays incorrect ink information is the first step to fixing it. Most people assume printers use sensors to detect how much liquid sits inside a cartridge. This is rarely the case.
Inkjet printers rely on estimation algorithms stored on a tiny chip embedded in each cartridge. This chip records factory data about the cartridge’s expected capacity. As you print, the printer counts ink drops and subtracts them from the starting total. Over time, the chip’s counter reaches zero, and the printer declares the cartridge empty.
The problem is obvious. This system tracks estimated usage, not actual ink remaining. If you print mostly text documents, you use far less ink per page than someone printing full color photos. Yet the printer may count both scenarios the same way. The result is a cartridge declared “empty” while it still holds usable ink.
Some printers use optical sensors that detect light passing through a small window on the cartridge. If this window gets dirty or stained with ink residue, the sensor reads the cartridge as empty. Brother printers commonly use this method. Users have found that simply cleaning the sensor window or covering it with tape can restore the correct reading.
Refilled cartridges create the biggest headache. The chip still holds old usage data from the previous cycle. Since the chip does not reset automatically after a refill, your printer sees a “used up” cartridge even though it now contains fresh ink.
Common Error Messages You Might See
Printers display several different warnings related to ink levels. Each message points to a slightly different cause. Knowing the exact message on your screen helps you pick the right solution.
“Low Ink” or “Ink Low” warnings appear most often. This message means the printer’s counter has crossed a preset threshold. It does not mean the cartridge is actually running dry. Many users report printing hundreds of additional pages after this warning first appears. You can usually dismiss this alert and keep printing.
“Ink Cartridge Empty” or “Replace Cartridge” is a stronger warning. Some printers stop printing entirely at this stage. The printer believes the cartridge has reached zero capacity based on its drop count. This message appears even on brand new refilled cartridges because the chip data was not reset after refilling.
“Cannot Recognize Ink Cartridge” signals a communication failure between the cartridge chip and the printer. Dirty contacts, a damaged chip, or an incompatible cartridge type can all trigger this error. The printer cannot read the chip data, so it refuses to acknowledge the cartridge exists.
“Incompatible Cartridge” or “Cartridge Not Supported” often appears after a firmware update. Printer manufacturers sometimes release updates that restrict which cartridges the printer accepts. Third party and refilled cartridges are the most common targets of these restrictions.
Understanding which message your printer shows helps you skip irrelevant fixes and jump straight to the solution that matches your situation.
How Printer Brands Track Ink Differently
Not all printers handle ink level tracking the same way. The fix that works on an HP printer may not apply to a Canon or Epson model. Knowing how your specific brand tracks ink saves you from wasting time on the wrong approach.
HP printers use a combination of page count tracking and chip memory. The cartridge chip stores usage data, and the printer reads this data every time you power on or insert a cartridge. HP also uses Dynamic Security on some models, which means the printer checks whether the cartridge chip meets specific authentication requirements. This can block third party cartridges entirely.
Canon printers track ink through chip counters and sometimes optical sensors. Canon’s system tends to give you a warning first and then eventually blocks printing. The good news is that Canon includes a built in override. Pressing and holding the Stop/Reset button for about seven seconds on most Canon inkjet models disables the ink level monitor and lets you continue printing.
Epson printers vary between cartridge models and EcoTank models. Cartridge based Epson printers (WorkForce, Expression series) read chip data from each cartridge. EcoTank models track refill events rather than measuring the actual liquid in the tank. After refilling an EcoTank, you must perform a specific reset through the printer menu to update the displayed ink level.
Brother printers often use optical sensor windows on the side of each cartridge. A light shines through the window, and if the sensor detects light passing through, it assumes ink is present. When the window gets covered by residue or the ink drops below the window line, the printer reports empty. Cleaning the window or using a small piece of opaque tape can trick the sensor.
Power Cycling Your Printer as a Quick Fix
The simplest solution is often the most effective starting point. Power cycling clears temporary memory glitches that cause your printer to display outdated or incorrect ink information. This fix takes less than ten minutes and requires no technical skill.
Start by turning off your printer using the power button. Do not simply put it to sleep. Press the power button until the printer fully shuts down. Next, unplug the power cable from the wall outlet. This step is important because some printers retain memory in standby mode even when turned off.
Wait at least five minutes. This pause allows the printer’s internal memory to fully discharge. Residual charge can keep old data cached, so patience matters here. After five minutes, plug the power cable back in and turn the printer on.
Check the ink level display immediately after the printer finishes its startup routine. Many users find that the false low ink warning disappears after a power cycle. The printer re reads the cartridge chips during startup, and this fresh reading sometimes corrects the error.
Power cycling works best for temporary software glitches and minor communication hiccups. It does not reset the actual chip counter on your cartridge. If your problem stems from old chip data on a refilled cartridge, you will need a more targeted fix. Still, always try this method first because it costs nothing and solves the problem surprisingly often.
Cleaning the Cartridge Contacts
Dirty electrical contacts are one of the top causes of incorrect ink readings. The cartridge chip communicates with the printer through a set of small gold or copper colored contact pads. Any dirt, dust, or dried ink on these pads disrupts the signal.
Remove the cartridge from the printer carefully. Hold it by the sides and avoid touching the printhead nozzles or the contact pads with your fingers. Place the cartridge on a clean paper towel with the contacts facing up.
Use a lint free cloth or a clean cotton swab slightly dampened with distilled water. Gently wipe the contact pads on the cartridge. You will often see ink residue or dust transfer to the cloth. Wipe in one direction to avoid pushing debris into the contacts. Let the contacts dry completely before reinstalling the cartridge.
Do not forget to clean the contact pins inside the printer as well. These are the small metal pins or pads inside the cartridge slot that press against the cartridge contacts. Use the same lint free cloth and gently wipe these pins. Be careful not to bend or damage them.
After cleaning both sets of contacts, reinstall the cartridge firmly until it clicks into place. Close the cartridge access door and let the printer run its recognition cycle. Many users report that this single step fixes “cannot recognize cartridge” errors immediately. The printer can suddenly read the chip data correctly once the contacts are clean.
Make this a regular maintenance habit. Clean the contacts every time you install a new cartridge or refill an existing one. Prevention is much easier than troubleshooting.
Resetting Ink Levels Through Your Printer’s Menu
Some printers offer a built in option to reset ink level counters. This method works especially well for EcoTank and supertank printers that use refillable ink reservoirs instead of disposable cartridges.
For Epson EcoTank models, open the printer’s control panel and look for the Maintenance or Setup menu. Find the option labeled “Reset Ink Levels” or a similar phrase. Select the ink color you want to reset and confirm. The printer updates its counter to show a full tank. Only do this after you have actually refilled the tank to avoid running the printer dry and damaging the printhead.
For Canon printers with touchscreen panels, check the Setup menu for ink or cartridge management options. Some models allow you to acknowledge a low ink warning and continue printing. The printer asks you to confirm that you understand the ink level may be low, and then it removes the printing block.
HP printers with control panels sometimes offer ink management options under the Setup or Tools menu. Look for “Estimated Ink Levels” or “Cartridge Information.” Some HP models let you dismiss warnings from this menu, though the option is not available on all models.
Brother printers may not have a direct ink reset option in the menu. Instead, Brother relies on the optical sensor system. If the sensor reads correctly, the displayed level updates automatically. For Brother models that use chip based cartridges, you may need an external chip resetter tool.
Always check your printer’s user manual or the manufacturer’s support website for model specific instructions. Menu options vary significantly between printer generations and series.
Using the Tape Trick to Override Sensors
This method sounds unconventional, but thousands of printer users swear by it. The tape trick involves covering a specific part of the cartridge to change how the printer reads ink level data. It is a temporary workaround, not a permanent fix.
Some cartridges have a small transparent window that the printer’s optical sensor uses to detect ink presence. When the ink level drops below this window, the sensor reads it as empty. If you know the cartridge still has ink, you can cover the window with a small piece of opaque electrical tape or dark colored tape.
Remove the cartridge from the printer. Locate the small clear window on the side or bottom of the cartridge. Cut a tiny piece of tape just large enough to cover the window completely. Press the tape firmly so there are no bubbles or gaps. Reinstall the cartridge.
The printer’s sensor can no longer see through the window, so it defaults to assuming ink is present. This allows you to continue printing with the remaining ink in the cartridge.
For chip based cartridges, a different version of this trick exists. Some users cover specific contact pads on the cartridge chip with tape. This changes the data the printer reads and can force a recognition reset. However, this version is riskier. Covering the wrong pad can cause new errors or prevent the printer from recognizing the cartridge at all.
Use the tape trick only as a short term solution while you arrange a proper fix like a chip reset or cartridge replacement.
Performing a Chip Reset on Your Cartridge
The most effective long term fix for refilled cartridges involves resetting the chip. A chip resetter is a small electronic device that connects to the cartridge chip and restores its data to factory default values. After resetting, the printer reads the cartridge as brand new and displays full ink levels.
Chip resetters are available for most popular cartridge types. You press the resetter against the chip contacts on the cartridge for a few seconds. An LED light on the resetter typically changes color to confirm a successful reset. You then reinstall the cartridge, and the printer recognizes it as a fresh cartridge with full ink.
Not all cartridge chips can be reset. Some manufacturers use one time programmable chips that cannot be overwritten. HP’s newer cartridges with Dynamic Security features are particularly resistant to resets. Check whether a resetter exists for your specific cartridge model before purchasing one.
For Epson cartridge printers (WorkForce, Expression series), chip resetters are widely available and generally effective. Canon cartridges also respond well to chip resets in most cases. Brother cartridges often use a combination of chip and optical sensor, so a reset alone may not solve the problem if the optical window is also dirty.
After performing a chip reset, always run a test print to confirm the printer accepts the cartridge and displays correct ink levels. If the error returns quickly, the issue may involve the printer’s firmware rather than the cartridge chip.
Managing Firmware Updates to Avoid Problems
Firmware updates are a major source of ink level headaches. Printer manufacturers regularly release firmware updates that change how the printer communicates with cartridge chips. While some updates fix genuine bugs, others restrict the types of cartridges the printer accepts.
HP, Epson, Canon, and Brother have all released firmware updates that affected third party cartridge compatibility. After an update, a cartridge that worked perfectly yesterday may suddenly trigger “incompatible” or “unrecognized” errors. Users who rely on refilled or compatible cartridges are hit hardest.
The safest approach is to disable automatic firmware updates on your printer. Most printers have this option in the Settings or Administration menu. Look for “Firmware Update,” “Auto Update,” or “Printer Update” settings and switch them to manual or off.
If a firmware update has already caused problems, you may be able to roll back to a previous version. Check the manufacturer’s support website for older firmware files. The rollback process varies by brand and model, and some printers do not support downgrades at all. HP printers have been particularly strict about preventing firmware rollbacks on newer models.
Before accepting any firmware update, search online for user reports about that specific update version. Other users often share their experiences within hours of a new firmware release. A quick search like “HP firmware update [version number] cartridge issues” can save you from a major headache.
Overriding Ink Warnings on Canon Printers
Canon provides one of the more user friendly methods for bypassing false ink warnings. Most Canon inkjet printers allow you to override the low ink warning by pressing and holding the Stop/Reset button (sometimes labeled Resume/Cancel) for at least seven seconds.
Here is how the process works. When the printer displays a low ink or empty cartridge warning, locate the Stop/Reset button on the front panel. Press and hold this button for seven to ten seconds. Release the button. The printer should clear the warning and allow you to continue printing.
You will need to repeat this step each time the warning reappears. Canon does not permanently disable the ink monitor with this method. It simply acknowledges your choice to continue printing despite the warning. The printer may display the warning again after a few pages or after you power it off and on again.
For a more lasting solution, you can disable the Canon Status Monitor on your computer. Open the printer properties through your operating system’s printer settings. Find the Maintenance tab and look for an option to disable the ink level status monitor. This prevents the popup warnings on your computer screen, though the printer itself may still display warnings on its own screen.
Canon EcoTank and MegaTank models handle this differently. These refillable tank printers typically have a reset option in the printer’s maintenance menu that updates the ink level counter after a refill. Check your specific model’s documentation for exact menu paths.
Fixing Ink Level Errors on HP Printers
HP printers require a slightly more involved approach because of their Dynamic Security and chip authentication systems. Start with the basics: remove each cartridge, clean the contacts, and reinstall them firmly. Then power cycle the printer as described earlier.
If basic steps do not work, try accessing the printer’s service menu. On many HP inkjet models, you can enter a hidden diagnostic menu by pressing a specific button combination during startup. The exact button sequence varies by model, so search for your specific HP model number followed by “service menu access” to find the correct combination.
Inside the service menu, look for options related to ink reset, cartridge reset, or ink system reset. Selecting this option forces the printer to re read all cartridge chips and update its ink level data. This method has a high success rate for clearing stubborn ink errors.
The HP Smart app (available for Windows, Mac, iOS, and Android) also provides cartridge management features. Open the app, select your printer, and check the ink levels section. Some models allow you to dismiss warnings or initiate a cartridge re read through the app.
For HP printers enrolled in subscription ink services, ink level tracking works differently. The printer communicates with online servers to monitor usage. If your internet connection drops or the printer loses contact with the server, ink levels may display incorrectly. Reconnecting the printer to your network and allowing it to sync usually fixes this issue.
Fixing Ink Level Errors on Epson and Brother Printers
Epson and Brother each have their own quirks that require specific fixes. Epson cartridge printers (WorkForce and Expression series) rely heavily on chip data. If you use compatible or refilled cartridges, the chip may not report accurate information. Cleaning the contacts and using a chip resetter are the most reliable solutions.
For Epson EcoTank printers, the fix is different. After refilling the ink tanks, go to the printer’s control panel. Navigate to Setup, then Maintenance, and find “Reset Ink Levels.” Select each color you refilled and confirm the reset. The printer updates its counter to show full tanks. If you skip this step, the printer continues counting down from the old level and eventually blocks printing.
Epson Status Monitor on your computer may also show outdated information. Close the Status Monitor application completely and reopen it. It should refresh and pull updated data from the printer. If the computer display still looks wrong but the printer is printing fine, the issue is purely a software display problem.
Brother printers present a unique challenge because of their optical sensor system. The sensor window on each cartridge must be clean and unobstructed for accurate readings. Remove the cartridge and inspect the clear window. Wipe it gently with a dry lint free cloth. Also clean the sensor lens inside the printer if you can access it.
Some Brother models display “Cannot Detect Ink Volume” after installing new cartridges. This message usually means the cartridge is not seated properly or the sensor cannot read it. Remove and reinstall the cartridge, pressing firmly until it clicks. If the error persists, try a different cartridge to determine whether the problem is the cartridge or the printer.
Preventing False Ink Warnings in the Future
Prevention saves time and frustration. A few simple habits keep your printer reporting accurate ink levels and reduce the chance of false warnings.
Always install cartridges correctly the first time. Push each cartridge into its slot until you hear a firm click. A loosely seated cartridge causes intermittent contact failures that lead to incorrect readings. Remove the protective tape or plastic cap from the cartridge before installation, as leftover packaging material blocks the contacts.
Clean cartridge contacts every time you swap cartridges. Make it part of your routine. A quick wipe with a lint free cloth takes thirty seconds and prevents most recognition errors. Keep a few cotton swabs and a small bottle of distilled water near your printer for this purpose.
Disable automatic firmware updates if you use third party or refilled cartridges. Check the printer settings menu and switch firmware updates to manual. Review each update online before applying it to make sure other users have not reported cartridge compatibility issues.
Refill cartridges before they run completely dry. When a cartridge runs empty, air can enter the printhead and cause additional problems. Refilling while some ink remains also means the chip counter is more likely to still have some remaining count, reducing the severity of false empty warnings.
Store spare cartridges properly. Keep them sealed in their original packaging at room temperature. Exposure to extreme heat or cold can damage the chip or dry out the ink, leading to recognition errors when you install them later. Good storage habits extend cartridge life and maintain chip accuracy.
When to Contact the Manufacturer or a Professional
Sometimes the problem goes beyond what you can fix at home. If you have tried all the methods above and your printer still reports incorrect ink levels, the issue may involve a hardware failure in the printer’s cartridge reader or sensor system.
Contact the manufacturer’s support team if your printer is still under warranty. Describe the exact error message, the steps you have already tried, and whether the issue affects all cartridges or just one color. Most manufacturers offer phone support, live chat, and online troubleshooting tools that can walk you through advanced diagnostics.
A professional printer repair service can inspect the internal components. The cartridge carriage, the contact pins, and the sensor assembly can all develop faults over time. Bent contact pins are a common physical issue that prevents proper chip communication.
Consider the cost of repair versus replacement. If your printer is several years old and out of warranty, the repair cost may exceed the price of a new printer. Many current printer models offer improved ink tracking systems and better support for third party cartridges. Some newer models even include refillable tank systems that eliminate chip based tracking entirely.
Before giving up on your current printer, check online forums and communities for your specific model. Other users often discover creative solutions or workarounds that the manufacturer does not officially support. Reddit, printer enthusiast forums, and YouTube tutorials are excellent resources for model specific fixes.
Frequently Asked Questions
Why does my printer say ink is empty when I just replaced the cartridge?
Your printer reads data from the cartridge’s chip, not from the actual ink inside. If the chip still holds old usage data from a previous cycle, the printer believes the cartridge is used up. This happens most often with refilled cartridges. A chip reset or power cycle usually fixes the problem. Cleaning the cartridge contacts can also help if the printer is not reading the chip correctly.
Can I keep printing after my printer shows a low ink warning?
Yes, in most cases. The low ink warning is an estimate, not a precise measurement. Many users print dozens or even hundreds of additional pages after the first warning appears. Canon printers let you override the warning by holding the Stop/Reset button. Other brands may require you to dismiss the warning through the printer’s menu or software.
Will using third party ink cartridges damage my printer?
Third party cartridges do not inherently damage printers. However, they may trigger false ink level warnings or “incompatible cartridge” errors because their chips communicate differently than original manufacturer cartridges. Quality varies between brands, so choose reputable third party cartridge suppliers and check user reviews for your specific printer model.
How do I stop my printer from automatically updating its firmware?
Open your printer’s settings menu and look for “Firmware Update” or “Printer Update” options. Switch the setting from automatic to manual or turn it off completely. You can also block firmware updates through your router settings if your printer connects over Wi Fi. This prevents manufacturers from pushing updates that might restrict cartridge compatibility.
Does the tape trick work on all printers?
The tape trick works best on printers that use optical sensors to detect ink levels, such as many Brother models. Covering the sensor window on the cartridge prevents the printer from seeing an “empty” signal. For chip based printers, covering specific contact pads can sometimes force a reset, but this approach is less reliable and may cause new errors. Use it as a temporary fix while you arrange a proper solution.
How often should I clean my printer’s cartridge contacts?
Clean the contacts every time you install a new cartridge, refill an existing one, or encounter an ink level error. For general maintenance, a quick cleaning once a month keeps the contacts free of dust and dried ink residue. Use a lint free cloth dampened with distilled water and let the contacts dry completely before reinstalling the cartridge.
I’m the voice behind Device Dossier. As a printing technology enthusiast, I spend my time testing printers, comparing specs, and writing honest reviews to help you find the perfect printing solution. When I’m not geeking out over print quality and page yields, you’ll find me exploring the latest in tech.