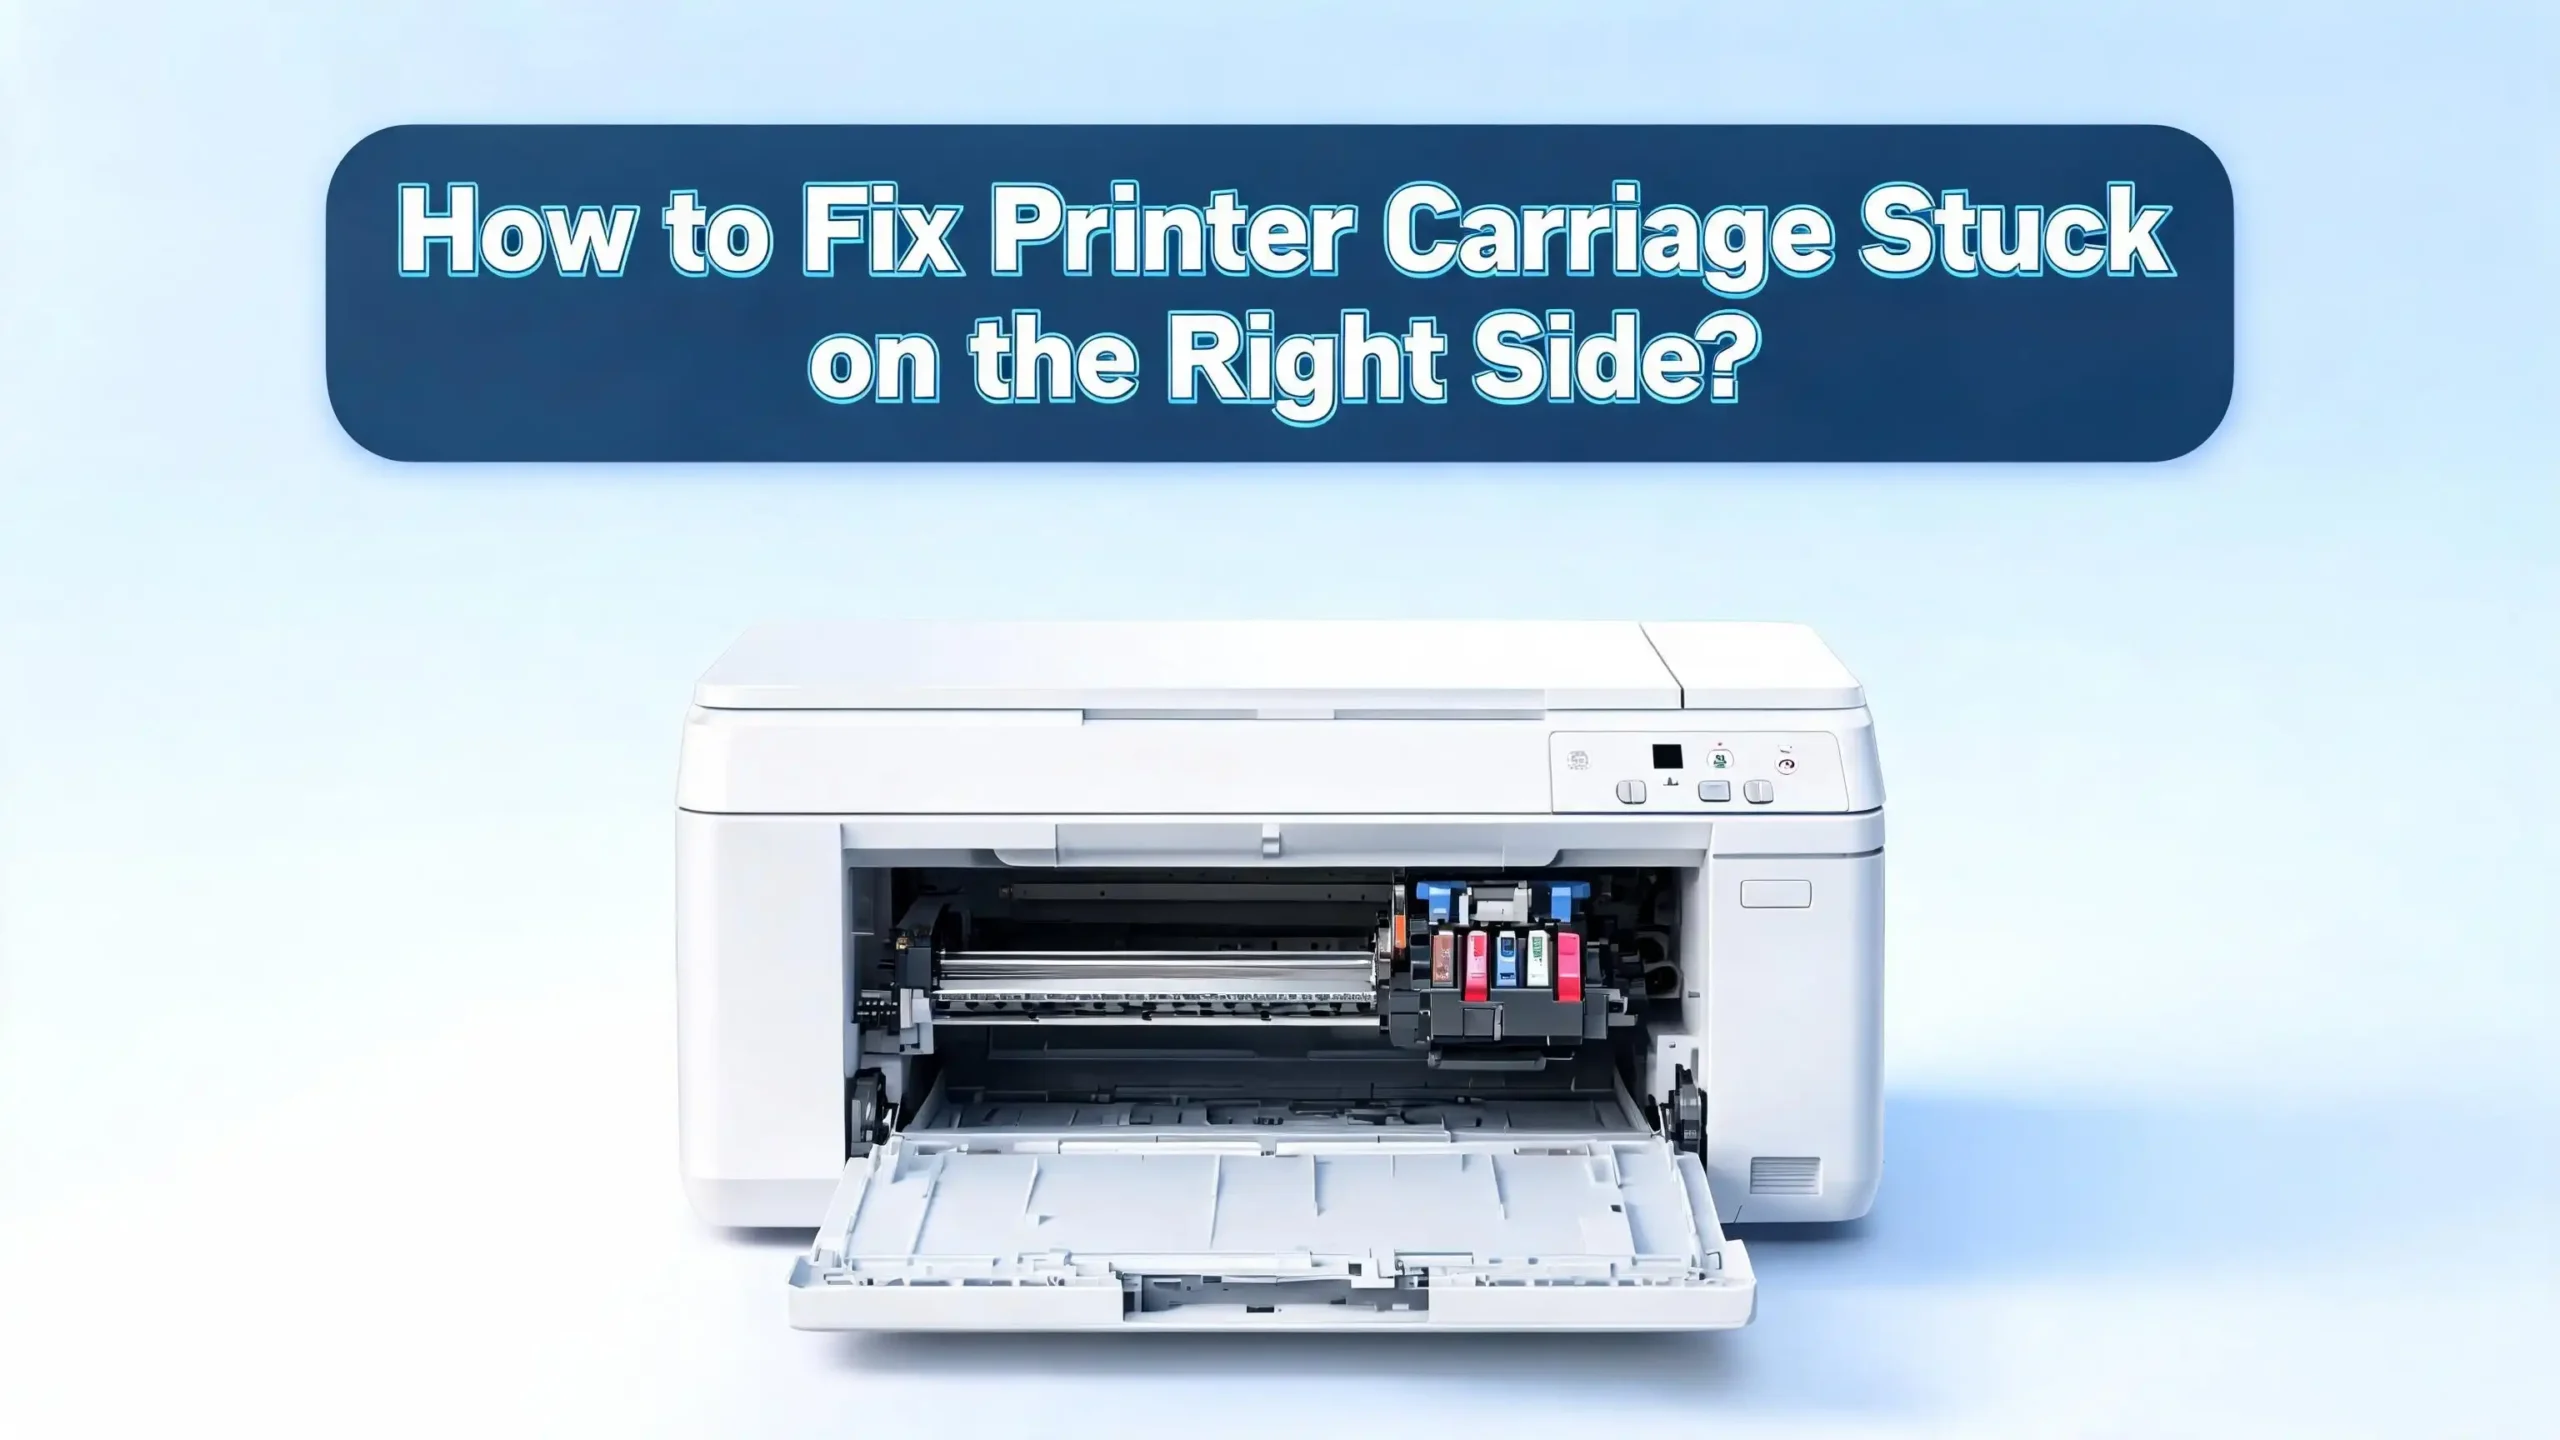
How to Fix Printer Carriage Stuck on the Right Side?
Have you ever opened your printer to start an important print job, only to find the carriage completely stuck on the right side and refusing to budge? You are not alone. This is one of the most common printer problems users face, and it can bring your entire workflow to a halt.
The good news is that this problem is almost always fixable at home without calling a technician. The printer carriage is the component that holds your ink cartridges and moves back and forth across the page during printing.
When it locks up on the right side, it usually means something is blocking its path or the printer has experienced a mechanical or sensor error. In this guide, you will learn exactly what causes this issue and how to solve it with clear, actionable steps.
Key Takeaways
- A stuck printer carriage on the right side is usually caused by paper jams, dried ink buildup, foreign objects in the carriage path, or a faulty encoder strip. Identifying the root cause is the first step to a successful fix.
- Always power off and unplug your printer before attempting any manual fix. This protects both you and the internal components from damage caused by sudden carriage movement or electrical shorts.
- Gently moving the carriage by hand to the center of the printer can often free it from its stuck position. Never force it. If it resists, look for obstructions or dried ink along the rail.
- Cleaning the carriage rail and encoder strip with a lint free cloth and isopropyl alcohol can resolve most sticky carriage issues caused by dust, ink residue, or grime buildup over time.
- A hard reset of your printer clears software errors and sensor glitches that may falsely lock the carriage in place. This is a quick and effective fix that many users overlook.
- If none of the basic fixes work, the carriage belt or position sensor may be damaged. In that case, professional repair or part replacement is the recommended next step.
What Is the Printer Carriage and How Does It Work
The printer carriage is the plastic assembly inside your inkjet printer that holds the ink cartridges. It sits on a metal or plastic rail and moves left and right during printing. A rubber timing belt connects the carriage to a small motor, and this belt drives the back and forth motion.
The carriage moves to the right side (called the service station) for several reasons. It parks there during idle periods to cap the print head and prevent ink from drying out. It also moves right during power on and power off sequences as part of its normal initialization.
A sensor called the encoder strip helps the printer track the exact position of the carriage. This thin, transparent strip has tiny lines printed on it. A small optical sensor on the carriage reads these lines to determine location and speed. When any part of this system fails, the carriage can get stuck.
Understanding this basic mechanism helps you troubleshoot the problem. You now know there are mechanical parts (rail, belt, carriage), electrical parts (motor, sensor), and maintenance parts (encoder strip, service station) that can all contribute to a carriage jam on the right side.
Common Causes of a Printer Carriage Stuck on the Right Side
Several factors can cause the printer carriage to lock up on the right side. Knowing the cause helps you choose the right fix. Here are the most frequent reasons.
Paper jams are the number one culprit. Small bits of torn paper can get lodged under the carriage or along its path. Even a tiny scrap of paper can block the carriage from moving freely. This often happens after a previous paper jam was not fully cleared.
Dried ink buildup is another major cause. If you do not use your printer regularly, ink can dry on the carriage rail, the print head, or around the service station. This creates a sticky surface that prevents smooth movement. Printers left unused for weeks or months are especially prone to this issue.
Foreign objects such as paper clips, bits of packaging, or even a stray label can fall into the printer and block the carriage path. It takes very little to stop the carriage from sliding.
A dirty or damaged encoder strip can confuse the printer’s positioning system. If the strip is smudged with ink or fingerprints, the sensor cannot read the position accurately. The printer then stops the carriage to prevent damage.
A worn or loose carriage belt can also cause the carriage to stall. If the belt has stretched, slipped off its pulley, or broken, the motor cannot drive the carriage properly. This typically requires part replacement.
Turn Off and Unplug the Printer First
Before you touch anything inside your printer, always power it off and disconnect the power cord from the wall outlet. This is a critical safety step. The carriage motor can engage unexpectedly and cause injury or damage internal components.
Press the power button to turn off the printer. Wait for all lights to go off. Then pull the power cord from the back of the printer or from the wall socket. Do not simply turn off the power strip. Physically disconnecting the cord ensures no residual power flows to the printer.
After unplugging, wait at least 60 seconds. This allows any stored electrical charge to dissipate. It also resets some of the internal electronics, which can help clear error states that may be holding the carriage in place.
Now open the printer’s top cover or front access door. In most inkjet printers, this gives you direct access to the carriage and the cartridge area. With the power disconnected, the carriage should be free to move manually. If it still does not move, do not force it. Proceed to the next steps to identify and remove the obstruction.
This simple step of powering down and unplugging solves the problem for a surprising number of users. The printer’s internal software sometimes locks the carriage due to a false error signal, and a full power cycle clears that signal.
Check for and Remove Paper Jams
Paper jams are the most common reason a printer carriage gets stuck. Even if your printer does not display a paper jam error, small pieces of paper can hide inside the machine and block the carriage.
Open the printer cover and look carefully along the entire carriage path from left to right. Use a flashlight if needed. Check under the carriage, behind the ink cartridges, and near the paper feed rollers. Torn paper fragments can be very small and easy to miss.
If you find paper, pull it out gently and slowly in the direction of the paper path. Do not yank it quickly, as this can tear the paper further or damage internal components. Remove every visible scrap, no matter how small.
Check the paper input tray and the output tray as well. Sometimes paper gets crumpled or folded at the entry or exit point. Remove all paper from the tray, fan the stack to separate the sheets, and reload it neatly.
Also check the rear access panel if your printer has one. Many HP, Canon, and Epson models have a removable panel at the back of the printer that gives access to the paper path. Open it and inspect for jammed paper.
After clearing all paper, close the covers and plug the printer back in. Power it on and see if the carriage moves freely during initialization. If the carriage still does not move, move on to the next solution.
Manually Move the Carriage to the Center
If the carriage remains stuck after clearing paper jams, you can try moving it by hand. Make sure the printer is unplugged before you attempt this.
Open the printer cover to access the carriage. Place your fingers on the carriage and apply gentle, steady pressure to slide it from the right side to the center of the printer. The key word here is gentle. The carriage should move with moderate effort. If it feels completely locked or makes a grinding noise, stop immediately.
Do not force the carriage. Forcing it can damage the carriage belt, the rail, or the encoder strip. If the carriage resists movement, there is likely an obstruction or dried ink holding it in place. You will need to address that before moving it.
If the carriage moves to the center, slide it back and forth a few times to confirm it travels the full range of the rail. This helps you identify if there is a specific spot where it catches or sticks.
Once you confirm the carriage moves freely, close the cover, plug in the printer, and power it on. The printer will run its initialization sequence, and the carriage should park itself correctly. Try printing a test page to verify the fix worked.
For Epson printers, you may need to turn a white gear on the left side of the printer interior to unlock the carriage before it can move manually. Check your printer manual for model specific instructions.
Clean the Carriage Rail and Path
A dirty carriage rail is a frequent cause of sticking, especially in printers that have not been used for a while. Ink mist, dust, and paper fibers accumulate on the rail over time and create friction.
You will need a lint free cloth and isopropyl alcohol (90% or higher concentration). Dampen the cloth lightly with the alcohol. Do not soak it. You want the cloth just moist enough to dissolve dried ink and grime.
With the printer unplugged and the cover open, locate the metal or plastic rail that the carriage rides on. Gently wipe the rail from one end to the other. You may see black or colored ink residue come off on the cloth. This is normal. Wipe the rail until the cloth comes away clean.
Also clean the area under the carriage and around the service station on the right side. The service station is where the carriage parks, and dried ink often builds up here. Use a cotton swab dampened with alcohol to reach tight spots.
Let everything air dry for two to three minutes before closing the cover and powering the printer back on. The alcohol evaporates quickly and leaves no residue.
After cleaning, the carriage should glide smoothly along the rail. This maintenance step is something you should do every few months to prevent future carriage jams. Regular cleaning keeps the carriage path free of buildup and extends the life of your printer.
Clean the Encoder Strip
The encoder strip is a thin, semi transparent plastic strip that runs horizontally across the inside of the printer. It plays a vital role in telling the printer where the carriage is located. If this strip is dirty, the carriage may stop moving or get stuck.
You can find the encoder strip just behind or above the carriage rail. It looks like a thin ribbon with very fine vertical lines printed on it. Handle it with extreme care. This strip is fragile, and even slight damage can cause positioning errors.
Use a lint free cloth dampened with distilled water or isopropyl alcohol. Gently pinch the strip between your fingers through the cloth and slowly slide your fingers along its length. Do this from one side to the other. Never pull the strip or apply pressure that could stretch or break it.
Ink, dust, and fingerprints are the most common contaminants on encoder strips. You will likely see smudges come off on the cloth. Clean the strip until it looks clear and the lines are visible and sharp.
Let the strip air dry completely before powering on the printer. If the encoder strip was the cause, the carriage should now move normally during initialization. The printer will be able to read the position data accurately, and the jam error should clear.
If the encoder strip appears torn, creased, or heavily damaged, it will need to be replaced. Replacement encoder strips are available for most printer models and can be installed at home with basic tools.
Perform a Hard Reset on the Printer
A hard reset clears all error states and resets the printer’s internal memory. This is a quick fix that works surprisingly often for carriage jam errors. It addresses software glitches that may be locking the carriage.
Here is how to perform a hard reset. Turn on the printer and wait until it is fully powered up. While the printer is on, disconnect the power cord from the back of the printer. Do not use the power button. Pull the cord directly.
Wait at least 60 seconds. Some technicians recommend waiting up to two minutes for a complete reset. During this time, press and hold the power button on the printer for 15 to 30 seconds. This drains any remaining power from the printer’s circuits.
Now reconnect the power cord to the back of the printer. The printer should start automatically. If it does not, press the power button. Watch the carriage during initialization. It should move from the right side to the center and then return to its home position.
If the hard reset works, the carriage jam error will be gone and you can print normally. This method works on HP, Canon, Epson, and Brother printers. The exact steps may vary slightly by model, but the principle is the same: disconnect power while the printer is on, wait, then reconnect.
A hard reset does not erase your Wi Fi settings or printer preferences on most models. It only clears temporary error states and sensor data.
Remove and Reinstall the Ink Cartridges
Sometimes the ink cartridges themselves cause the carriage to jam. A cartridge that is not seated properly can tilt or shift, creating a physical obstruction that stops the carriage.
With the printer unplugged, open the cover and gently remove each ink cartridge from the carriage. Note their positions so you can reinstall them correctly. Place the cartridges on a paper towel with the print head side facing up.
Inspect each cartridge for damage, ink leaks, or swelling. A leaking cartridge can coat the carriage and rail with excess ink, causing sticking. A swollen cartridge may not fit correctly in its slot and can block movement.
While the cartridges are out, inspect the carriage slots. Look for dried ink, debris, or foreign objects inside the slots. Use a lint free cloth dampened with distilled water to clean the electrical contacts inside the carriage. These gold or copper colored contacts must be clean for proper communication between the cartridge and printer.
Reinstall the cartridges one at a time. Push each one firmly into its slot until you hear or feel a click. This click confirms the cartridge is locked into position. Make sure each cartridge sits flush and does not stick up higher than the others.
Close the cover, plug in the printer, and power it on. If the cartridges were the issue, the carriage should now move freely. Run a test page to confirm print quality and carriage function.
Check the Carriage Belt for Damage
The carriage belt is a thin rubber belt that connects the carriage to a small motor. This belt drives the carriage back and forth across the rail. If it is damaged, loose, or broken, the carriage will not move properly.
With the printer unplugged and the cover open, locate the carriage belt. It typically runs along the back wall of the printer interior, looping around a small pulley on each side. The belt is usually black or dark gray and about 5mm wide.
Inspect the belt for cracks, fraying, or visible wear. A healthy belt should be taut and show no signs of damage. Gently press the belt with your finger. It should have slight tension, similar to a guitar string. If it feels loose or saggy, it may have slipped off one of the pulleys.
If the belt has come off a pulley, you can sometimes reattach it by carefully looping it back over the pulley. Make sure it sits in the center of the pulley groove. Turn the pulley by hand to verify the belt tracks correctly.
However, if the belt is torn or heavily worn, it needs to be replaced. Replacement carriage belts are available for most printer models. Replacing a belt requires some disassembly and is a moderate difficulty repair. If you are not comfortable doing it yourself, a printer technician can handle it quickly.
A damaged carriage belt is one of the more serious causes of a stuck carriage. If all other solutions have failed and the belt shows wear, this is very likely your problem.
Inspect the Carriage Motor
The carriage motor is the small electric motor that drives the carriage belt. If this motor fails or stalls, the carriage will not move regardless of whether everything else is in good condition.
With the printer unplugged, listen for any unusual sounds when you power the printer back on. A buzzing or grinding noise from the area where the motor is located often indicates a motor problem. If you hear the motor straining but the carriage does not move, the motor may be jammed or failing.
You can sometimes access the motor by removing a side panel of the printer. The motor is usually located on the left side behind the carriage pulley. Check if the motor shaft turns freely when spun gently by hand.
If the motor shaft is stuck or feels gritty, debris may have entered the motor housing. Blowing compressed air around the motor can dislodge dust and particles. Do not spray liquid cleaners directly on the motor.
A failed carriage motor is not a common DIY repair. If you confirm that the motor is the problem, the best course of action is to contact the printer manufacturer’s support team or take the printer to a service center. Motor replacement involves soldering or specialized connectors that require technical skill.
Before concluding the motor has failed, make sure you have ruled out all other causes first. Motor failure is relatively rare compared to paper jams, dirty rails, and encoder strip issues.
Use Printer Diagnostic Tools
Most modern printers come with built in diagnostic and maintenance tools. These tools can help identify and sometimes automatically fix carriage jam issues.
HP printers have the HP Print and Scan Doctor, a free tool you can download from the HP support website. This program scans your printer for errors, identifies carriage jam issues, and walks you through the fix. It can also reset printer settings remotely.
Canon printers offer maintenance tools through the printer driver settings on your computer. Open Printers and Devices, right click your Canon printer, and select Printing Preferences. Look for the Maintenance tab. From here you can run cleaning cycles and carriage alignment tests.
Epson printers have a similar utility accessible through the Epson Printer Utility software. You can run head cleaning, nozzle checks, and print head alignment from this program. These routines move the carriage through its full range of motion and can help free a stuck carriage.
Many printers also have built in control panel menus for maintenance. Check your printer’s display screen for options like “Clean Print Head” or “Align Cartridges.” Running these can sometimes resolve a stuck carriage without any manual intervention.
Using these tools is a good idea even after you have manually fixed the carriage. They help confirm that the printer is operating correctly and that the carriage is moving through its full range without errors.
Prevent the Carriage From Getting Stuck Again
Prevention is always better than repair. A few simple habits can keep your printer carriage moving smoothly for years.
Print at least one page every week. Regular printing keeps ink flowing and prevents dried ink from building up on the carriage rail, print head, and service station. If you cannot print a full document, even a test page or nozzle check pattern will do.
Use quality paper and load it correctly. Cheap or damp paper tears more easily and causes paper jams. Always fan the paper stack before loading it. Make sure the paper guides in the tray are snug against the edges of the stack but not too tight.
Keep the printer covered when not in use. Dust is a major contributor to carriage problems. A simple dust cover or cloth draped over the printer prevents particles from settling on the rail and encoder strip.
Run the built in cleaning cycle monthly. This takes just a few minutes and keeps the print head and carriage path clean. Most printers allow you to start this from the control panel or through software on your computer.
Avoid forcing paper or opening covers while the printer is operating. Interrupting a print job can cause the carriage to stop in an unexpected position and lead to a jam. Always use the cancel button first and wait for the printer to stop before opening any covers.
Keep the area around your printer clean and free of small objects. Paper clips, staples, rubber bands, and other desk items can fall into the printer and cause carriage obstructions.
When to Call a Professional
Sometimes the carriage problem is beyond a home fix. Knowing when to seek professional help saves you time and prevents further damage to your printer.
Call a technician if the carriage will not move at all even after unplugging, cleaning, and resetting the printer. A completely immovable carriage may indicate a seized motor, a broken belt, or a major mechanical failure inside the printer.
If you see error messages that persist after trying all the solutions in this guide, the problem may involve the printer’s main logic board or a damaged sensor. These components require specialized tools and knowledge to diagnose and replace.
Unusual sounds like loud grinding, clicking, or squealing during printer operation are signs of internal damage. These sounds suggest that a gear, belt, or motor component has broken or worn out beyond simple maintenance.
If your printer is still under warranty, contact the manufacturer before attempting any disassembly beyond basic cartridge removal and paper jam clearing. Opening the printer beyond what the user manual describes can void your warranty.
For printers that are several years old, compare the cost of professional repair against the price of a new printer. If the repair cost exceeds 50% of the replacement cost, purchasing a new printer may be the smarter financial decision.
Professional printer technicians can diagnose the problem quickly and often have access to replacement parts that are difficult to find as a consumer. Do not hesitate to reach out to your printer’s support team for guidance.
Frequently Asked Questions
Why is my printer carriage stuck on the right side and not moving?
The most common reasons include a paper jam, dried ink on the carriage rail, a dirty encoder strip, or a foreign object blocking the carriage path. The printer may also have a software error that falsely locks the carriage. Start by turning off the printer, unplugging it, and checking for visible obstructions. A hard reset often clears software related carriage lock issues.
Can I manually push the printer carriage to unstick it?
Yes, but only when the printer is completely unplugged. Gently slide the carriage from the right side to the center of the printer. Do not use force. If the carriage resists, there is likely an obstruction or dried ink causing it to stick. Address the root cause before trying to move it again.
How do I clean the carriage rail on my inkjet printer?
Use a lint free cloth dampened with isopropyl alcohol (90% or higher). With the printer unplugged, wipe the metal rail from end to end. Remove any ink residue, dust, or paper fibers. Let the rail air dry for two to three minutes before powering the printer back on. This should be done every few months as regular maintenance.
Will a hard reset fix a carriage jam error?
A hard reset fixes carriage jam errors caused by software glitches or false sensor readings. Disconnect the power cord from the printer while it is turned on. Wait 60 seconds, then reconnect. This clears the printer’s temporary memory and resets error states. It does not fix mechanical problems like a broken belt or damaged motor.
How often should I use my printer to prevent carriage jams?
Print at least one page per week to keep ink flowing and prevent buildup on the carriage path. Run the built in cleaning cycle once a month. Cover your printer when not in use to reduce dust accumulation. These simple habits significantly reduce the risk of carriage jams.
My printer carriage is stuck and making a grinding noise. What should I do?
A grinding noise usually indicates a mechanical problem such as a damaged carriage belt, misaligned gear, or failing motor. Turn off and unplug the printer immediately. Inspect the belt for visible damage and check for foreign objects near the motor or pulleys. If you find damage, professional repair or part replacement is likely needed.
I’m the voice behind Device Dossier. As a printing technology enthusiast, I spend my time testing printers, comparing specs, and writing honest reviews to help you find the perfect printing solution. When I’m not geeking out over print quality and page yields, you’ll find me exploring the latest in tech.