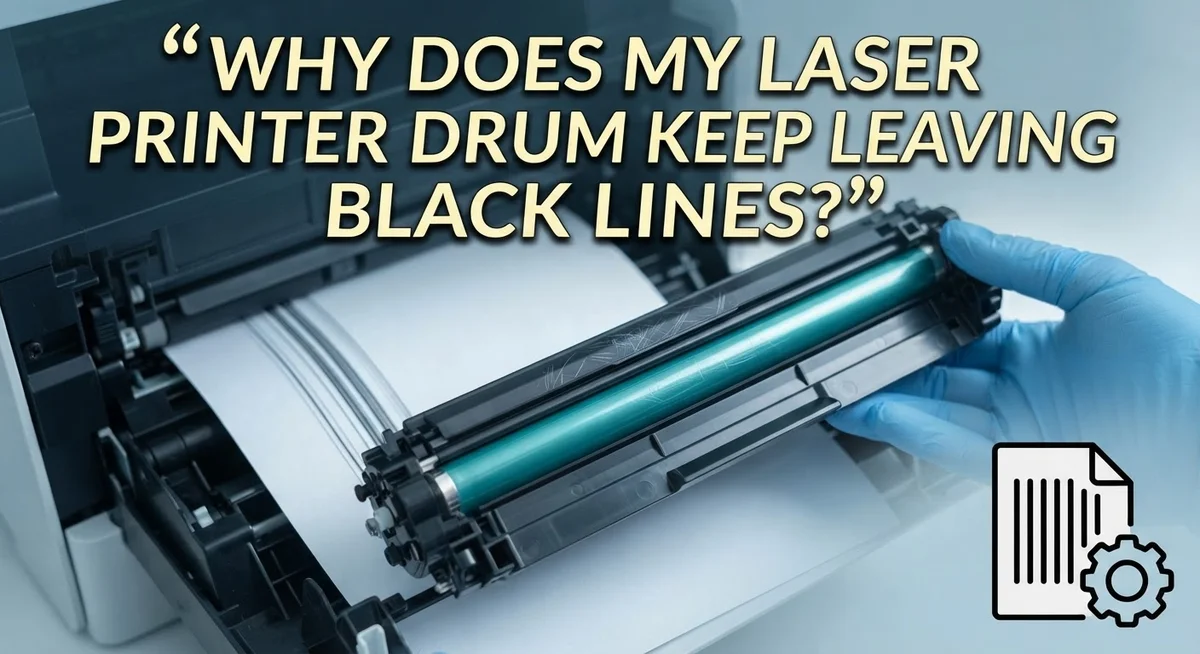
Why Does My Laser Printer Drum Keep Leaving Black Lines?
Black lines on your printed pages can turn a simple task into a real headache. You send a document to print, and suddenly streaks or stripes ruin the whole page.
This problem happens to almost every laser printer owner at some point. The good news is that it’s usually fixable without calling a technician.
Black lines often point to a dirty or damaged drum. Dust, paper fibers, and toner debris can build up over time. Sometimes the drum itself gets scratched or damaged.
Other culprits include a faulty fuser unit or a dirty mirror inside your printer. Even a brand new drum can cause issues if it’s contaminated or defective.
In this article, we will walk you through the most common causes behind those annoying black lines. You will learn simple troubleshooting steps to try first.
Let’s get your prints looking clean again.
In a Nutshell
Dirty drums cause most black line problems. Dust, paper fibers, and toner debris build up over time. This buildup blocks light and creates dark marks on your pages.
Scratched or damaged drums cannot be cleaned away. If the drum surface has physical damage, you will need a replacement. No amount of cleaning fixes a scratch.
Fuser units can also cause this issue. A damaged fuser leaves streaks that look similar to drum problems. Check both parts before you decide what to fix.
Humidity and small debris often make things worse. These small particles gather on the drum surface. They create the perfect conditions for line problems to appear.
Cleaning comes first, always. Run your printer’s built in clean cycle. Then print several blank pages to clear leftover debris.
If cleaning does not work, replacement is the next step. Even brand new drums can sometimes be faulty. Genuine supplies help you avoid this problem in the future.
Common Causes of Black Lines from Your Printer Drum
Your laser printer drum leaves black lines for several specific reasons. Understanding these causes helps you fix the problem faster.
Toner dust buildup is the most common culprit. Every time your printer operates, tiny toner particles float inside the machine. These particles settle on the drum surface and transfer onto your pages as dark streaks.
Paper fibers also accumulate on the drum. When paper moves through your printer, small fragments break off. These fibers stick to the drum and create visible lines on your output.
Moisture in the air makes this worse. High humidity causes toner to clump together. Clumped toner sticks more firmly to the drum surface and becomes harder to remove.
Scratches or physical damage to the drum itself causes permanent black lines. If the drum surface has gouges or dents, they will always leave marks on your pages. These damaged areas cannot be cleaned away because the problem is structural, not surface level.
A faulty fuser unit can also trigger this issue. The fuser heats and bonds toner to paper. When it malfunctions, excess toner transfers to the drum instead of staying on the page.
Even brand new drums sometimes arrive contaminated or defective. Manufacturing issues occasionally introduce dust or damage before the drum reaches you.
The dirty mirror inside your printer plays a role too. This mirror directs the laser beam onto the drum. When it gets dusty or smudged, the laser cannot focus properly, creating uneven toner distribution and dark lines.
Each cause requires a different solution. Dust and debris need cleaning. Physical damage needs replacement. Understanding which cause affects your printer helps you choose the right fix.
How to Diagnose Whether It’s the Drum, Fuser, or Mirror
Black lines appear in different patterns depending on what’s causing them. Understanding these patterns helps you pinpoint the exact problem before you spend money on replacement parts.
Vertical lines run from top to bottom on your page. These usually mean your drum has a scratch or the mirror needs cleaning. Horizontal lines that repeat across the page often signal a dirty drum surface. Single lines that appear randomly suggest loose debris stuck to the drum.
Start by running your printer’s built in cleaning cycle. Most laser printers have this feature in their settings menu. Check your printer manual for the exact steps. This process moves the drum and cleans internal components automatically.
Next, print 10 to 15 blank pages. This helps clear remaining toner particles and loose debris. Watch the pages carefully as they come out. If lines disappear after this step, contamination was your problem.
If lines persist, the issue likely involves the fuser unit or mirror. The fuser heats toner onto paper. A damaged fuser creates consistent black streaks. A dirty mirror causes uneven toner distribution.
Manual inspection comes next. Open your printer’s access panel carefully. Look at the drum surface under good light. Search for visible scratches, dents, or permanent marks. Scratches mean the drum needs replacement since cleaning cannot fix physical damage.
Check the mirror for dust or smudges. A clean cloth can remove surface dust from the mirror. Be extremely gentle to avoid scratching it.
If the drum appears scratched or the mirror is heavily damaged, replacement is necessary. A contaminated new drum occasionally ships from the factory. Inspect any replacement drum before installation to catch factory defects early.
Step-by-Step: Running the Printer’s Built-In Cleaning Process
Your printer has a built in cleaning process designed to remove toner dust and debris from inside. This is your first line of defense against black lines.
Start by opening your printer’s menu on the control panel. Look for settings labeled “Maintenance,” “Cleaning,” or “Tools.” The exact location depends on your printer model, but most manufacturers place this option in the main settings area.
Select the cleaning cycle option. Your printer will run an automated process that moves the drum and other components to shake loose accumulated toner particles and dust. This typically takes two to five minutes.
Let the process complete without interruption. Do not open the printer door or turn off the machine during this cycle. Stopping it early can leave the drum partially cleaned and potentially cause more problems.
After the cleaning cycle finishes, print a test page. If black lines still appear, run the cleaning process one more time. Sometimes stubborn debris needs multiple passes to clear completely.
Next, print 10 to 15 blank pages on plain white paper. This helps push out any remaining toner particles and debris that the cleaning cycle loosened. Your printer will use fresh toner to coat these pages, which carries away contamination.
Check your test prints carefully. Look at both the edges and center of each page. Black lines should fade or disappear entirely if the cleaning worked.
If lines persist after running the built in cleaning process twice and printing blank pages, the problem likely involves something else. This could mean the drum has physical scratches, the fuser unit is faulty, or the mirror needs attention. At this point, manual inspection becomes necessary before considering replacement.
How to Manually Clean a Contaminated Drum Safely
Before you start cleaning, turn off your printer completely and unplug it from the power outlet. This keeps you safe from electrical shock and moving parts. Wait at least 5 minutes for the internal components to cool down.
Open your printer’s access panel according to your manual’s instructions. Most laser printers have a front or side panel that swings open. Look for the drum unit inside. It’s usually a large cylindrical component that’s easy to spot.
Gently remove the drum from its slot. Handle it carefully by the sides only. Never touch the shiny surface or the roller part. Oils from your skin can damage the drum permanently.
Use a soft, lint-free cloth to wipe the drum’s outer surface. Move in one direction only, never in circles. This removes loose toner dust and debris safely. If you see stuck particles, use a very soft brush with minimal pressure.
Check the drum for scratches or deep marks while you clean. If damage is visible, cleaning won’t fix it. You’ll need replacement in that case.
Inspect the drum’s roller section for paper fibers or toner buildup. A slightly damp cloth works here, but avoid excess moisture. Let any dampness dry completely before reinstalling.
Carefully slide the drum back into its slot. Make sure it clicks into place securely. Close the access panel and plug your printer back in.
Print a test page immediately after reinstalling. Run 10 to 15 blank pages next to clear any remaining debris. If black lines still appear after this process, the problem likely involves another component like the fuser unit or mirror, not the drum itself.
Vertical vs Horizontal Lines: What the Pattern Tells You
The pattern of black lines on your pages tells you a lot about what’s happening inside your printer. Vertical lines run straight down from top to bottom, while horizontal lines go across from left to right. Each pattern points to a different problem.
Vertical lines usually mean the drum itself has an issue. The drum rotates as it moves paper through, so a scratch or contaminated spot on the drum creates the same mark on every page. If you see vertical lines, focus your attention on the drum first.
Horizontal lines suggest a different culprit. These often come from the fuser unit or the mirror inside your printer. The fuser heats and presses toner onto paper, while the mirror reflects the laser beam to create images. When either part gets dirty or damaged, you see lines running across the page.
Pay attention to where the lines appear too. Lines that start at the top of the page and continue throughout suggest drum problems. Lines that appear only in certain areas might point to mirror contamination or fuser issues.
The spacing between lines matters as well. Lines that repeat at regular intervals usually mean something is stuck to the drum. Random or inconsistent lines often indicate a different issue like a damaged mirror or fuser malfunction.
Before you assume what’s broken, run your printer’s cleaning cycle and print test pages. This helps you narrow down the cause. Watch your test prints closely. The line pattern you see will guide you toward the right solution and help you avoid unnecessary replacements.
Mistakes That Make Black Line Problems Worse
Many people make mistakes that actually make black line problems worse instead of better. Understanding these errors helps you avoid them and keeps your printer working properly.
The biggest mistake is skipping the cleaning step before replacing parts. Many users see black lines and immediately order a new drum. However, the drum might be fine. Contamination or dust could be causing the lines. If you replace the drum without cleaning first, you waste money and the new drum might get contaminated too.
Another common error is using incorrect supplies or non-genuine parts. Low quality toner, incompatible cartridges, or off-brand drums can introduce debris into your printer. This debris then scratches the drum or clogs the mirror. Your printer works best with genuine supplies made for your specific model.
Improper drum handling during cleaning causes serious damage. Touching the drum’s surface with bare fingers leaves oils that attract dust. Pressing too hard while wiping can scratch the delicate drum coating. Using rough cloths or paper towels instead of soft, lint-free cloths causes permanent marks.
Ignoring warning signs is another costly mistake. If you notice lines getting darker or wider, act immediately. Waiting too long lets contamination spread deeper into the printer’s internal parts. This makes repairs more expensive and complicated.
Some users also run the cleaning cycle only once and give up. Your printer might need two or three cleaning cycles to remove stubborn buildup. Patience matters here.
Finally, people often ignore humidity conditions. High moisture in your office or home makes toner clump and stick to the drum. Addressing environmental factors prevents black lines from returning after you fix the immediate problem.
When to Replace the Drum Instead of Cleaning It
Sometimes cleaning alone won’t fix the black line problem. You need to know when replacement is the right choice.
Signs that replacement is necessary include visible scratches or gouges on the drum surface. If you see deep marks during your manual inspection, cleaning won’t restore the drum. A scratched drum will continue leaving lines no matter how many times you clean it.
Another clear sign is when black lines persist after you’ve run the built in cleaning process twice and printed 15 blank pages. This tells you the contamination is permanent or the drum itself is damaged.
Check if the drum has cracks or chips on its roller section. These defects mean the drum cannot function properly. Replacement is your only option in this case.
New drums can also be faulty. Sometimes a replacement drum arrives with manufacturing defects or contamination already present. This is rare but it happens. If your new drum produces lines immediately, contact the manufacturer about a defective unit.
Pay attention to how your printer behaves during printing. If you hear unusual grinding sounds or the drum doesn’t rotate smoothly, internal damage likely exists. Cleaning cannot fix mechanical failure.
Consider the age of your current drum too. Most drums have a page yield limit. Once you exceed this limit, replacement becomes cost effective compared to repeated cleaning attempts.
Don’t delay replacement if damage is confirmed. Continuing to use a damaged drum risks harming other printer components like the fuser unit or transfer roller. This creates bigger repair bills down the road.
Use genuine manufacturer drums when you replace yours. Genuine parts work better with your specific printer model and reduce future problems.
Preventing Future Black Line Issues
Preventing black lines from returning requires consistent maintenance habits and smart handling practices. Start by cleaning your printer’s interior regularly, even when you don’t see visible problems yet. Dust and toner particles accumulate slowly over time, so monthly inspections keep issues from building up.
Keep your printing environment clean and dry. High humidity conditions make toner stick to the drum more easily, which increases the risk of buildup and lines. Store paper in a dry location away from moisture. Temperature swings also affect how toner behaves, so maintain stable room conditions when possible.
Use genuine manufacturer supplies for your specific printer model. Non-genuine parts often have different specifications that don’t match your machine’s needs. This mismatch can cause premature wear and new problems. When you do replace components, handle the drum with care. Avoid touching the drum surface directly with bare hands, as skin oils transfer to the roller and cause future issues.
Print regularly to keep toner flowing smoothly through your system. Printers that sit unused for weeks sometimes develop line problems when you restart them. Light printing activity helps prevent stagnation.
Replace your drum at the recommended interval, even if it seems fine. Most manufacturers suggest replacement after a certain number of pages. Following this schedule prevents unexpected failures and maintains print quality.
Finally, run your printer’s cleaning cycle every few months as preventive maintenance. Don’t wait for problems to appear. This simple habit catches minor debris before it becomes visible on your pages. Combine these practices with proper storage of supplies, and you’ll significantly reduce the chances of black lines returning to your printed documents.
Final Thoughts
Black lines on your printed pages don’t have to be a permanent problem. Most causes come down to a dirty or damaged drum, a faulty fuser, or dust buildup inside your machine.
Start with the simple fixes first. Run your printer’s cleaning cycle. Print several blank pages to clear debris. These steps solve many cases without spending money.
If lines persist, check the drum closely. Look for scratches, cracks, or chips on the surface. Physical damage means cleaning won’t help anymore.
Replacement becomes necessary when problems continue after multiple cleaning attempts. Don’t keep cleaning a drum that’s clearly damaged. This wastes time and toner.
Remember that new drums can also cause problems. Manufacturing defects and shipping contamination happen sometimes. Don’t assume a new part is automatically perfect.
Genuine manufacturer supplies matter for long term performance. They fit correctly and work well with your printer’s internal parts. This reduces contamination risk significantly.
Prevention saves you from repeating this frustrating cycle. Keep your printing area clean and free from dust. Control humidity levels in your workspace too.
Regular printing keeps toner flowing smoothly through your system. Machines that sit unused often develop more problems. Scheduled cleaning cycles also help catch issues early.
Pay attention to warning signs before they worsen. Faint lines often become darker and more frequent over time. Address problems quickly instead of waiting.
Understanding your printer’s behavior helps you diagnose issues faster. Notice when lines appear and how they look. This information guides your next troubleshooting step.
With patience and the right approach, black lines become manageable. Most printer owners solve this problem without professional help. Careful maintenance keeps your prints clean for years ahead.
Frequently Asked Questions
Why does my laser printer leave black lines on every page?
Black lines appear when your drum surface has contamination or damage. Dust, paper fibers, and toner debris stick to the drum roller. When the drum rotates during printing, these particles transfer onto your pages. Scratches or gouges on the drum surface can also cause lines because they trap toner in specific spots.
The fuser unit or mirror can also be culprits. A dirty mirror reflects light incorrectly. A damaged fuser unit heats unevenly. Both issues result in black marks on your output.
Can I fix black lines by cleaning the drum myself?
Yes, you can try manual cleaning before replacing the drum. First, run your printer’s built-in clean cycle. This removes loose debris automatically. Next, open the printer and gently wipe the drum surface with a lint-free cloth. Avoid touching the drum with your bare fingers because skin oils cause more contamination.
After cleaning, print 10 to 15 blank pages. This clears any remaining particles. Check your next printed page for improvement. If lines persist after two cleaning attempts, the drum likely has permanent damage.
Should I replace the drum if lines won’t go away?
Replace the drum when cleaning fails twice and lines still appear. Also replace it if you see visible scratches, cracks, or chips on the roller section. A damaged drum cannot be repaired through cleaning alone.
New drums can arrive with defects too. If lines continue after drum replacement, inspect the fuser unit and mirror next.
What causes black lines to appear suddenly?
High humidity and temperature changes trigger sudden line problems. Moisture in the air causes toner to clump on the drum. Debris from worn paper guides or rollers also accumulates quickly. Using low-quality supplies speeds up contamination.
Check your printing environment for moisture and dust. Keep the area clean and dry for better results.

I’m the voice behind Device Dossier. As a printing technology enthusiast, I spend my time testing printers, comparing specs, and writing honest reviews to help you find the perfect printing solution. When I’m not geeking out over print quality and page yields, you’ll find me exploring the latest in tech.