How to Align Printer Cartridges When the Automated Page Fails?
You pressed the print button and expected a clean, crisp page. Instead, your printer spat out blurry text, color streaks, or lines that look like they belong on a seismograph. You tried the automatic alignment tool, and it failed too. Now what?
Automated printer alignment is supposed to solve these problems in seconds. But sometimes the process itself breaks down. The alignment page prints with smeared patterns, the scanner cannot read the test sheet, or an error message blocks everything.
The good news is that you do not need a technician to fix this. Most alignment failures come from a handful of causes you can address at home with basic tools and a few minutes of patience.
This guide walks you through each cause, each fix, and each brand’s manual alignment process so you can get back to sharp, professional prints without spending extra money.
Key Takeaways
- 1. Automated alignment fails for fixable reasons. Dirty scanner glass, low ink levels, wrinkled paper, and outdated firmware are the most common causes. Identify the root problem before attempting repeated alignment cycles.
- 2. Every major printer brand offers a manual alignment option. HP, Canon, Epson, and Brother all provide a way to bypass the automated process and align cartridges or printheads by hand through their control panels or computer software.
- 3. Cleaning solves most alignment errors. A lint free cloth and some distilled water can clear dirty cartridge contacts, clogged nozzles, and smudged scanner glass. These simple steps resolve the majority of failed alignment attempts.
- 4. Paper choice matters more than most people realize. Use plain, bright white, unwrinkled paper for alignment pages. Transparent, glossy, or damaged paper can cause the printer’s optical sensor to misread the test patterns.
- 5. A power reset is often the fastest first fix. Turning the printer off, unplugging it for 60 seconds, and plugging it back in clears temporary errors that block alignment. Try this before anything else.
- 6. Prevention keeps alignment problems from returning. Run alignment after every cartridge change, clean the printer monthly, keep firmware updated, and store paper in dry conditions to avoid repeat failures.
Why Does Automated Alignment Fail in the First Place
Automated alignment works by printing a pattern of lines and blocks on a test page. The printer then scans that page with an internal sensor or flatbed scanner to read the patterns. The system adjusts the printhead position based on what it reads.
This process fails when the printer cannot accurately read the test page. Dirt on the scanner glass creates false readings. Low or empty ink cartridges produce faded patterns that the sensor cannot interpret. Wrinkled or colored paper distorts the pattern contrast.
Firmware bugs can also cause failures. Older printer firmware may contain known alignment errors that the manufacturer has already fixed in an update. A corrupted print queue or stalled background process can also interrupt the alignment mid cycle.
Physical problems play a role too. A printhead that is severely clogged will not produce usable test patterns. Cartridges that are not seated properly in their slots can shift during printing and create inconsistent results. Even moving the printer to a new desk can jar internal components enough to cause persistent alignment errors.
Reset Your Printer Before Trying Anything Else
A simple power reset clears temporary memory errors and restarts internal processes. This is the fastest fix and works more often than most people expect.
Turn on your printer if it is off. Press the power button to shut it down normally. Once the display goes dark, unplug the power cord from the back of the printer. Wait a full 60 seconds. This pause allows capacitors inside the printer to discharge completely, which clears any stuck processes.
Plug the power cord directly into a wall outlet. Avoid power strips or extension cords for this step. Turn the printer back on and wait for it to finish its startup routine. The printer may run a brief internal check, and this is normal.
After the reset, load three to four sheets of plain white paper and try the alignment again. Many users report that this single step resolves the error without any further action. If the alignment still fails, continue with the steps below.
Pros: Takes less than two minutes, costs nothing, and requires zero technical knowledge.
Cons: Does not fix hardware issues like clogged nozzles or dirty scanner glass.
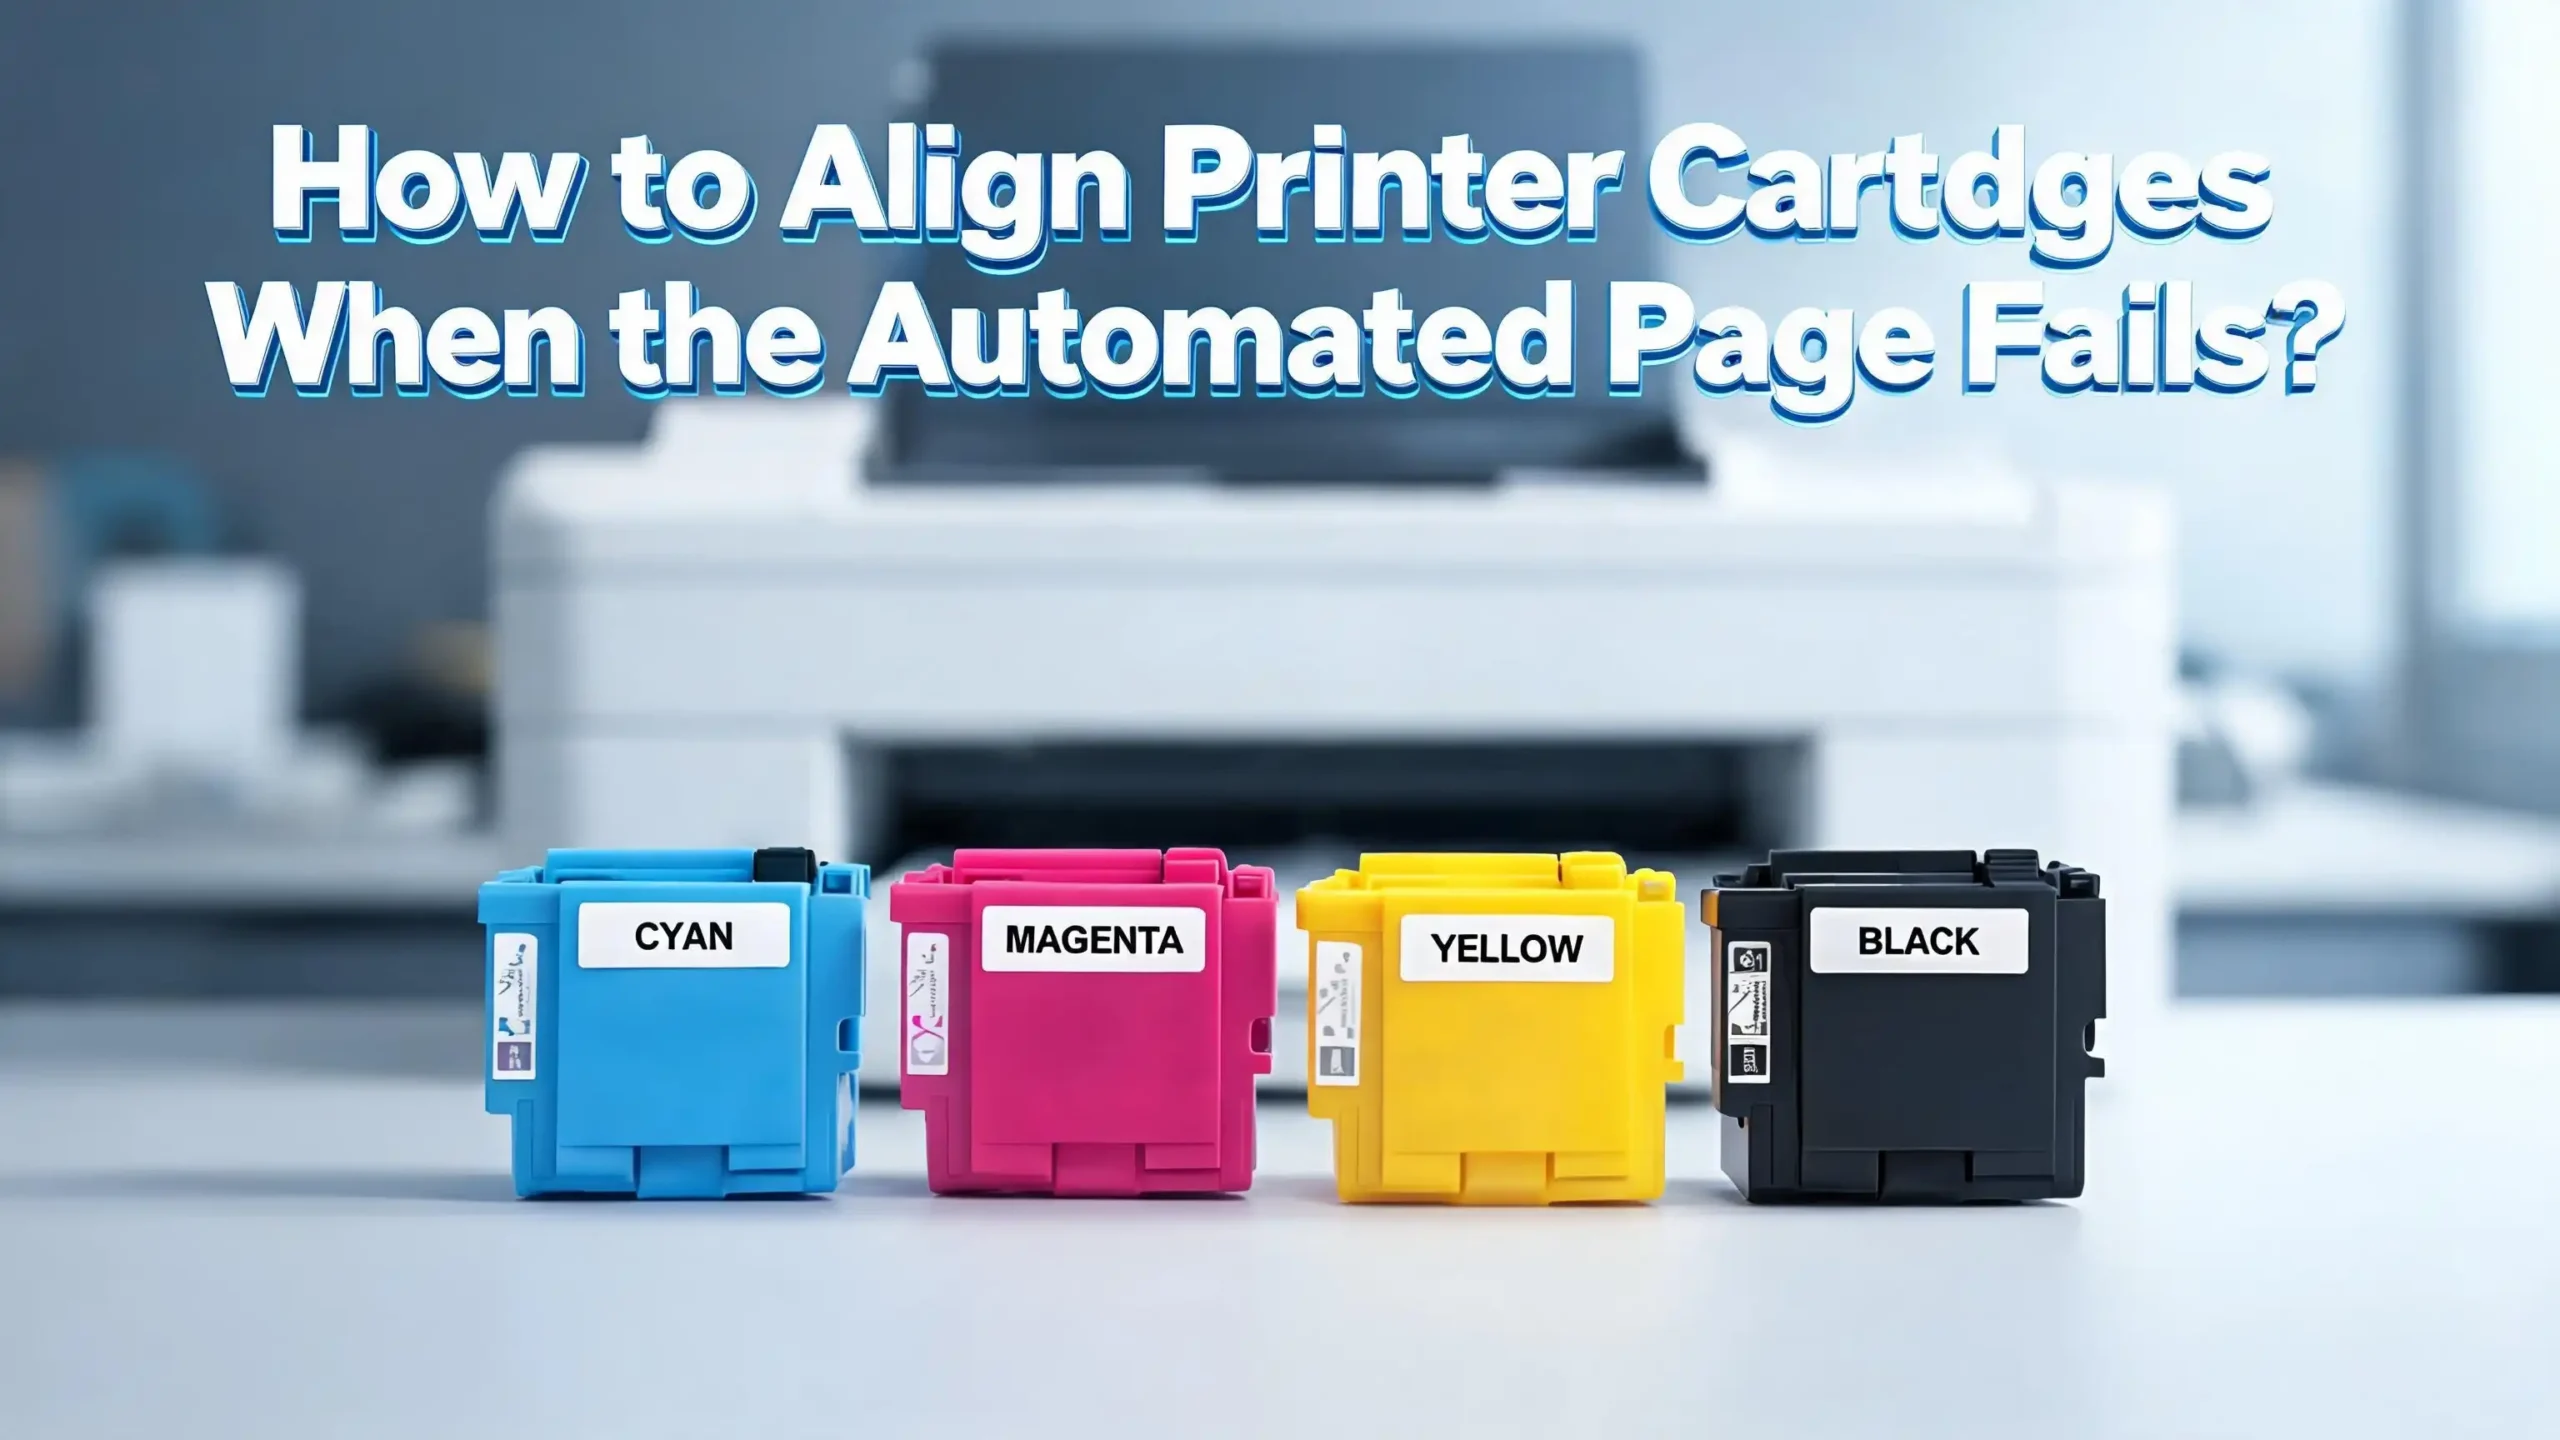
Check and Reseat Your Ink Cartridges
Incorrectly installed cartridges are a leading cause of alignment failure. Even cartridges that appear to be in place can have a slightly loose connection that disrupts the process.
Open the ink cartridge access door and wait for the carriage to stop moving. Never try to move the carriage by hand, as this can damage the printer. Once the carriage is still, press down on each cartridge gently to confirm it clicks into its slot. Remove each cartridge one at a time and inspect it.
Look for protective tape that may still cover the ink nozzles or copper contacts. New cartridges sometimes have a small strip of tape that is easy to miss. Leaving this tape on blocks ink flow and causes the printer to report errors or produce faded test patterns.
Check the ink levels on each cartridge. Most printers display ink levels on the control panel or through their companion software on your computer. Cartridges that are low or empty cannot produce the bold, high contrast patterns that the alignment sensor needs to read.
If you find any cartridge that is low, replace it before running alignment again. After reseating or replacing cartridges, close the access door and attempt the automated alignment one more time.
Pros: Addresses the most common physical cause of alignment failure directly.
Cons: Requires replacement cartridges if ink is low, which adds cost.
Clean the Scanner Glass and Alignment Sensors
Many printers with all in one features use the flatbed scanner to read alignment pages. A single fingerprint, dust spot, or ink smudge on the scanner glass can cause the entire alignment to fail.
Lift the scanner lid and examine the glass surface. Look for smudges, dust, paper fibers, or dried ink spots. Use a soft, lint free cloth dampened with distilled water or glass cleaner. Wipe the entire glass surface gently. Pay extra attention to the narrow glass strip along the edge if your printer has one, because this strip is the actual document feeder scanner.
Dry the glass completely with a clean, dry lint free cloth. Any remaining moisture can distort the scan of the alignment page. Also check the underside of the scanner lid for debris that might fall onto the glass when closed.
Some printers use an internal optical sensor instead of the flatbed scanner. You can clean this sensor by opening the cartridge access area and gently wiping visible sensor windows with a dry cotton swab. Check your printer’s user manual for the exact location of this sensor.
After cleaning, print a new alignment page on fresh paper and scan it. Do not reuse a previously printed alignment page because creases or handling marks will interfere with the scan.
Pros: Solves a very common cause of scan based alignment failure with household items.
Cons: Internal sensors may be difficult to locate on some printer models.
Clean the Cartridge Contacts and Printhead
Dirty electrical contacts between cartridges and the printer carriage can cause communication errors that block alignment. Cleaning these contacts takes only a few minutes and often restores normal function.
Remove the cartridges from the printer. Hold each cartridge by its sides and locate the copper or gold colored contact strip. Dampen a lint free cloth or cotton swab with distilled water. Gently wipe the contacts in one direction. Do not scrub aggressively, and avoid touching the ink nozzles.
Also clean the matching contacts inside the printer carriage. These are the small metal pins or pads that the cartridge contacts press against. Use the same damp cloth or swab, and wipe gently. Let everything air dry for about five minutes before reinstalling the cartridges.
If your printer has a removable printhead separate from the cartridges, remove it and clean the electrical contacts on both the printhead and the carriage. Some users also soak the printhead nozzle plate in shallow distilled water for 10 to 15 minutes to dissolve dried ink. Never use tap water because minerals in tap water can damage the printhead.
Reinstall all components, close the access door, and run the alignment process again.
Pros: Restores electrical connections and can fix nozzle clogs at the same time.
Cons: Requires careful handling to avoid damaging delicate contacts or nozzles.
Use the Right Paper for Alignment
The type of paper you load for the alignment test page has a direct impact on whether the process succeeds. Many alignment failures happen simply because the wrong paper was in the tray.
Always use plain, bright white, letter size or A4 paper for alignment. The paper should be clean, flat, and free of wrinkles or curled edges. Remove any specialty paper, photo paper, or card stock from the input tray before starting the alignment.
Do not use transparent, semi transparent, or glossy paper. These surfaces reflect light differently and confuse the optical sensor or scanner. Colored paper reduces the contrast between the printed pattern and the background, which makes it harder for the printer to read.
Make sure the paper guides in the tray are snug against the paper stack without bending the sheets. Loose guides allow paper to feed at an angle, which prints a skewed alignment pattern. Load at least three sheets, because some alignment processes print multiple test pages.
Store your paper in a dry location. Paper that has absorbed moisture becomes wavy, and this distortion affects print quality and scanner accuracy. If your paper feels damp or looks wavy, replace it with fresh sheets from a sealed ream.
Pros: Zero cost fix that eliminates a frequently overlooked cause of alignment failure.
Cons: Does not help if the underlying issue is hardware or software related.
Run the Printhead Cleaning Cycle
Clogged printhead nozzles produce faint or missing lines on the alignment test page. The printer cannot read an incomplete test pattern, so alignment fails every time.
Access the printhead cleaning function from your printer’s control panel. On most printers, go to Setup or Settings, then select Maintenance, and choose Clean Printhead or Head Cleaning. The printer will push ink through the nozzles to clear blockages.
After the first cleaning cycle, print a nozzle check pattern or test page. Examine the printout for gaps, missing lines, or faded colors. If the pattern still shows problems, run a second cleaning cycle. Most printers offer a standard clean and a deep clean option. Use the deep clean only if the standard clean did not help, because deep cleaning uses significantly more ink.
Wait at least 30 minutes between cleaning cycles. This pause lets ink settle back into the nozzles and prevents the printhead from overheating. After two or three cleaning cycles, try the alignment again.
If cleaning cycles do not improve the nozzle check pattern, the printhead may need manual cleaning with distilled water or eventual replacement. Some printers have permanent printheads built into the machine, while others have user replaceable printhead units.
Pros: Clears clogged nozzles that prevent readable alignment patterns.
Cons: Uses a large amount of ink, especially deep cleaning cycles.
Manual Alignment on HP Printers
HP printers offer a manual alignment path through both the printer control panel and the HP Smart app on your computer. Use this method when the automated scan based alignment repeatedly fails.
From the printer control panel, go to Setup, then select Printer Maintenance or Tools. Choose Align Printhead or Align Cartridges. The printer will print an alignment test page. Instead of scanning the page, the printer may ask you to visually inspect the patterns and enter your selections on the display.
From a computer, open the HP Smart app and click the image of your printer. Go to Print Quality Tools under the Diagnostics or Tools section. Select Align Printheads. The app will walk you through the process and ask you to choose the best looking patterns from the printed test sheet.
For single function HP printers without a scanner, alignment always relies on your visual selection. Look at each numbered pattern group and pick the one where the lines are straightest and the colors overlap cleanly. Enter your choices using the printer’s buttons or the on screen prompts.
If the HP Smart app is not available, you can access alignment through the Windows printer driver. Go to Control Panel, then Devices and Printers, right click your HP printer, and select Printing Preferences. Under the Maintenance or Services tab, click Align Printhead.
Pros: Bypasses the scanner entirely, which eliminates scan related errors.
Cons: Requires you to judge the best pattern visually, which can be slightly subjective.
Manual Alignment on Canon Printers
Canon printers have a dedicated manual alignment mode that gives you full control over the process. This method is especially useful for Canon PIXMA models where auto alignment keeps failing.
Open the printer driver on your computer. Go to the Maintenance tab and click Custom Settings. Check the box labeled “Align heads manually” and click OK. This switches the printer from automatic to manual alignment mode.
Go back to the Maintenance tab and click Print Head Alignment. The printer will print a test sheet with multiple numbered pattern sets. Examine each set carefully and select the pattern number where the vertical lines are most evenly spaced and the horizontal bands appear smoothest.
Enter your selections in the dialog boxes on your computer screen. The printer driver will store these values and adjust the printhead position accordingly. You may need to repeat this for both vertical and horizontal alignment.
From the printer’s own control panel, you can also start manual alignment. Press the Home button, go to Maintenance, and select Print Head Alignment. Choose Manual instead of Auto. Load plain A4 paper and follow the on screen instructions to select the best patterns.
Canon recommends printing a nozzle check pattern before running alignment to make sure all nozzles are firing correctly. A clogged nozzle will produce a misleading alignment pattern, so always clean first if needed.
Pros: Gives you direct control and avoids reliance on sometimes faulty auto detection.
Cons: Requires more time and careful visual inspection than auto alignment.
Manual Alignment on Epson Printers
Epson printers use a straightforward alignment process that you can access from both the control panel and your computer. Epson’s method prints a series of numbered pattern blocks and asks you to select the best one in each set.
From the printer control panel, press Home, select Setup, then Maintenance, and then Head Alignment. The printer will print an alignment sheet with multiple rows of numbered patterns. Press the number corresponding to the best pattern in each row and confirm your selection.
From your computer on Windows, right click the Epson printer icon in the taskbar and select Print Head Alignment. On Mac, open the Applications folder, then EPSON Printer Utility, select your printer model, and choose Print Head Alignment. Follow the prompts to print the test sheet and enter your pattern selections.
Epson notes that if no pattern in a set appears perfectly aligned, you should choose the closest match and then run the alignment again. Repeating the process two or three times can progressively improve results.
Make sure you do not press the Stop or Cancel button during the alignment printing, because interrupting the process can leave the printhead in a worse position than before. Let each test page print completely before making your selections.
Pros: Epson’s pattern selection system is clear and works well even for beginners.
Cons: May need multiple rounds to achieve optimal alignment.
Manual Alignment on Brother Printers
Brother printers include both auto and manual alignment options in their maintenance menus. The manual option is useful when the auto scan produces poor results or the printer displays an alignment error.
Press the Ink button on your Brother printer’s control panel. Select Improve Print Quality, then Alignment. The printer will ask if you want to proceed. Select Next, then choose your paper size. Load the correct paper and press Start.
If you choose the Manual option, the printer will print a check sheet with numbered patterns. Examine the sheet and enter the number of the best pattern for each color alignment set. The display will walk you through each selection step by step.
Brother also recommends printing a Print Quality Check Sheet first. Go to Settings, then General Setup, Maintenance, and Improve Print Quality. This sheet shows four color blocks made of dotted lines. If any lines are missing or faded, run a cleaning cycle before attempting alignment.
For persistent problems, Brother offers an advanced purge process. This deep cleaning sequence is accessed through a special button combination on the control panel. It uses more ink but can clear severe clogs that regular cleaning cannot fix.
Pros: Brother’s step by step display prompts make manual alignment easy to follow.
Cons: The advanced purge process uses a significant amount of ink and may require new cartridges.
Update Your Printer Firmware and Drivers
Outdated firmware and drivers can contain alignment bugs that the manufacturer has already patched. Updating your software is a zero cost fix that many people overlook.
Check your printer manufacturer’s support website for the latest firmware version for your specific model. Most HP, Canon, Epson, and Brother printers can update firmware directly from the control panel if they are connected to Wi Fi. Go to Settings, then look for Firmware Update or Printer Update.
On your computer, check for updated printer drivers. On Windows, go to Device Manager, expand the Printers section, right click your printer, and select Update Driver. On Mac, go to System Preferences, then Printers and Scanners, and check for available updates.
Updated drivers often include improved alignment algorithms and better error handling. They also fix compatibility issues with newer operating systems that might interfere with the alignment process.
After updating, restart both your computer and your printer. Then try the alignment process again. If you were experiencing a known firmware bug, the update should resolve the issue immediately.
Pros: Free, quick, and can fix problems that no amount of cleaning will solve.
Cons: Requires an internet connection, and some older printers may no longer receive updates.
When to Seek Professional Help
Sometimes alignment problems point to a hardware failure that home fixes cannot repair. Knowing when to stop troubleshooting saves you time and prevents further damage.
If you have cleaned the printhead, replaced cartridges, cleaned the scanner glass, updated firmware, and run manual alignment multiple times without improvement, the printhead may be permanently damaged. Printheads can wear out after years of use or from running too many deep cleaning cycles without improvement.
A grinding or clicking noise during alignment attempts can indicate a mechanical problem with the carriage belt, motor, or rail. These components require professional repair or replacement. Continuing to use the printer with a damaged carriage can worsen the problem.
Check your printer’s warranty status on the manufacturer’s website before paying for repairs. Many printers come with a one year warranty that covers hardware defects. Out of warranty repairs may cost more than a replacement printer, so compare repair estimates with the price of a new model.
If your printer is more than five years old and requires expensive repairs, replacement is usually the more practical choice. Modern printers offer better alignment systems, improved printhead technology, and more reliable automated processes.
Pros: Professional repair can fix problems that are impossible to solve at home.
Cons: Repair costs can be high, and turnaround time may take days or weeks.
Prevent Future Alignment Failures
Once you have fixed the current problem, a few simple habits will keep alignment issues from returning. Prevention costs nothing and takes only a few minutes each month.
Run a printhead alignment after every cartridge change. New cartridges have slightly different characteristics than the ones they replace, and a quick alignment ensures the printer adjusts to those differences immediately.
Print at least one page per week if you do not use your printer often. Infrequent use allows ink to dry inside the nozzles, which leads to clogs and eventual alignment problems. A single color test page once a week keeps ink flowing and nozzles clear.
Clean the scanner glass monthly with a lint free cloth. Wipe down the exterior of the printer and remove any dust from the paper tray area. Keep the printer on a stable, level surface away from vibrations.
Store paper in a sealed bag or container in a dry room. Humid paper absorbs moisture, warps, and feeds unevenly. Replace any paper that feels soft or looks wavy. Enable automatic firmware updates if your printer supports this feature so you always have the latest fixes.
Frequently Asked Questions
What causes the automated alignment page to fail on my printer?
The most common causes are dirty scanner glass, low or empty ink cartridges, wrinkled or incorrect paper, and clogged printhead nozzles. The automated alignment system needs a clean, high contrast test pattern to read accurately. Any factor that reduces the quality of the printed pattern or the scanner’s ability to read it can trigger a failure. A simple power reset, glass cleaning, and fresh paper fix the issue in most cases.
Can I skip alignment and still print normally?
You can print without running alignment, but your output quality will likely suffer. Text may appear blurry, colors may not register correctly, and you might see horizontal or vertical banding across your pages. Alignment ensures that each color nozzle deposits ink in the correct position. Skipping it after a cartridge change or error is not recommended if you want clean, professional results.
How often should I align my printer cartridges?
Align your cartridges every time you install a new cartridge and at least once every three months during regular use. If you notice any decline in print quality, run alignment immediately. Frequent alignment does not waste ink or harm the printer. It takes less than five minutes and keeps your prints consistently sharp.
Does manual alignment work as well as automatic alignment?
Manual alignment can produce results that are equal to or better than automatic alignment. The key is carefully inspecting the test patterns and selecting the best ones. Automatic alignment relies on the scanner or optical sensor, which can make errors. Manual alignment relies on your eyes, which can be more reliable in certain situations, especially when the scanner glass is problematic.
Will cleaning the printhead fix alignment problems?
Cleaning the printhead fixes alignment problems that are caused by clogged nozzles. If certain nozzles are blocked, the test pattern will have gaps or faded areas that the printer cannot read correctly. Run a nozzle check first to see if cleaning is needed. If the nozzle check looks complete with no missing lines, the alignment issue has a different cause and cleaning alone will not solve it.
Is it worth repairing an old printer with persistent alignment failures?
Compare the repair cost to the price of a new printer. If the repair estimate exceeds 50 percent of a new printer’s price, replacement is usually the better choice. Newer printers have improved alignment technology, more durable printheads, and better software. An old printer with persistent issues will likely develop new problems even after a repair.
I’m the voice behind Device Dossier. As a printing technology enthusiast, I spend my time testing printers, comparing specs, and writing honest reviews to help you find the perfect printing solution. When I’m not geeking out over print quality and page yields, you’ll find me exploring the latest in tech.